

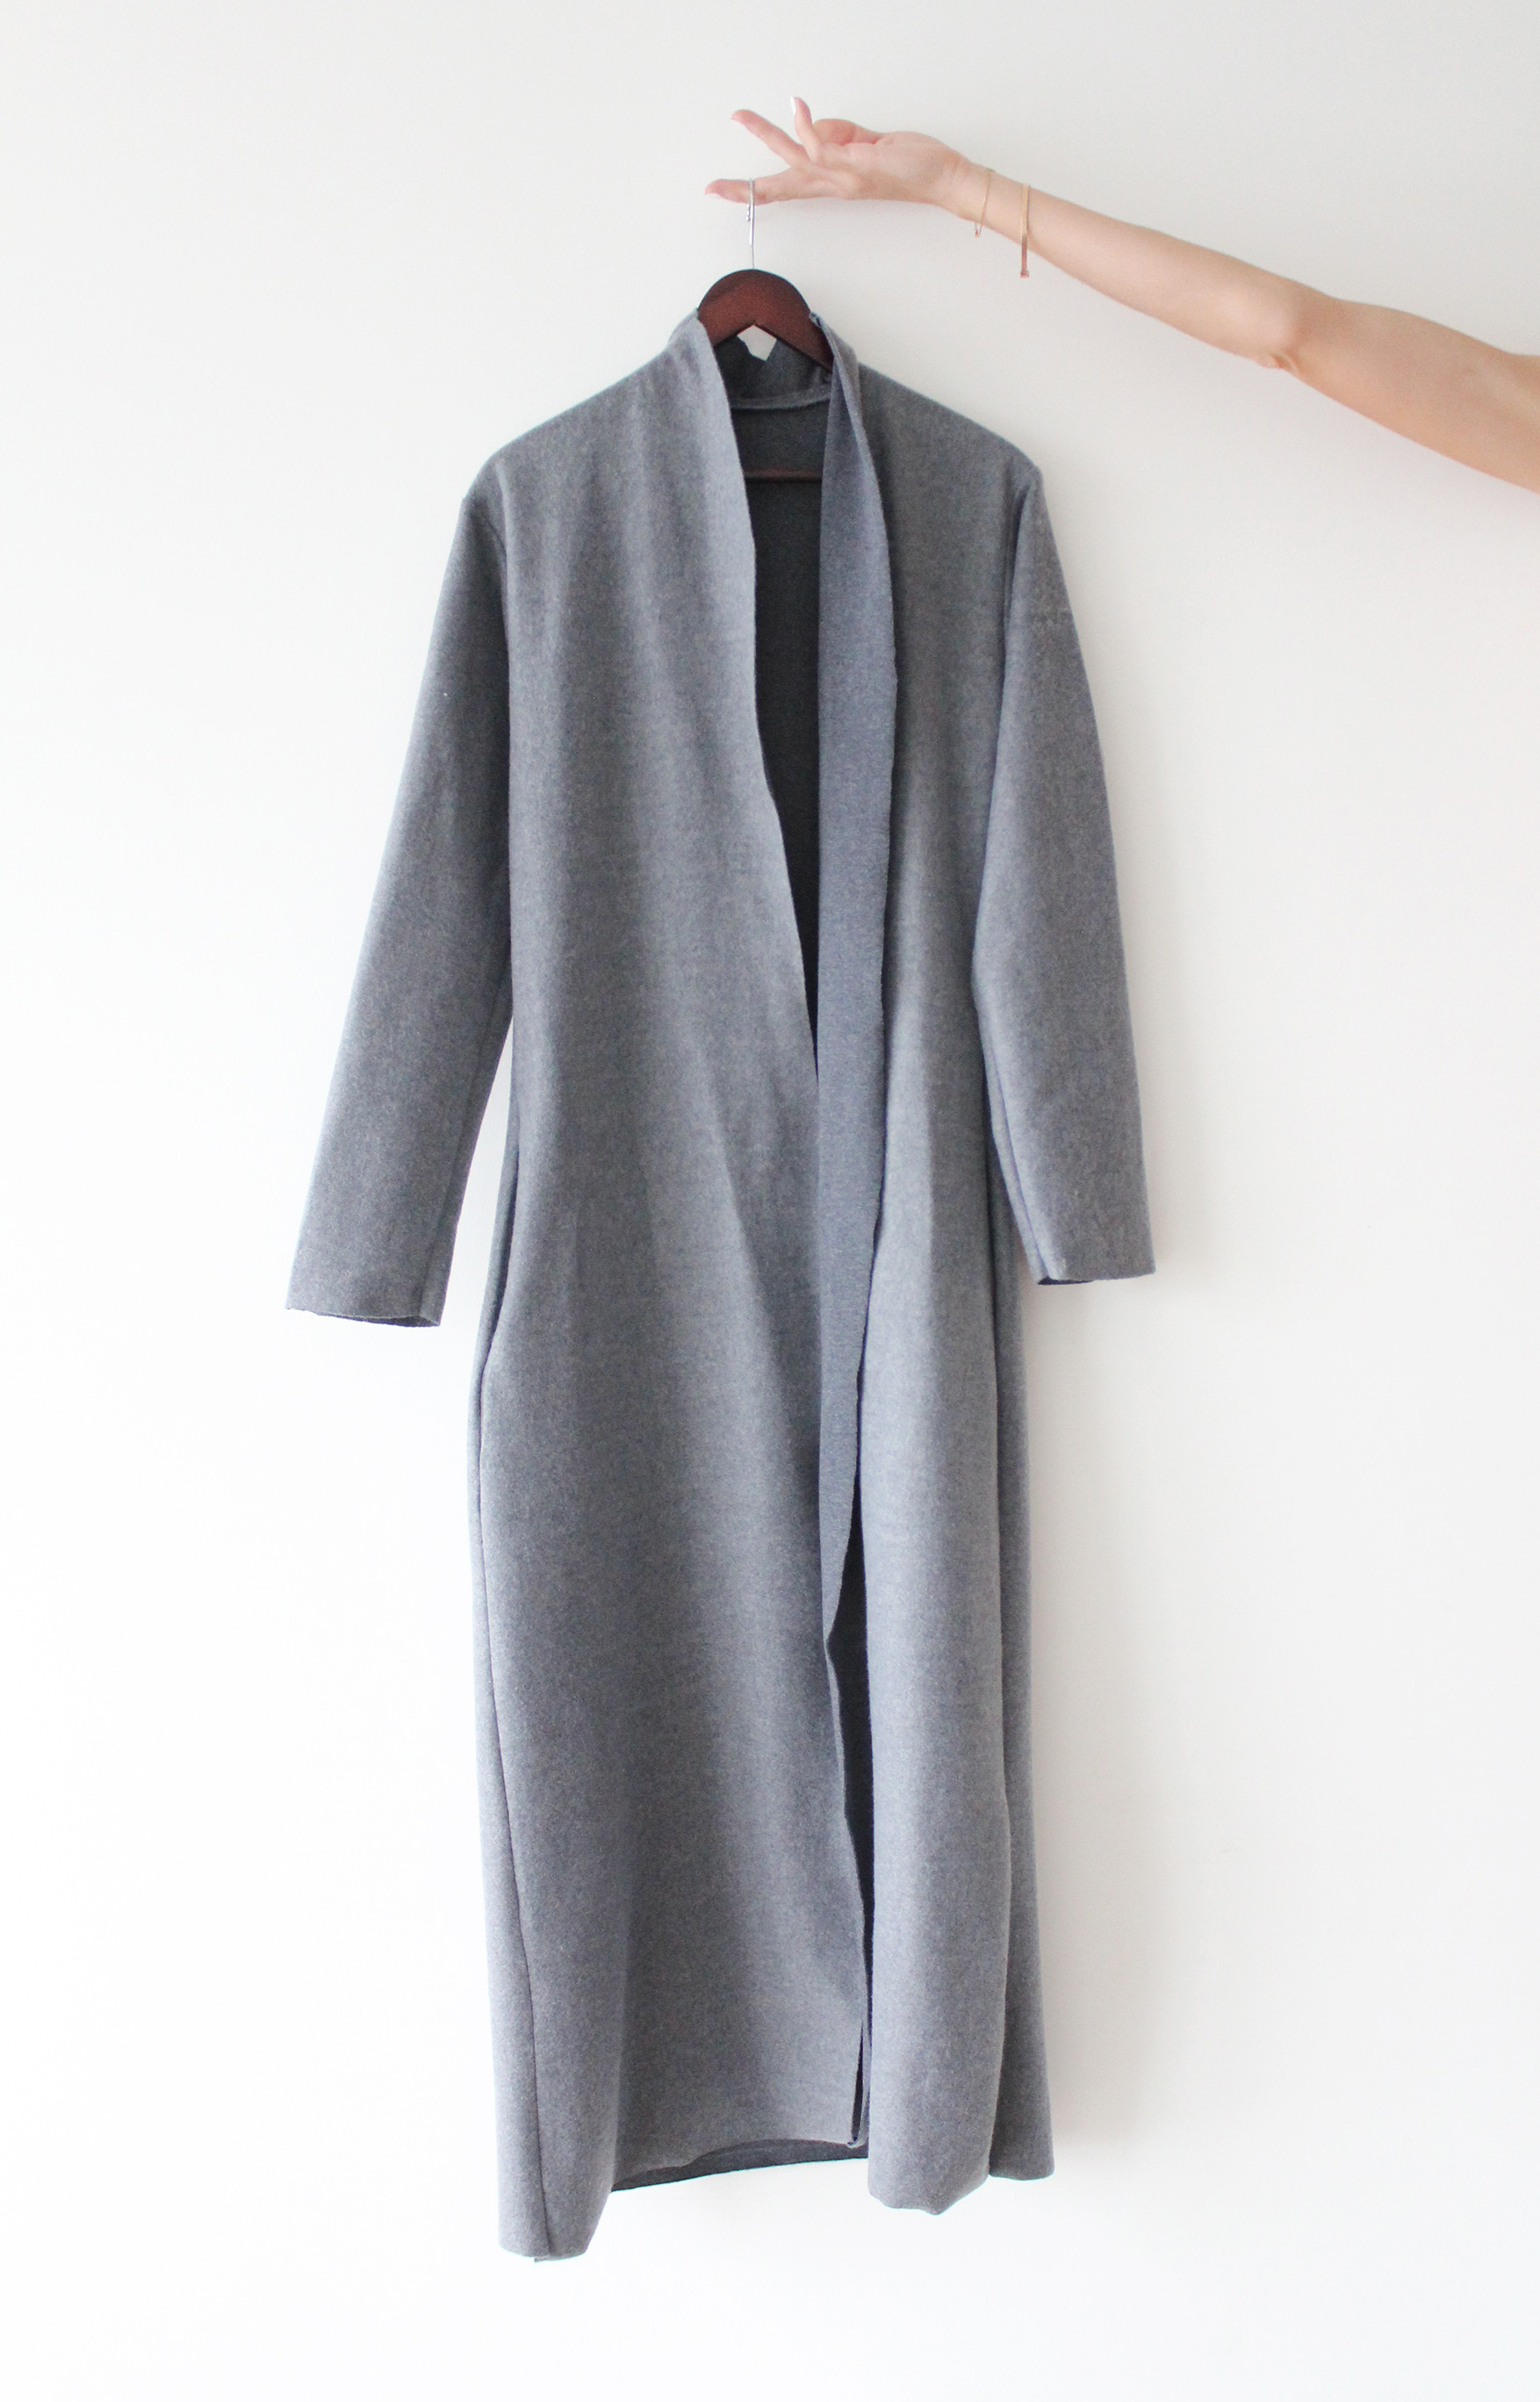
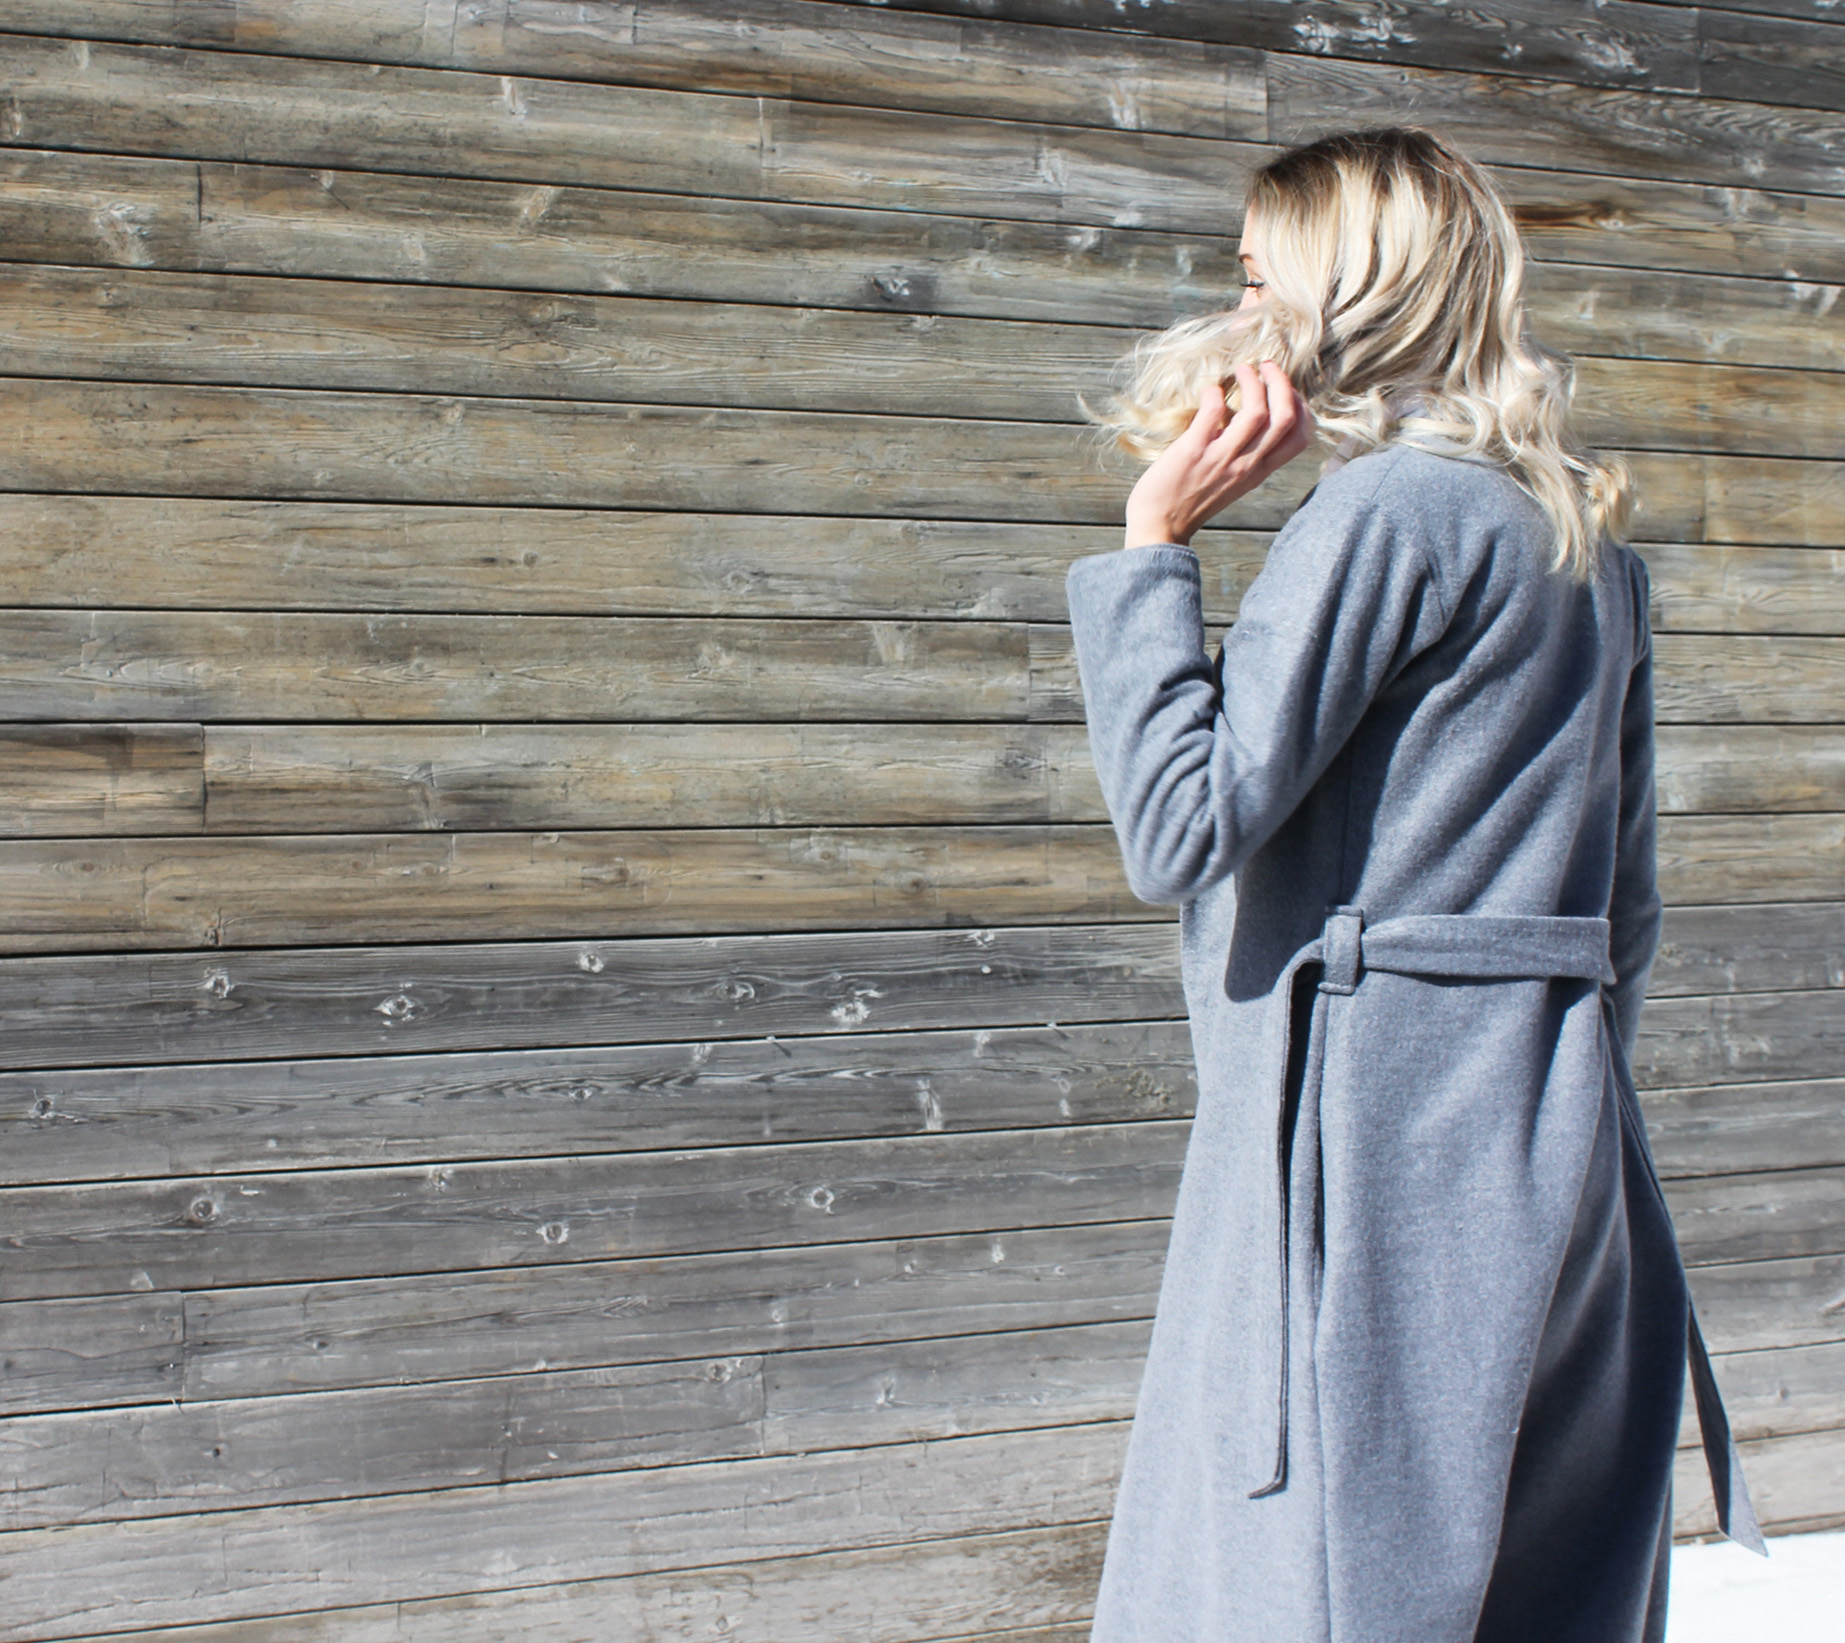
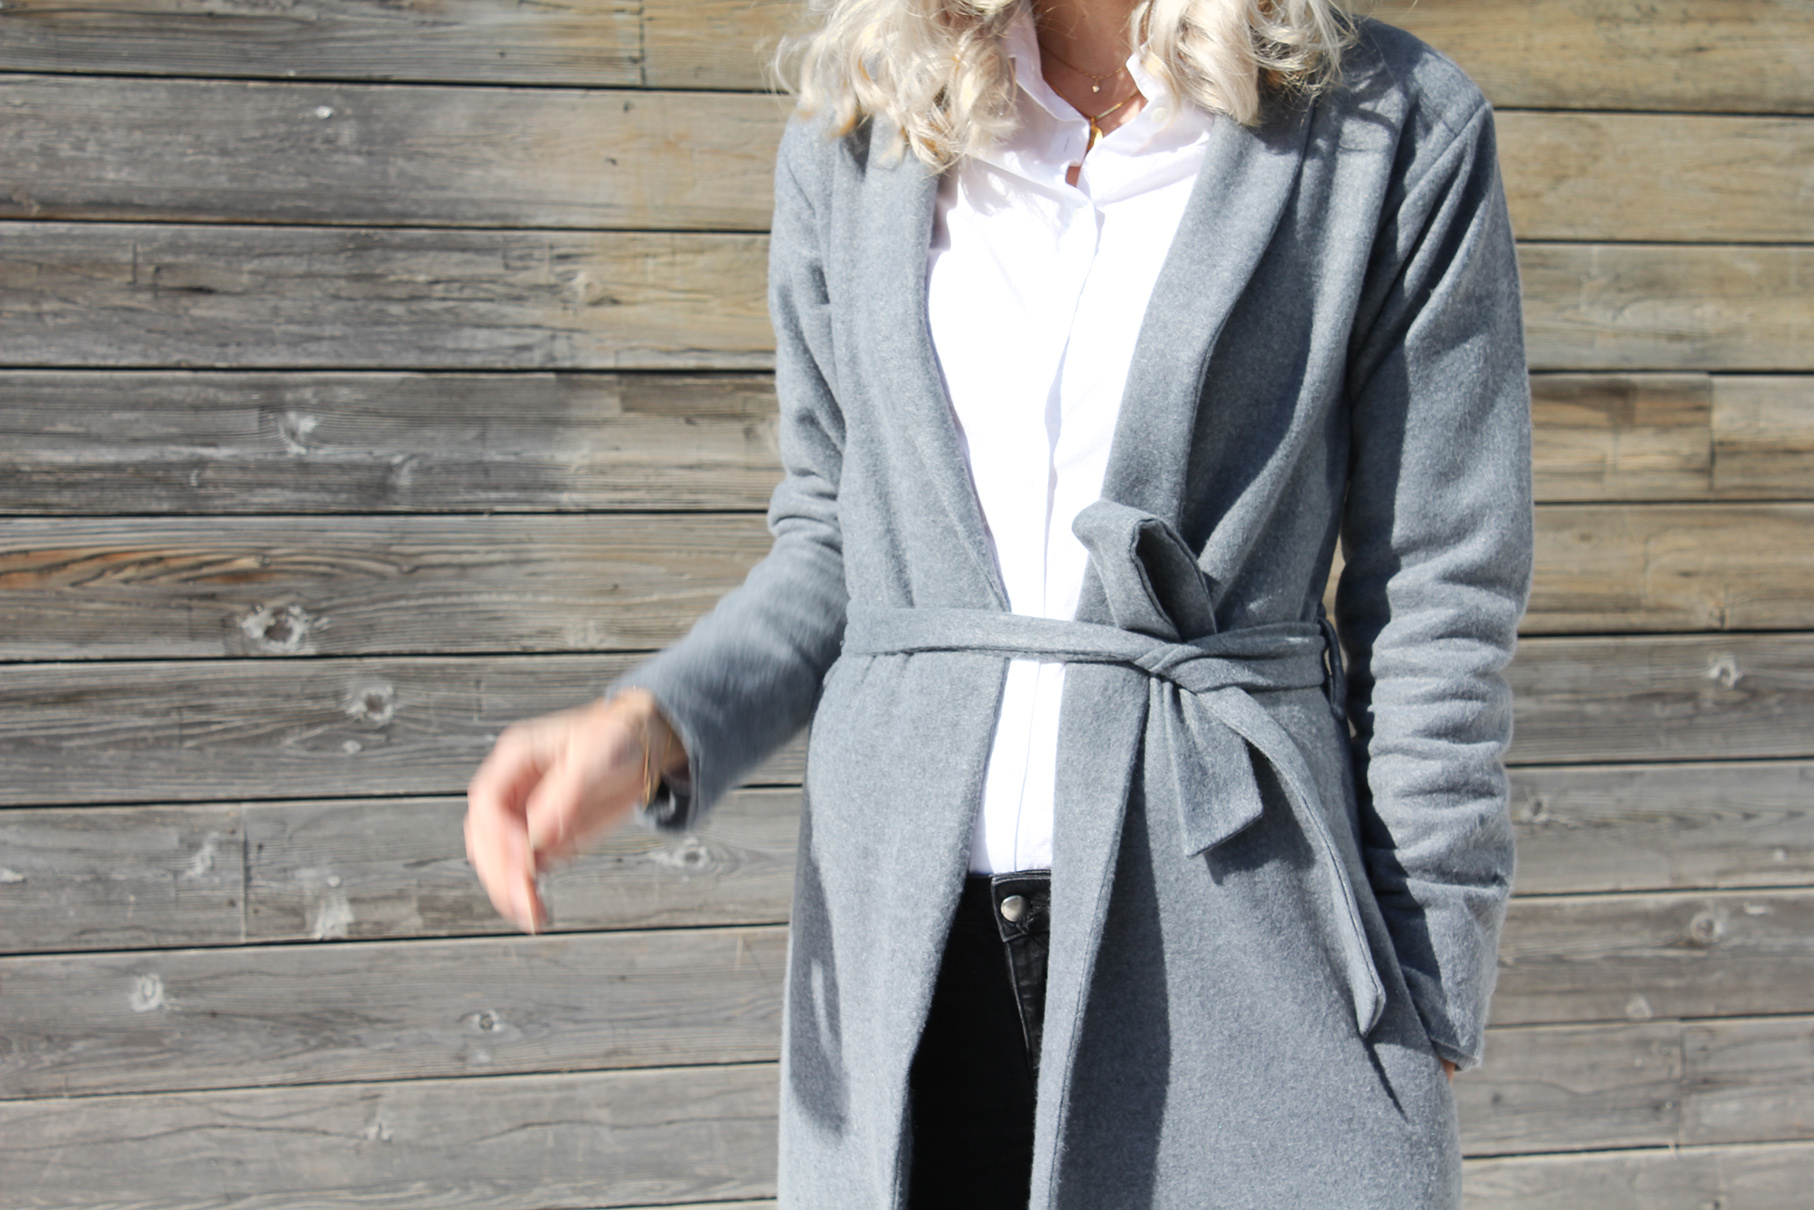
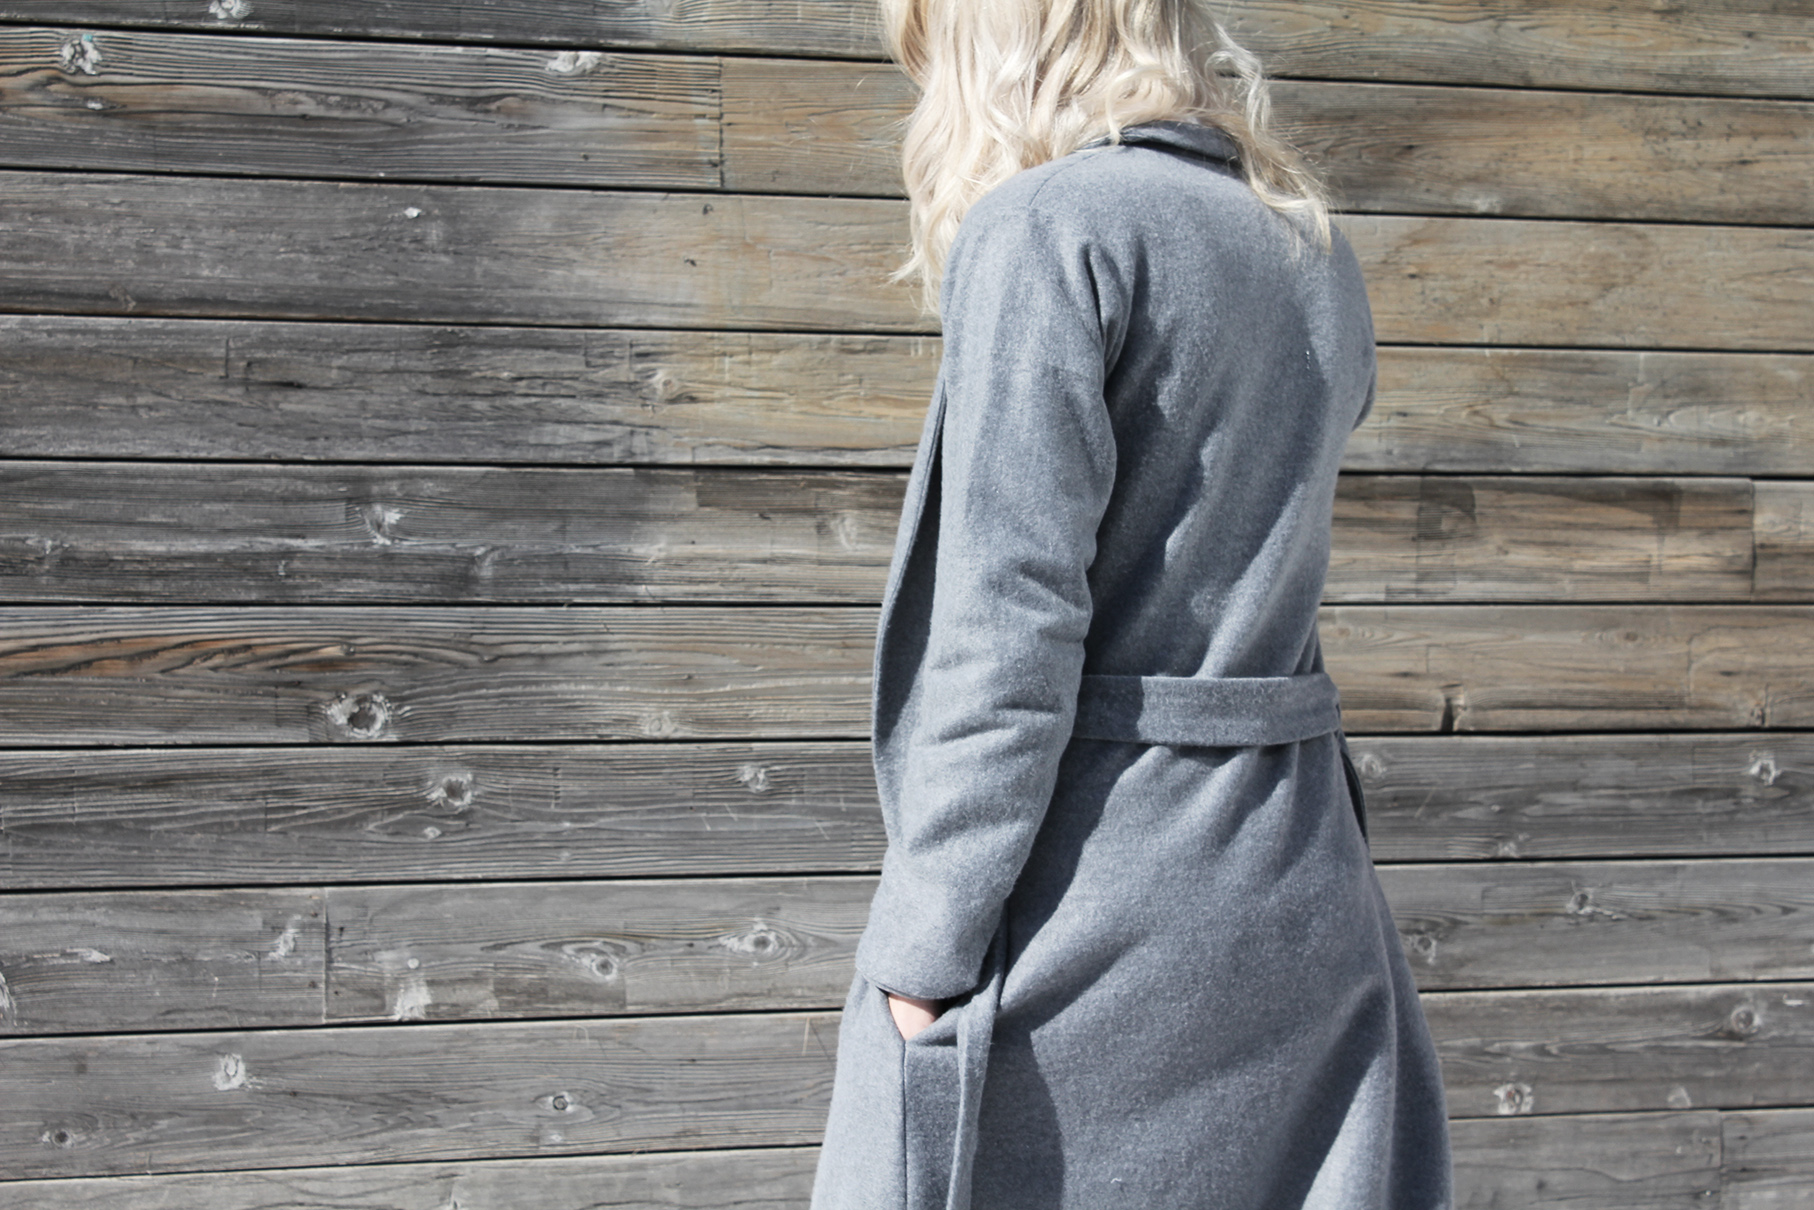
The winter hasn't been kind to us on the East Coast this year, mostly consisting of hibernation and involuntary survival skill drills every time you've had to exit the house. I've had a lot of time to dream of minimal coats (white, powder, and grey my biggest obsessions..) It finished this one quite a while ago, but have had no business going outdoors without Siberia-grade gear. This weekend was the first time the deep freeze broke for a bit and the sun came out.
TOOLS:
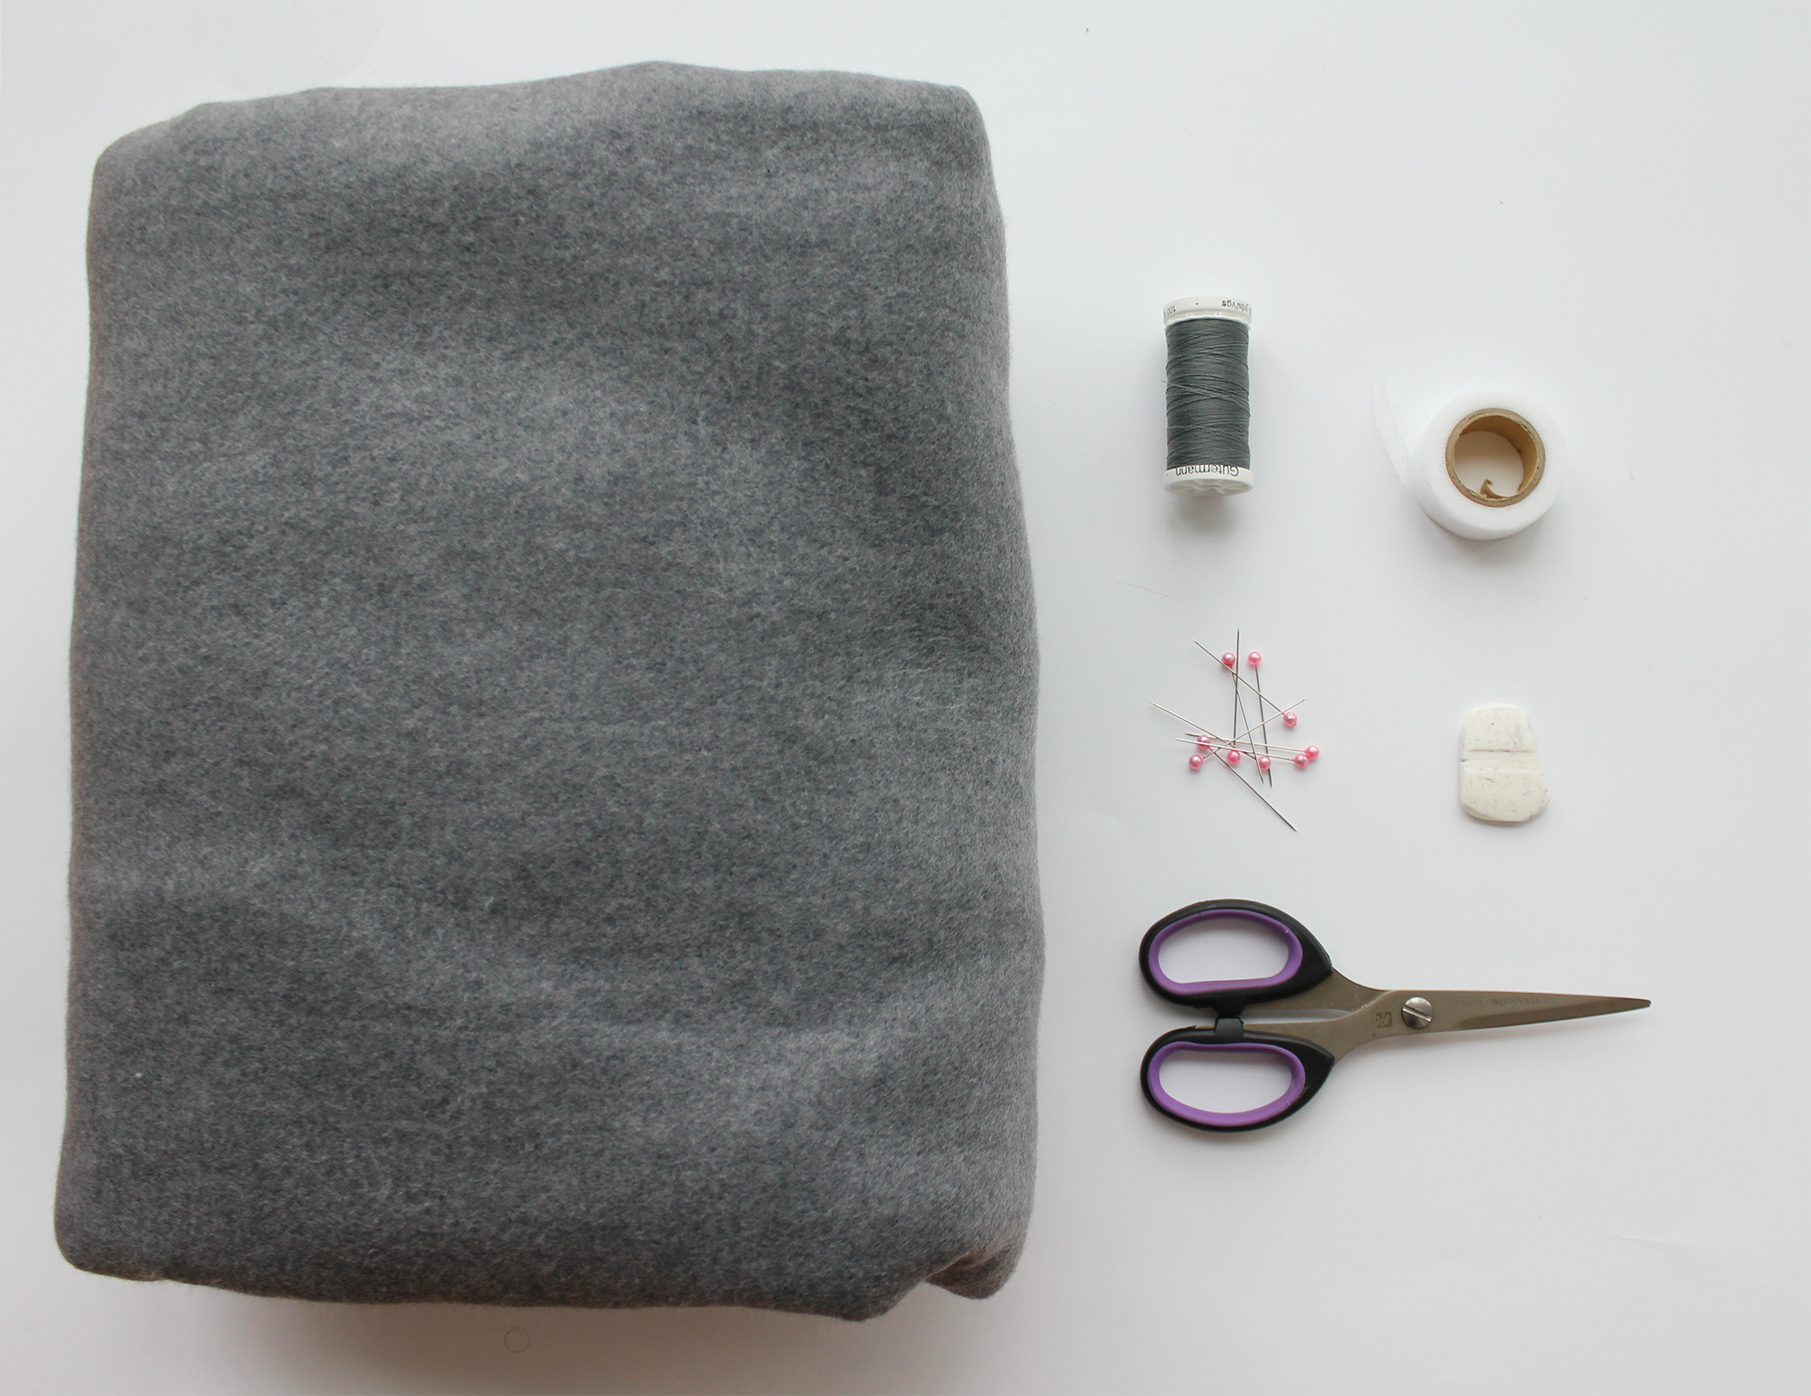
Wool or similar fabric, 3.5m | Scissors | Pins | Fabric marker | Iron-on hemming tape | Thread & Sewing machine
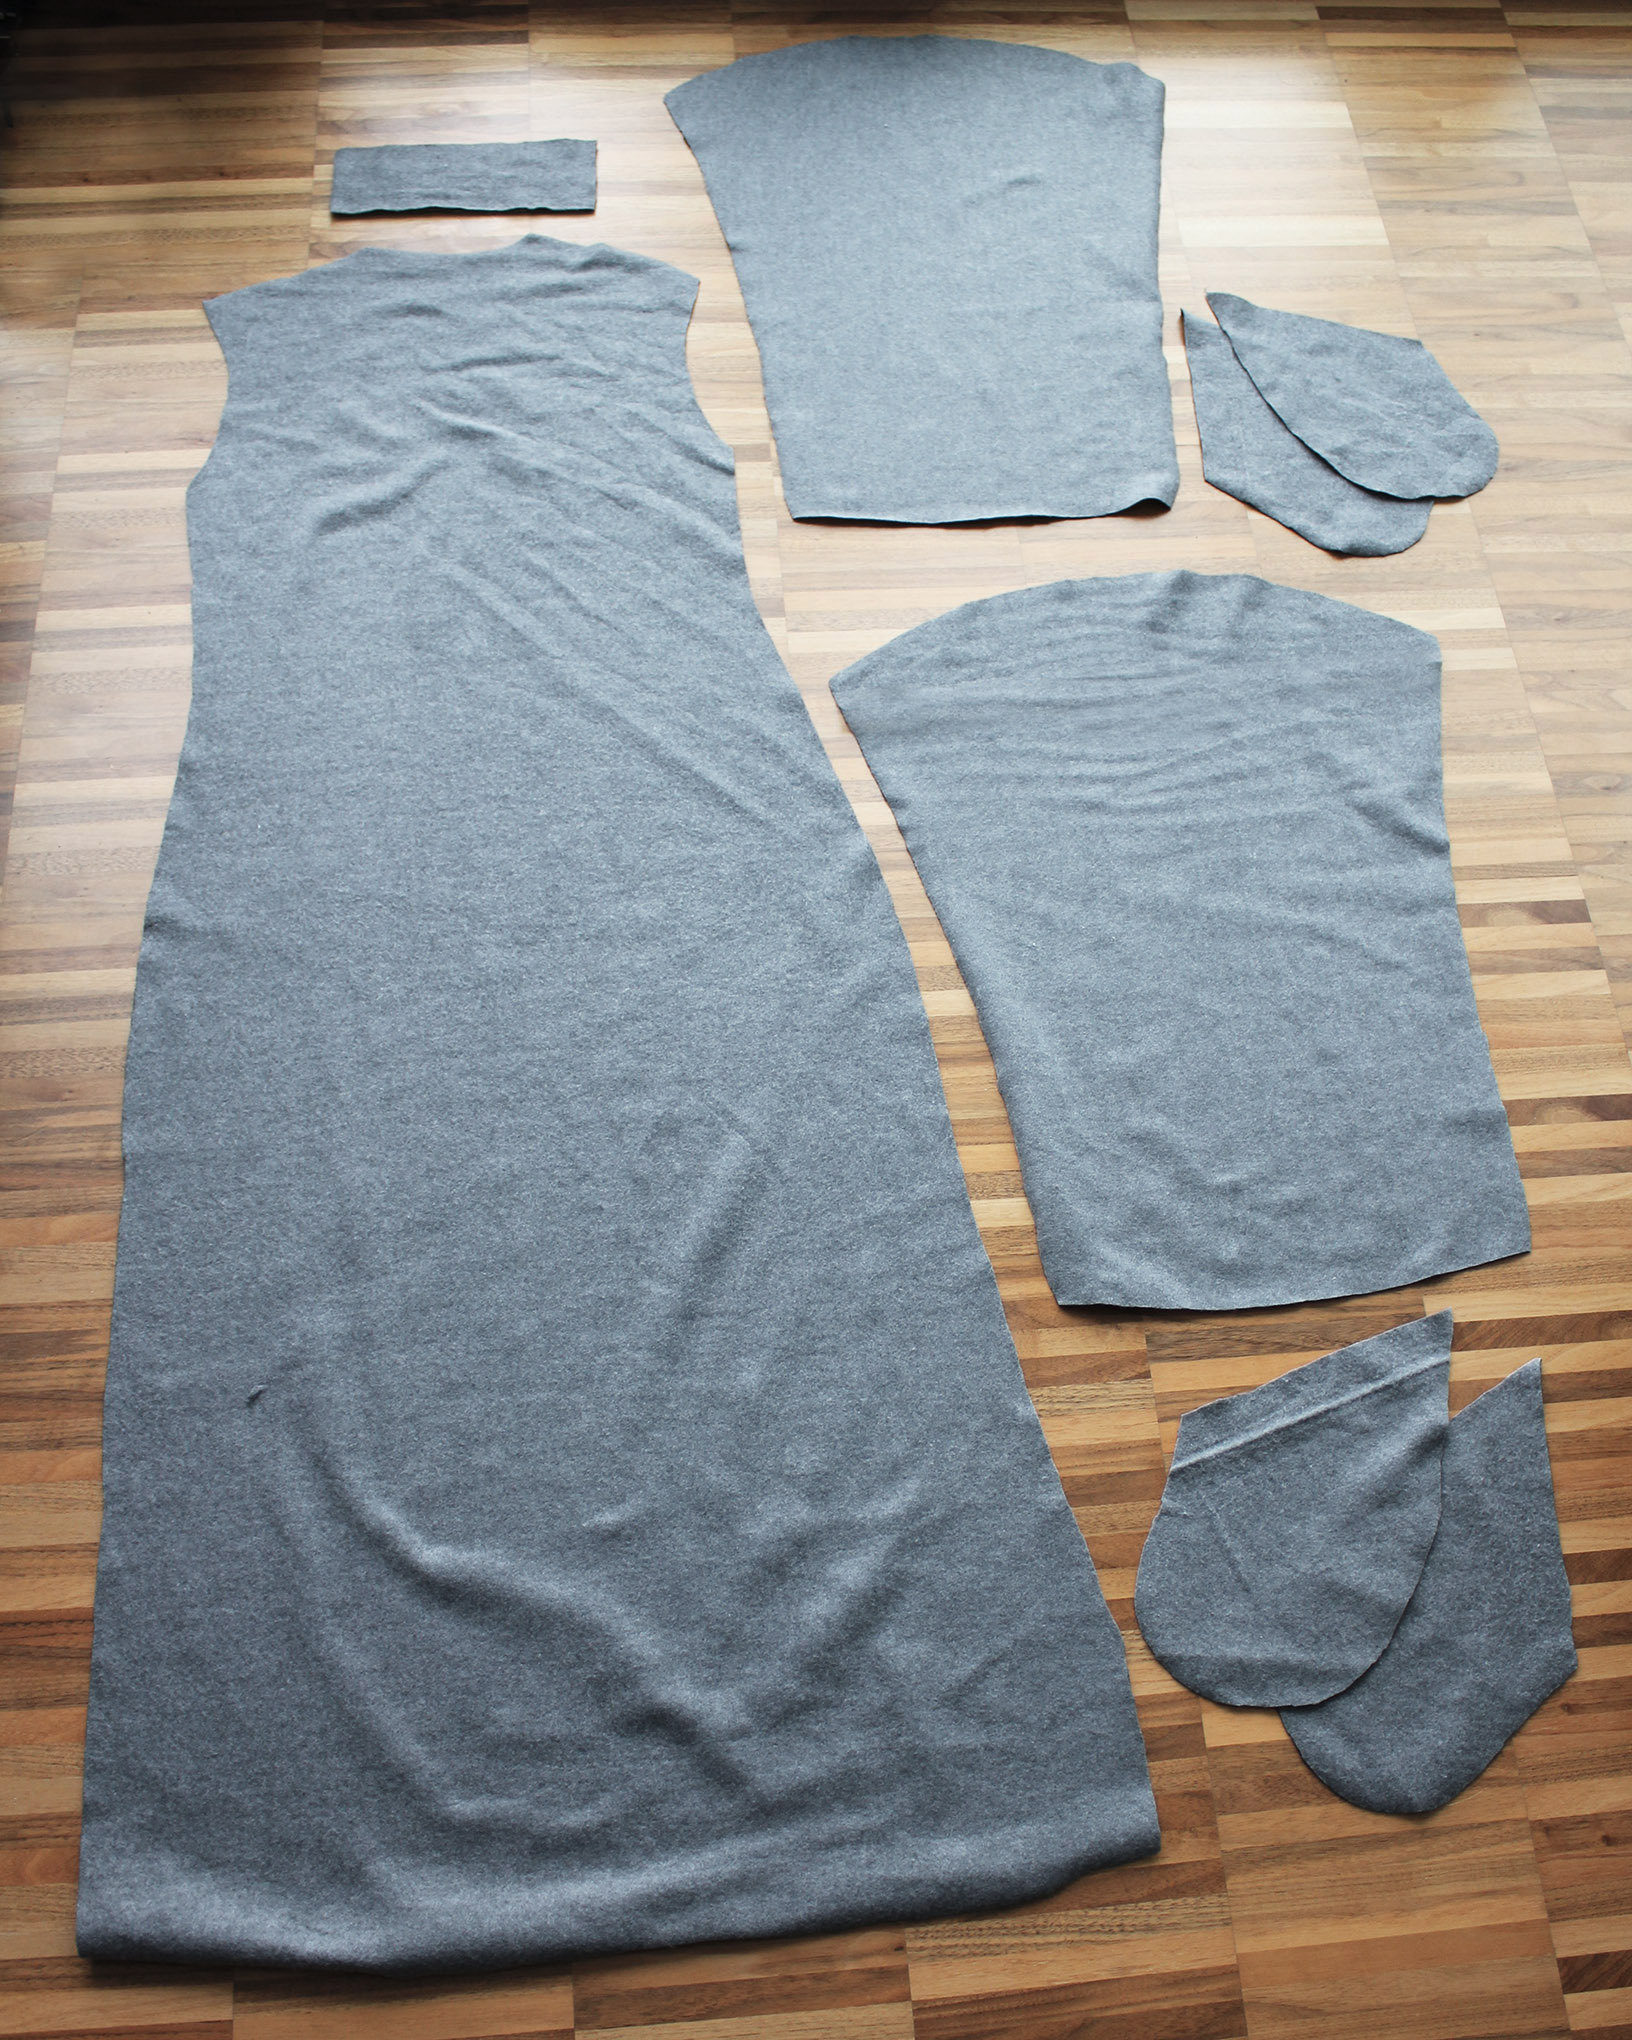
I. Trace and cut out the pieces for the coat. Should look something like this for the front panels (the width of each front panel at the top should be your shoulder seam length + the desired width of the collar fold):

.. And like this for the back piece, sleeves, and pockets + a small extension piece for the back of the collar. The size of the extension piece should again be the width of the collar fold you want. You need these pieces x2, if you are making the coat like I did - double layers. You could also use a lining fabric for the second set of pieces, I wanted the full coat to be out of the same grey fabric, including the inside.
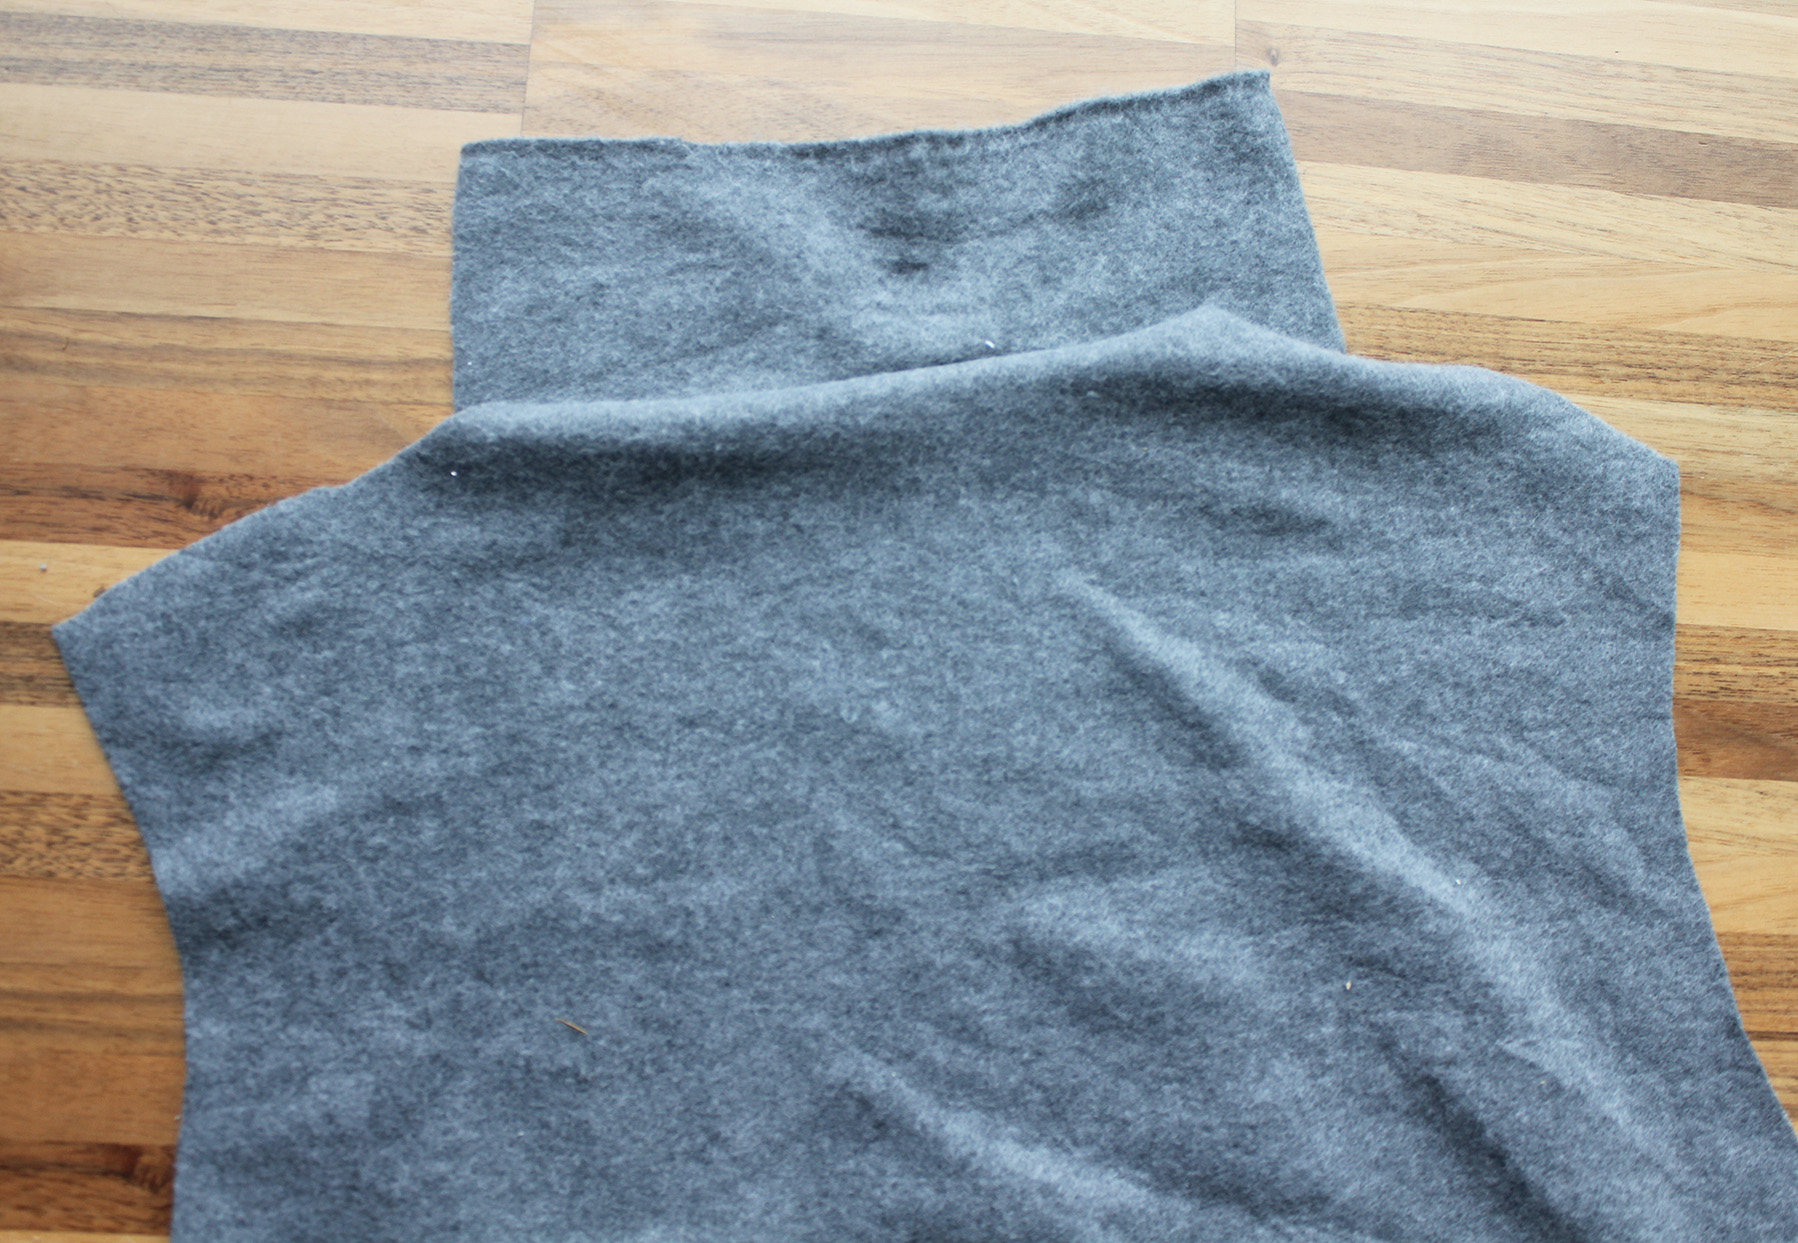
II. Pin and sew the extension piece to the neckline of the back piece, repeat for second back piece.
III. Pin the pockets to the sides of the front panels and the back piece as shown below. Make sure all pockets are at equal length down from the arm hole spot.
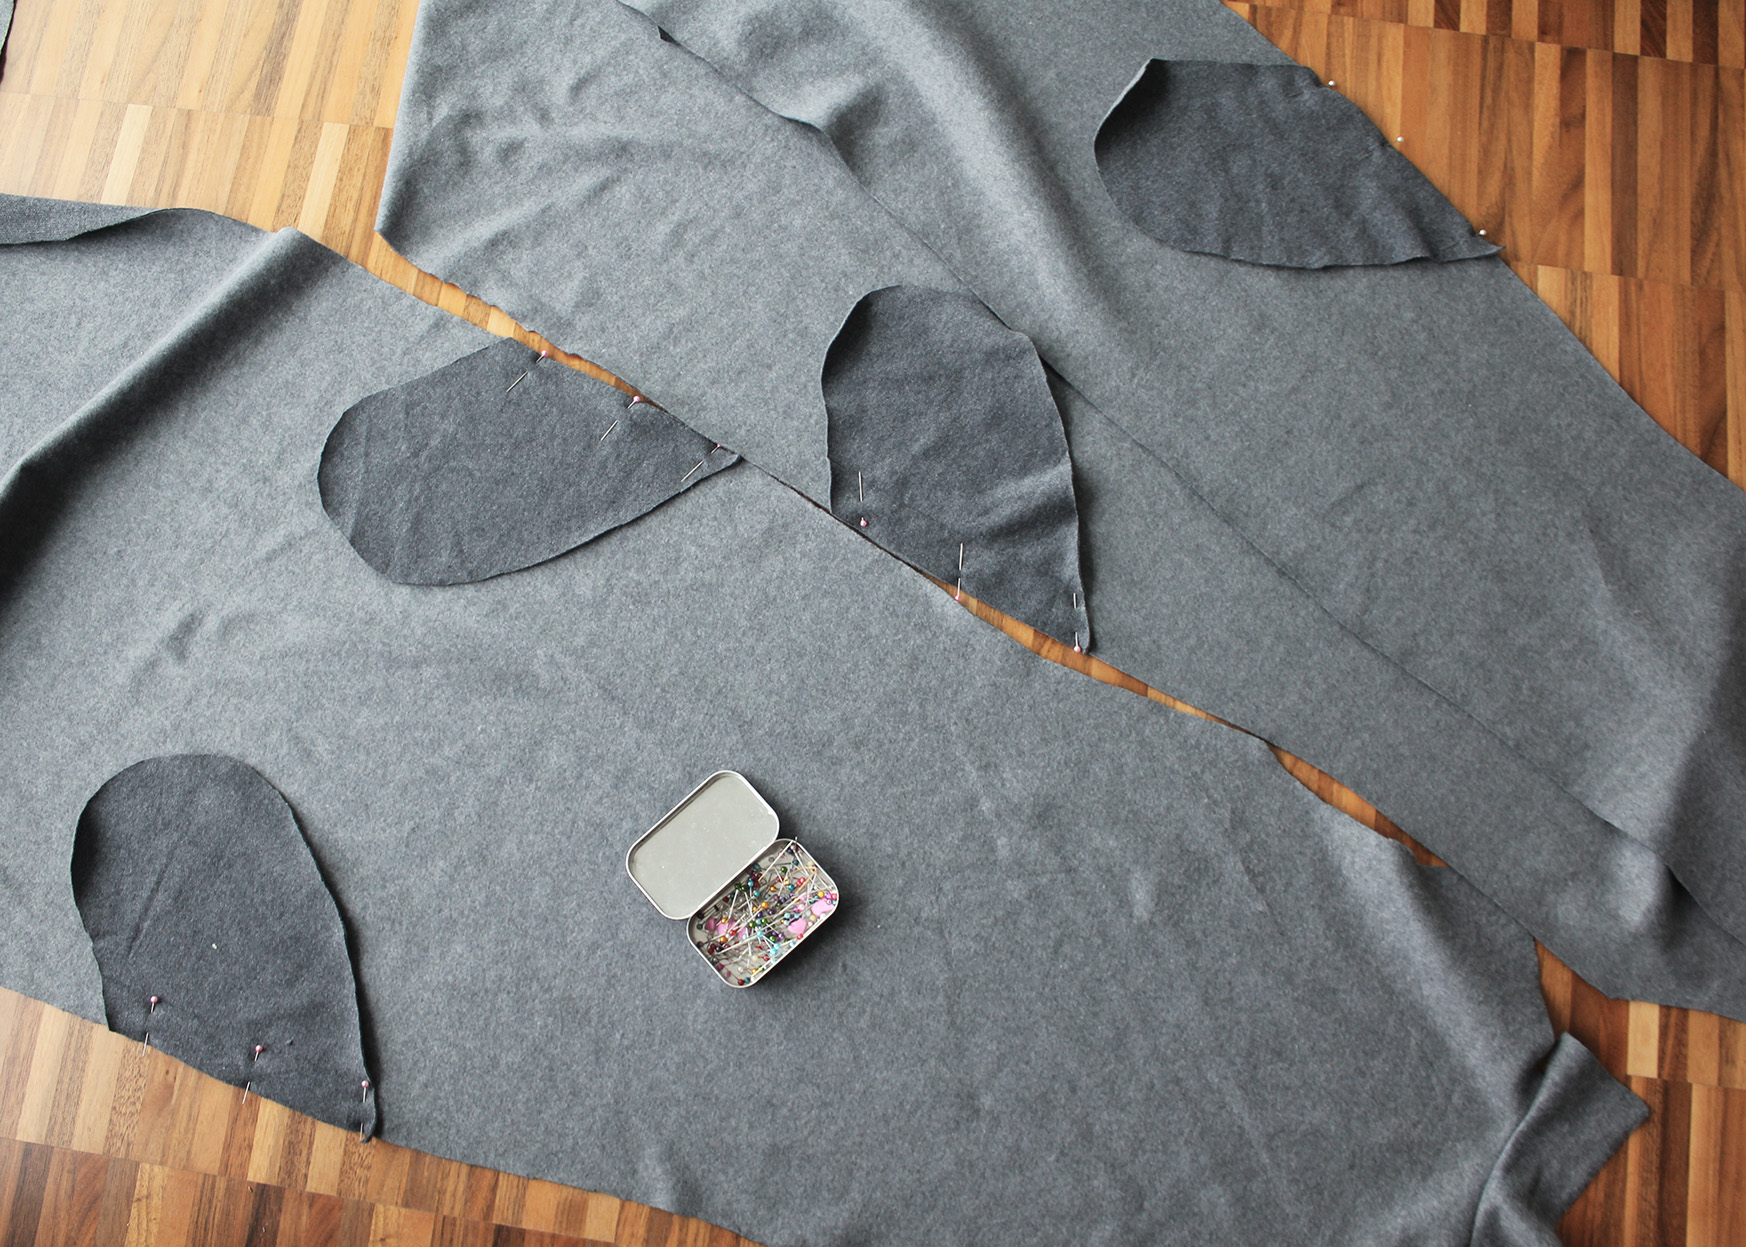
... Place the side seams of the front panels and the back piece of the coat together, and pin the pockets to each other, right sides facing. Sew along the edges. Then sew the side seams, making sure you stop at the start of the pocket and continue again after.
.. You should then have the side seams ready, with pockets.
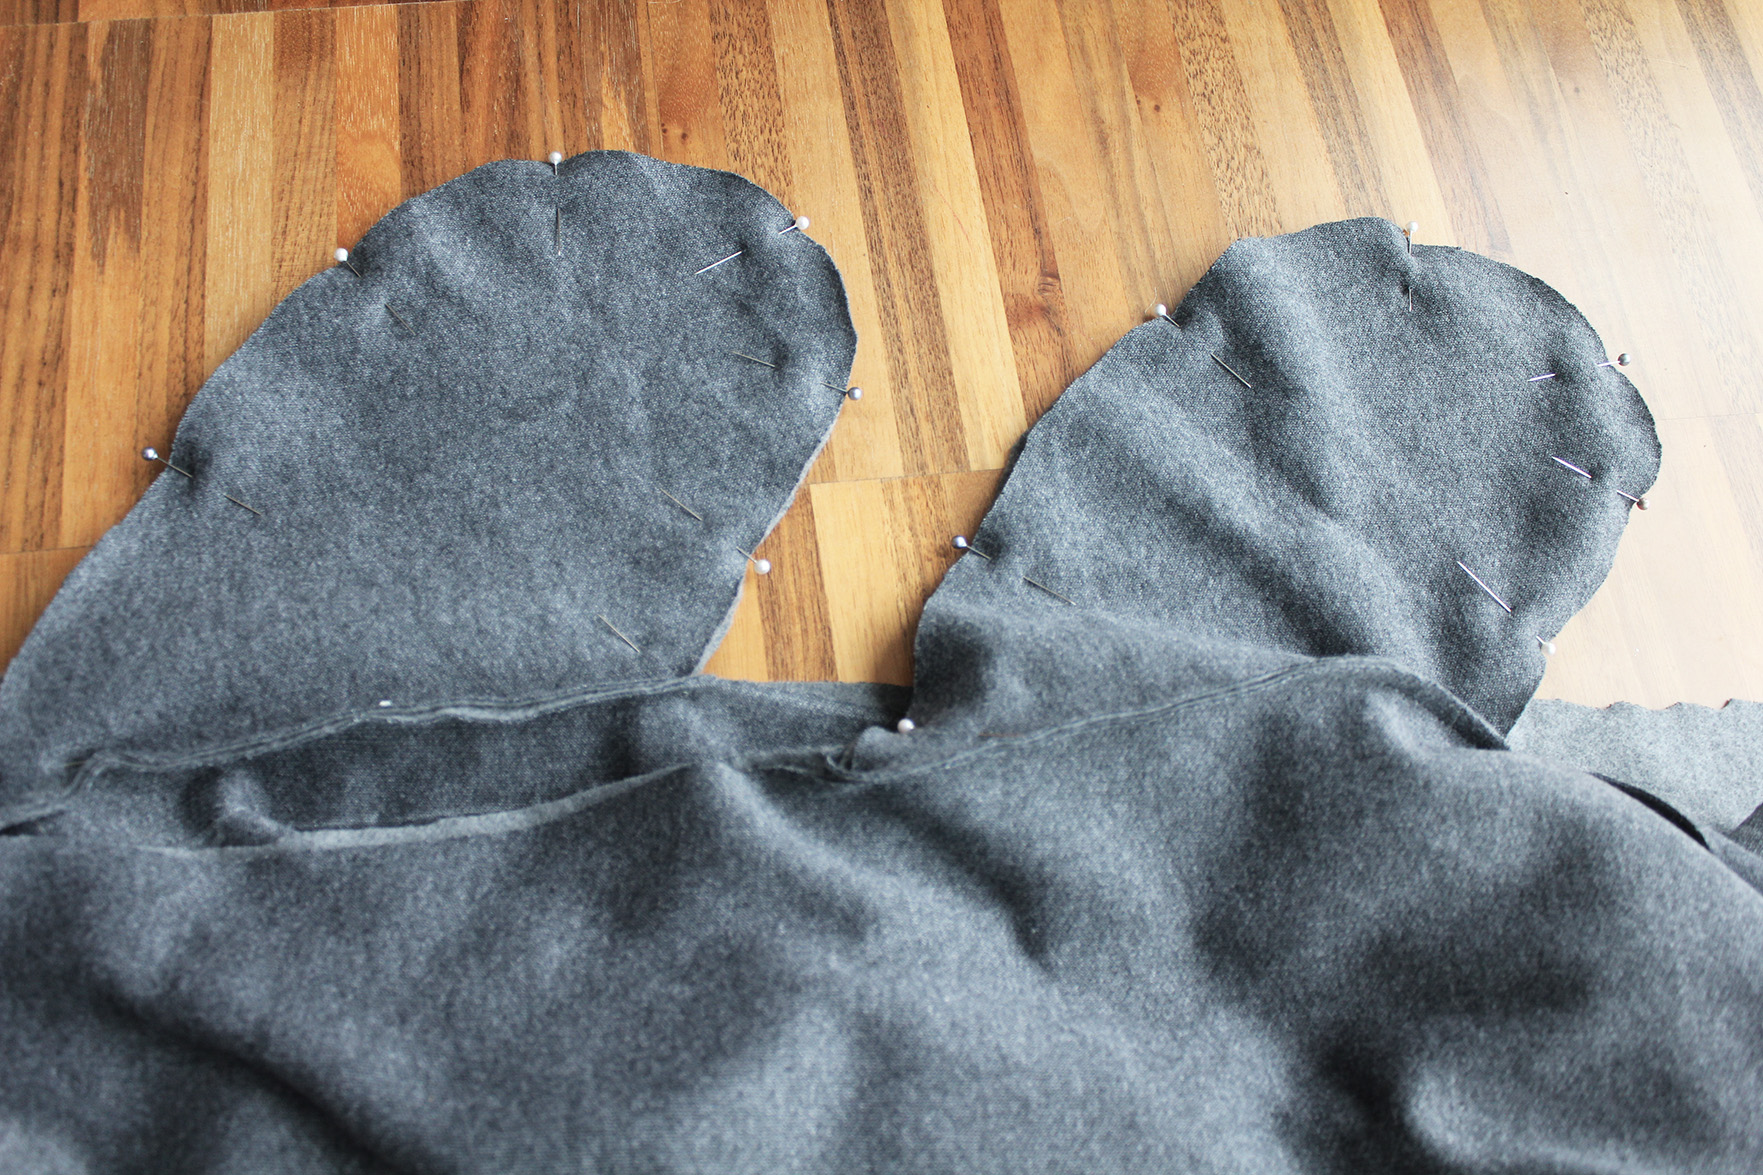
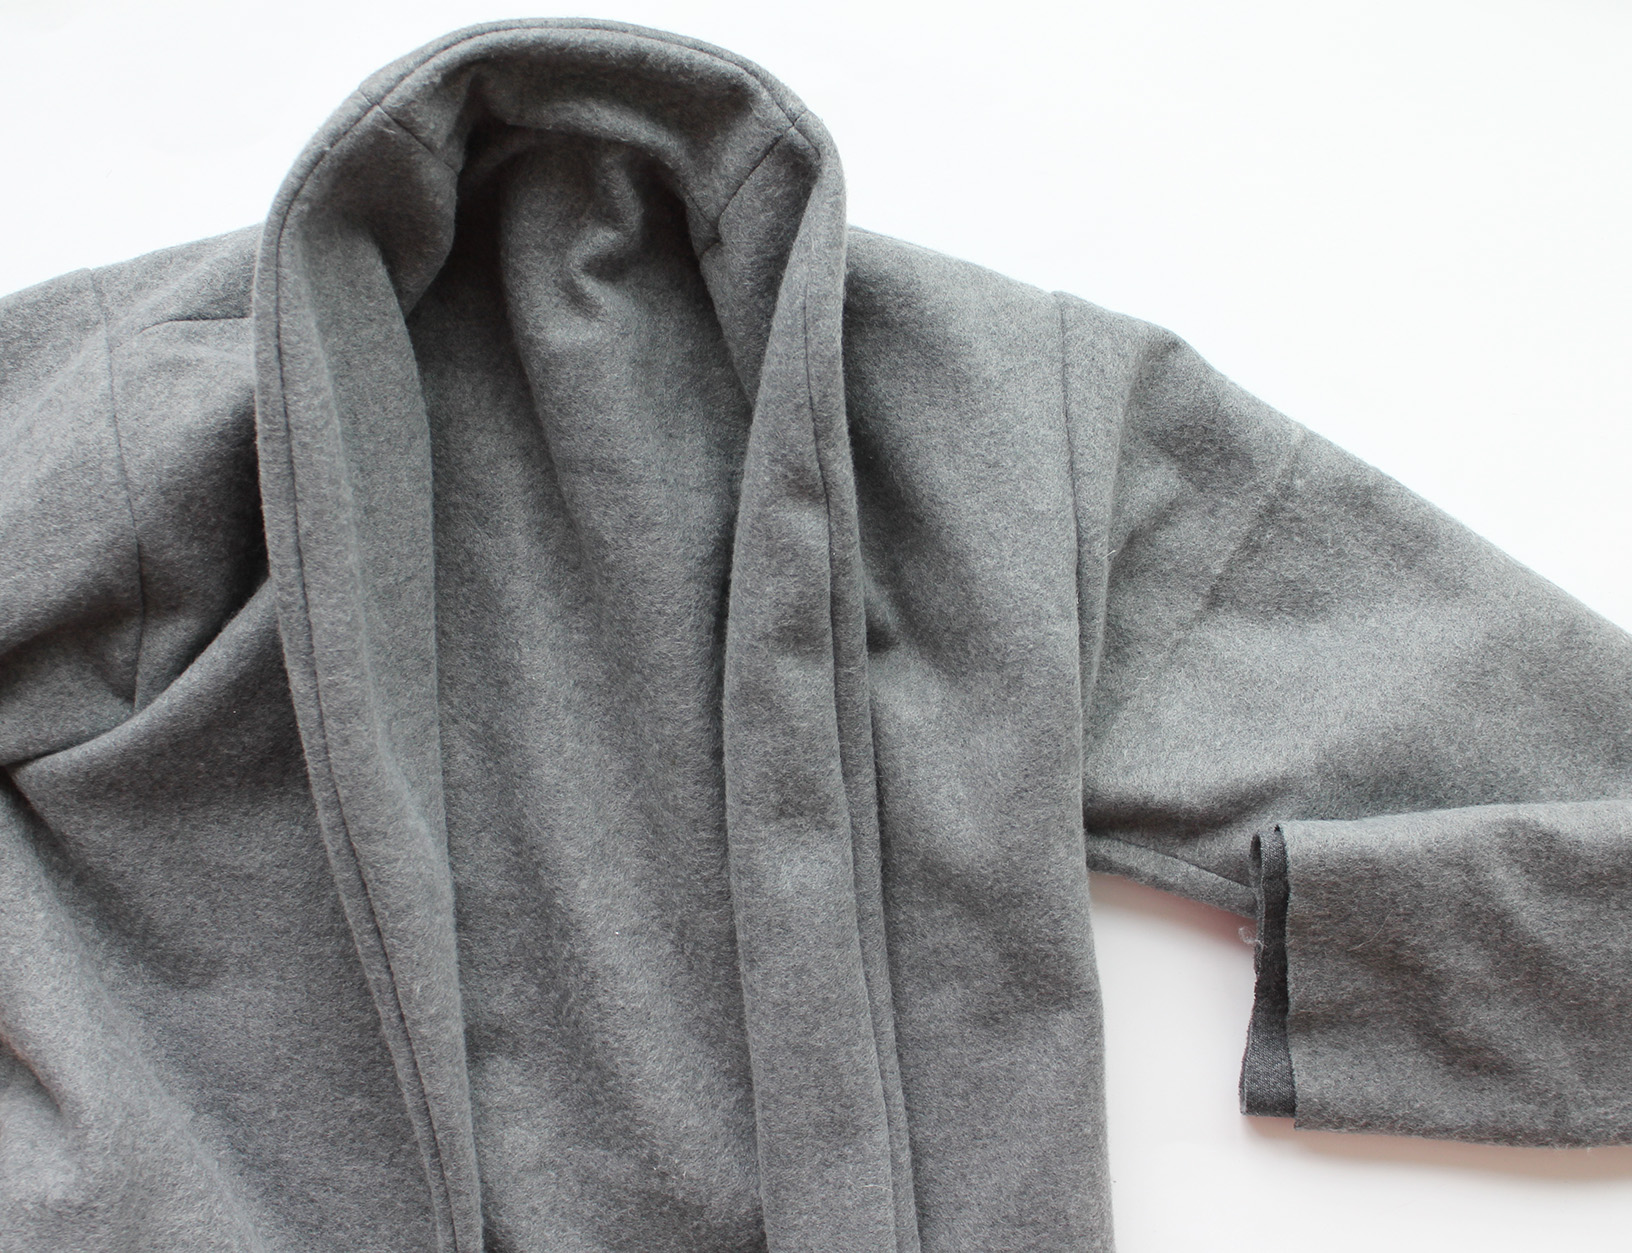
IV. Pin the shoulder seams together, right sides facing, and continue up as shown to complete the collar.
V. Pin the sleeve into its place, sew along the armhole edges, and finish by sewing the under seam of the sleeve.
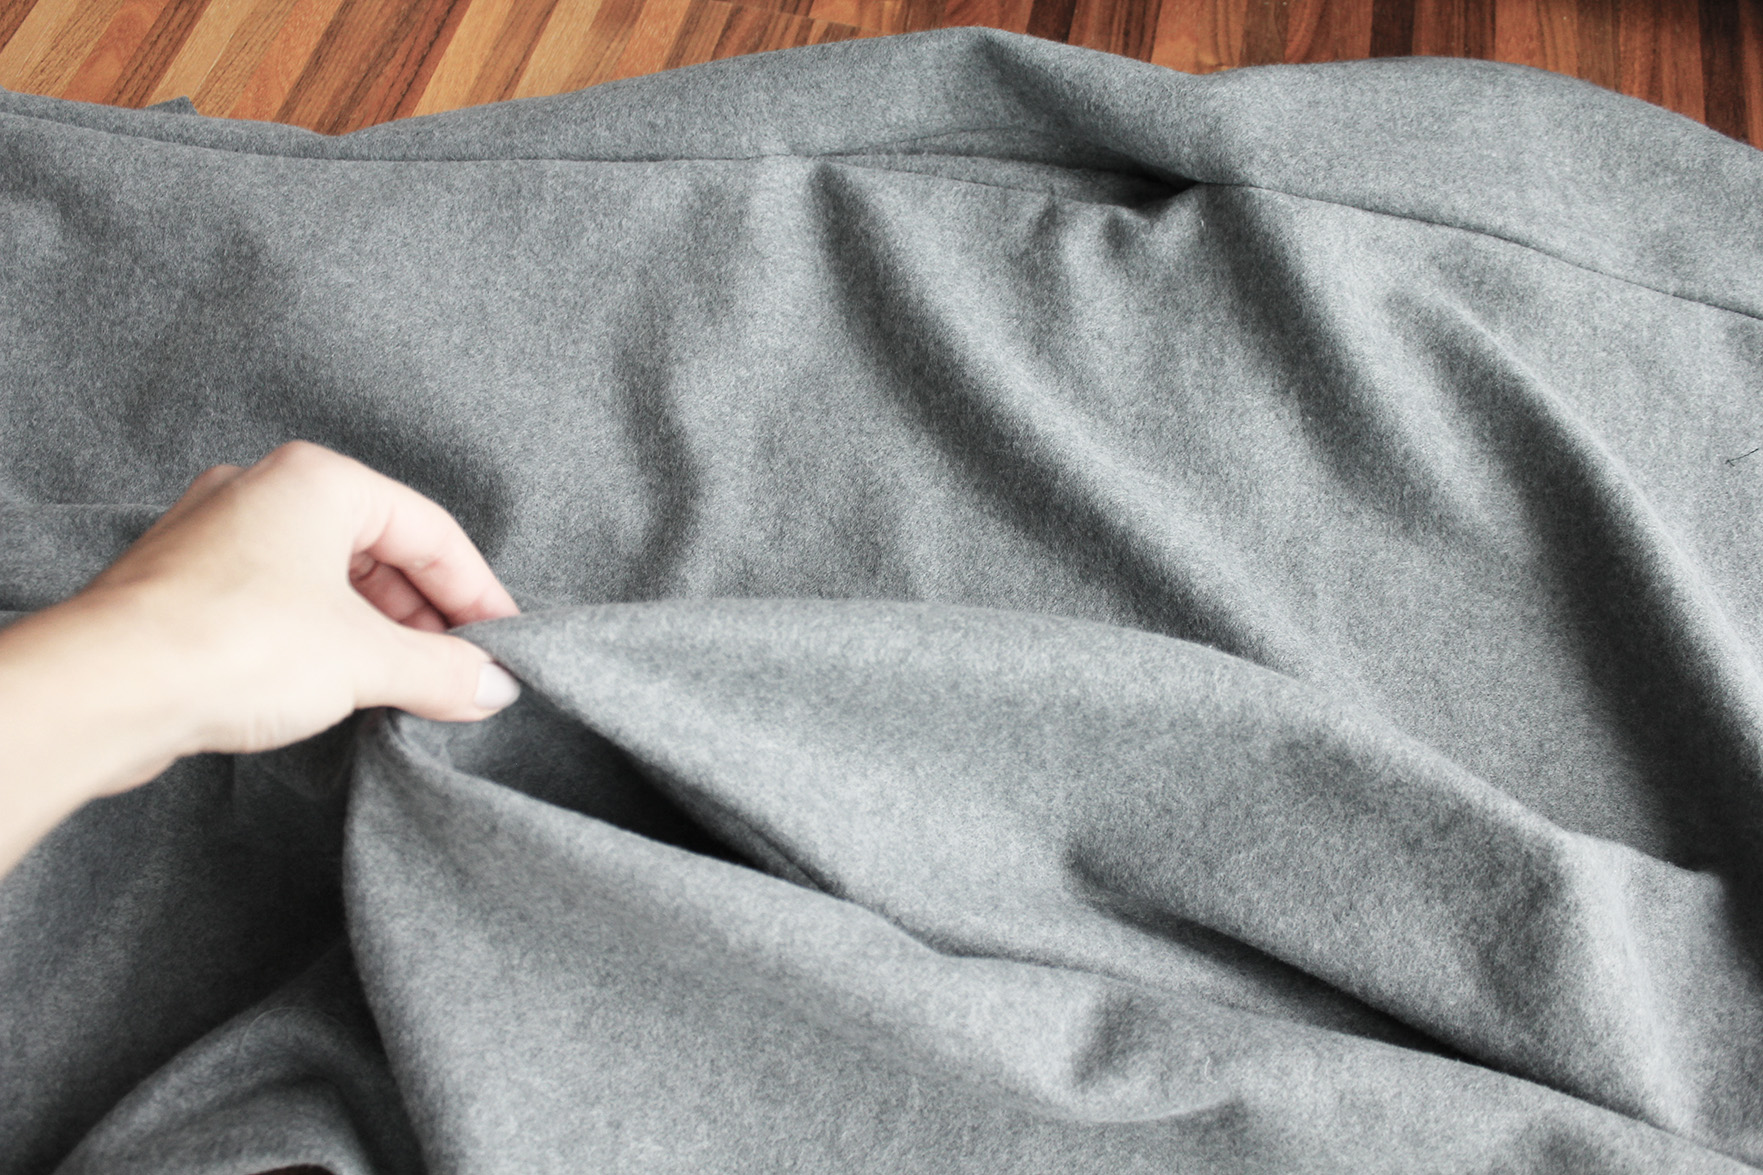
VI. At this point you'll have half the coat done. Next up is repeating the process, except no pockets required this time. You will have two coats, the outer piece and the one that will be the lining.
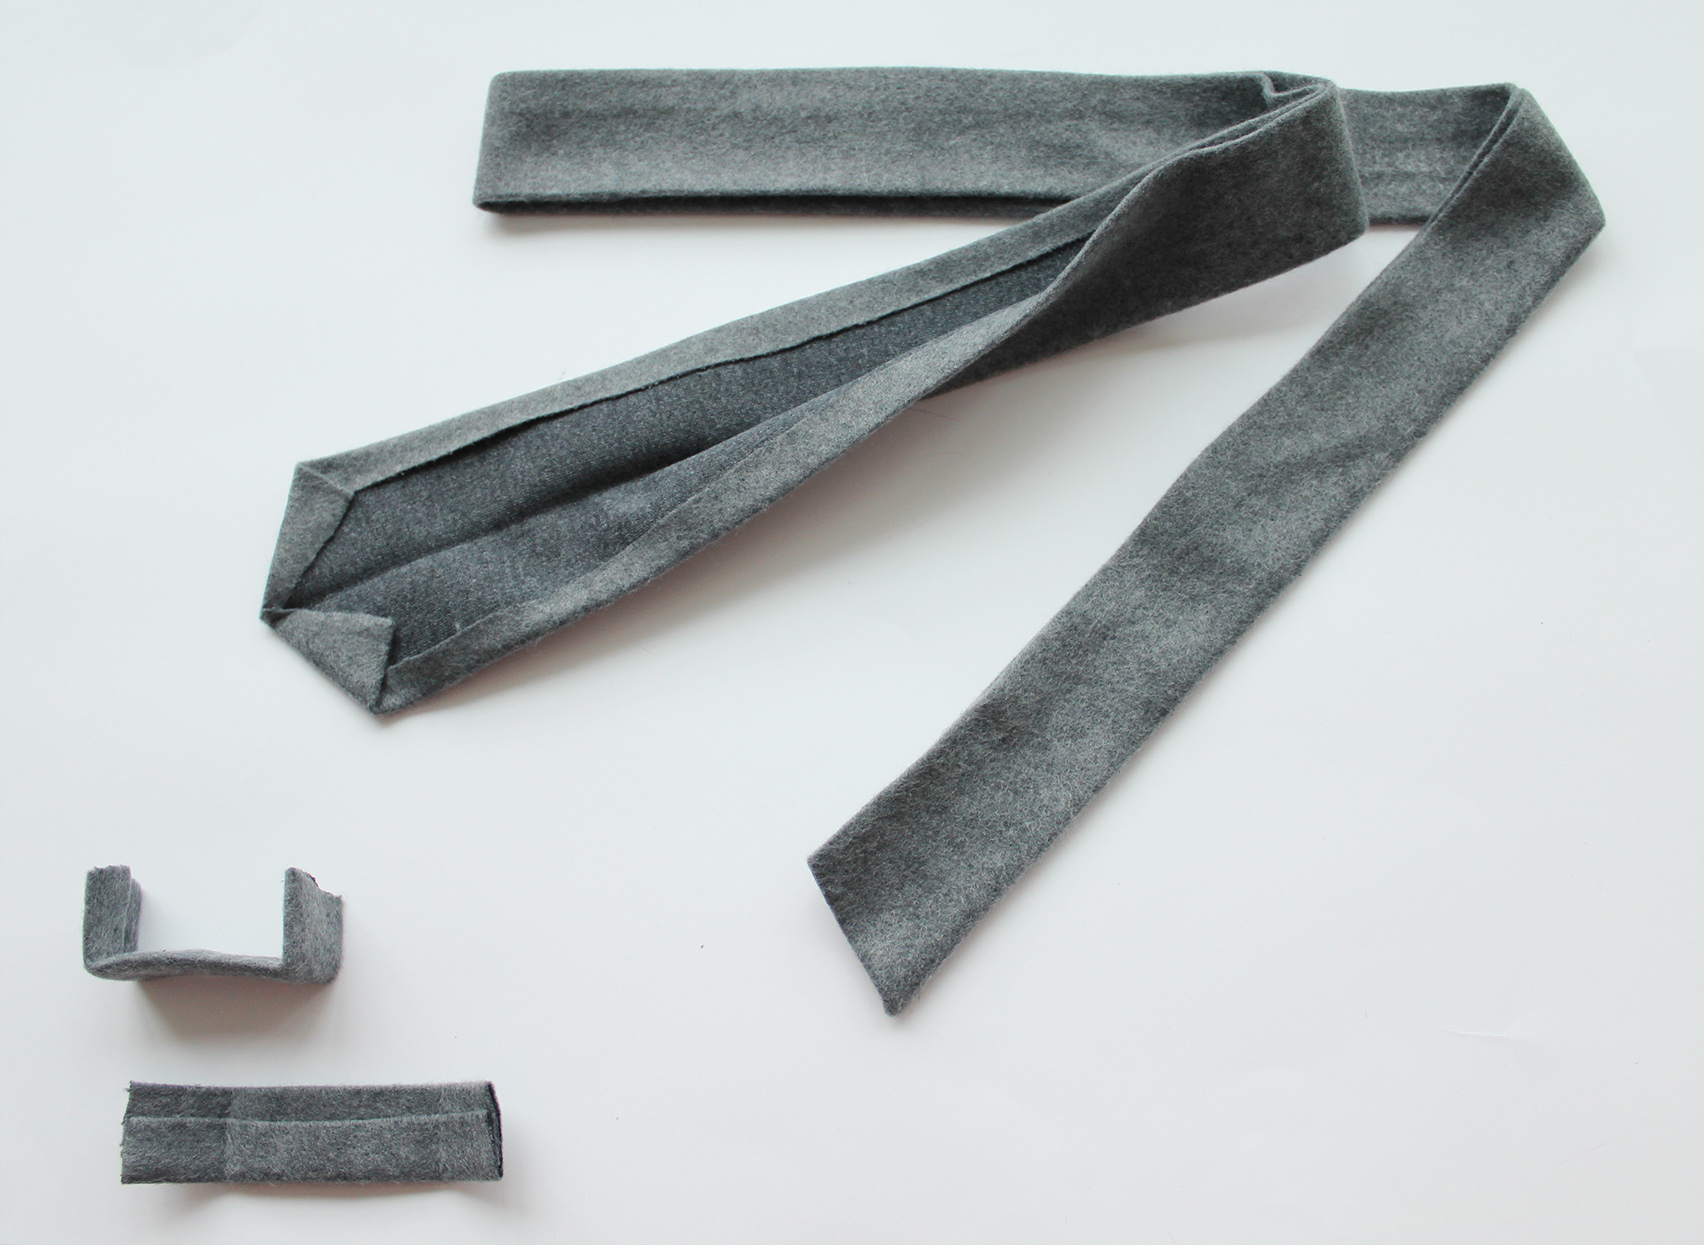
VII. Make the belt and two belt loops. No sewing required if you use iron-on hemming tape to attach the sides to each other.
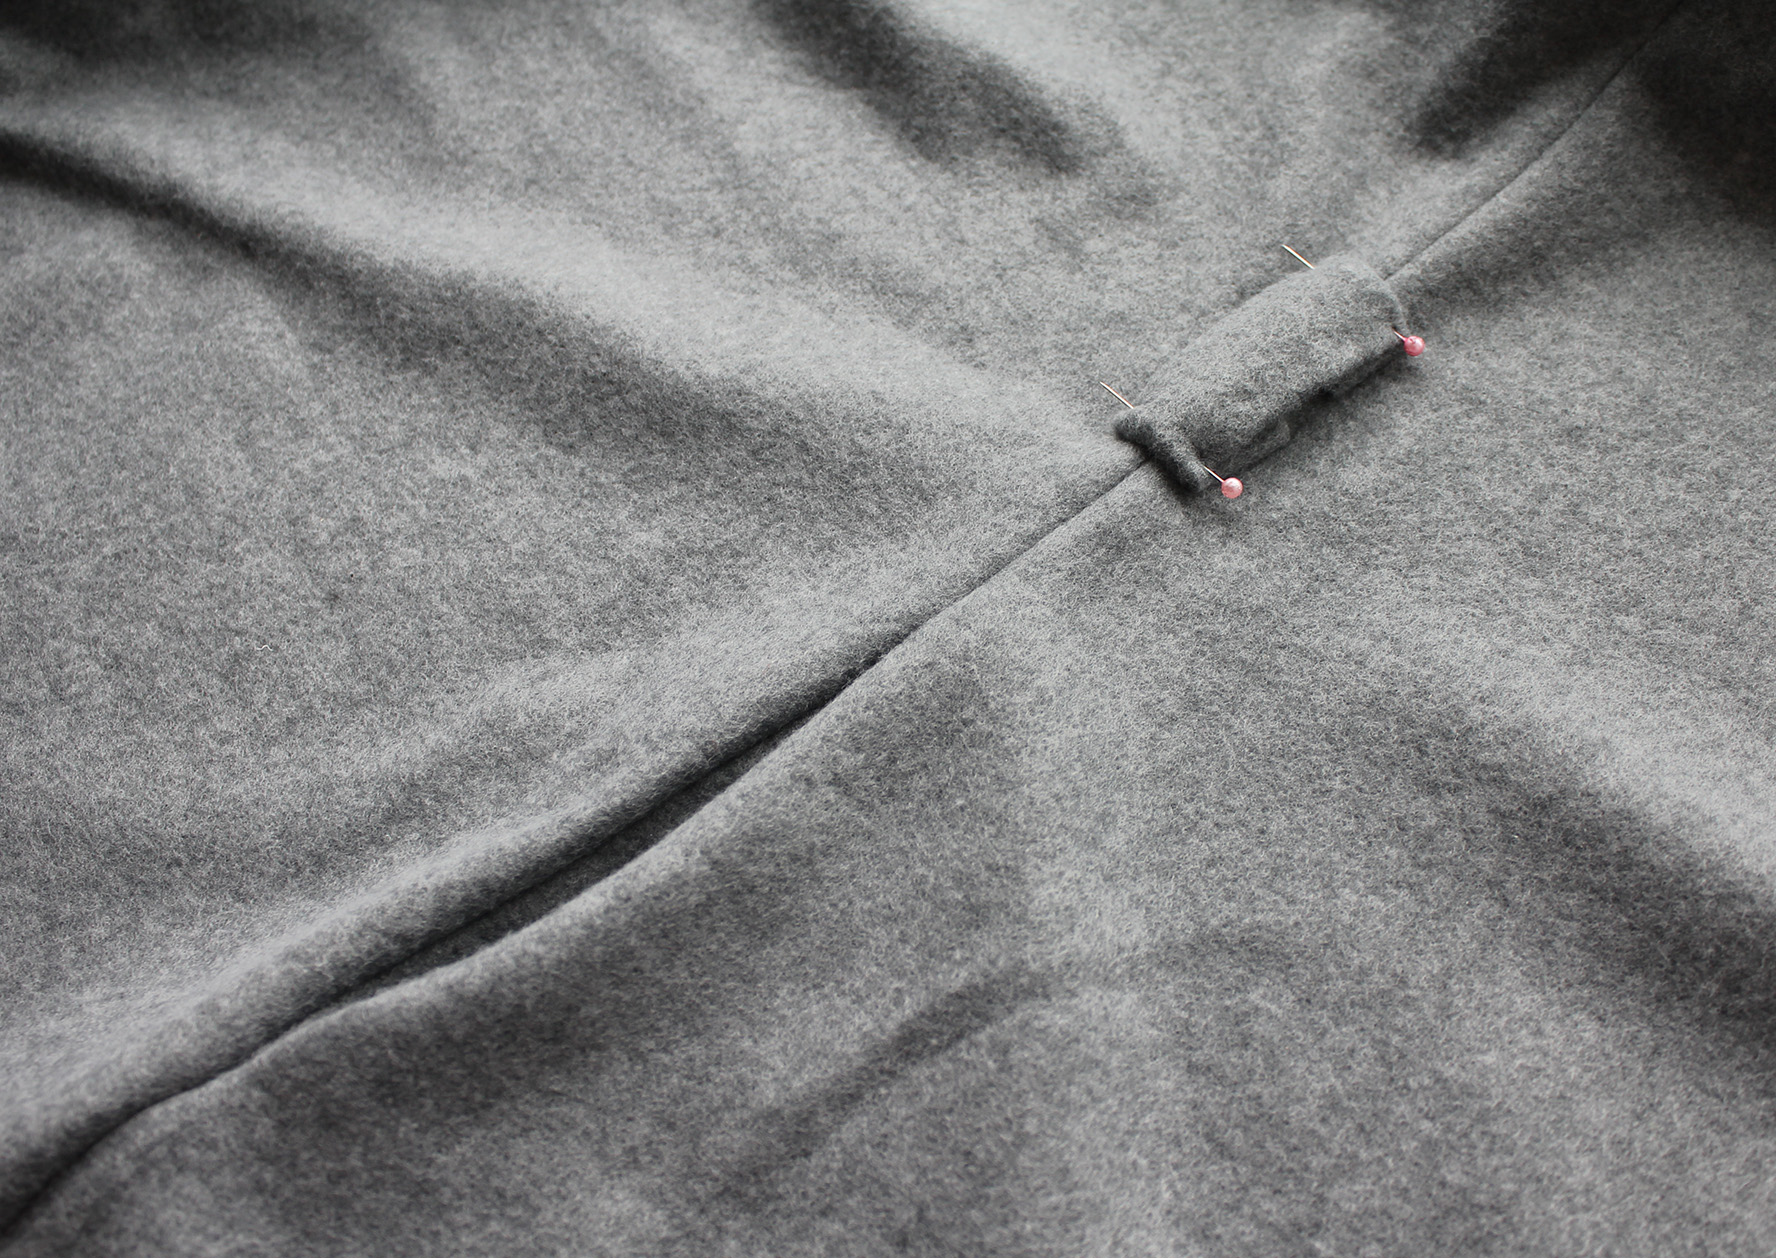
.. Pin the belt loops to the coat side seams, at equal heights, and sew in place.

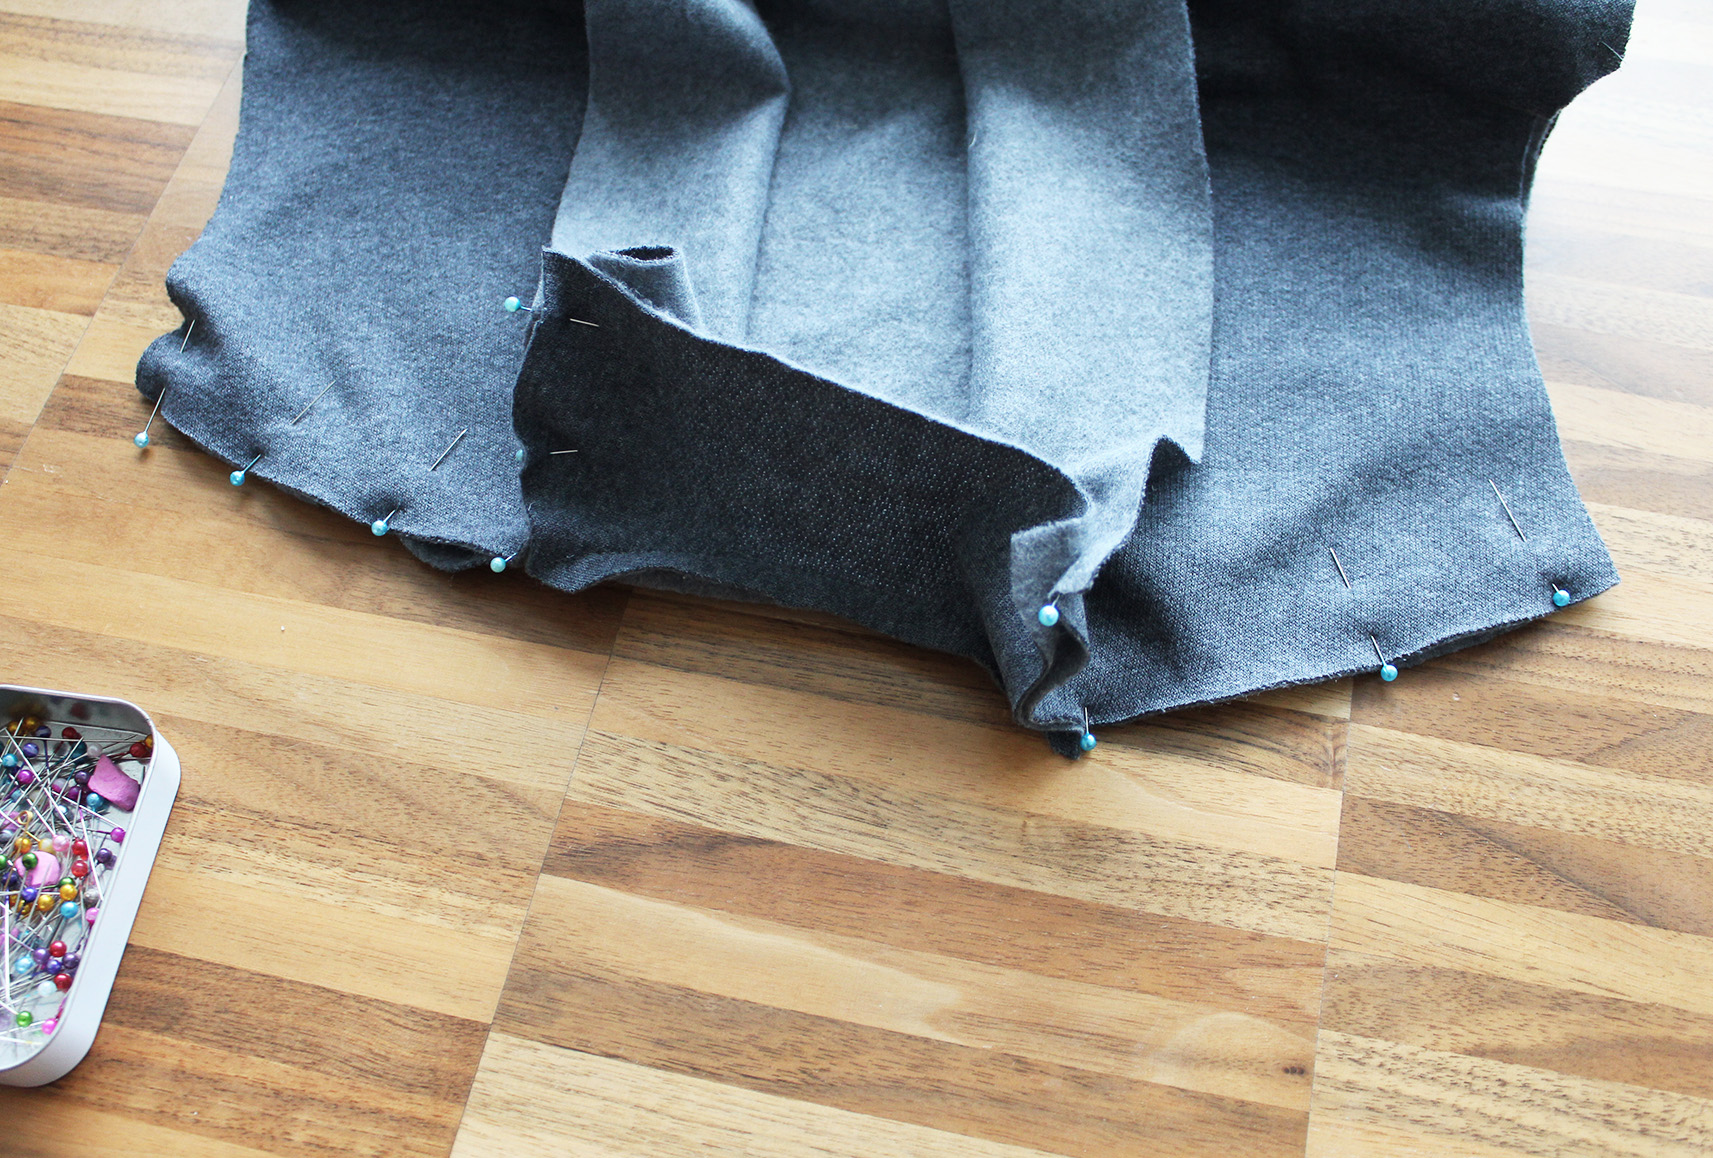
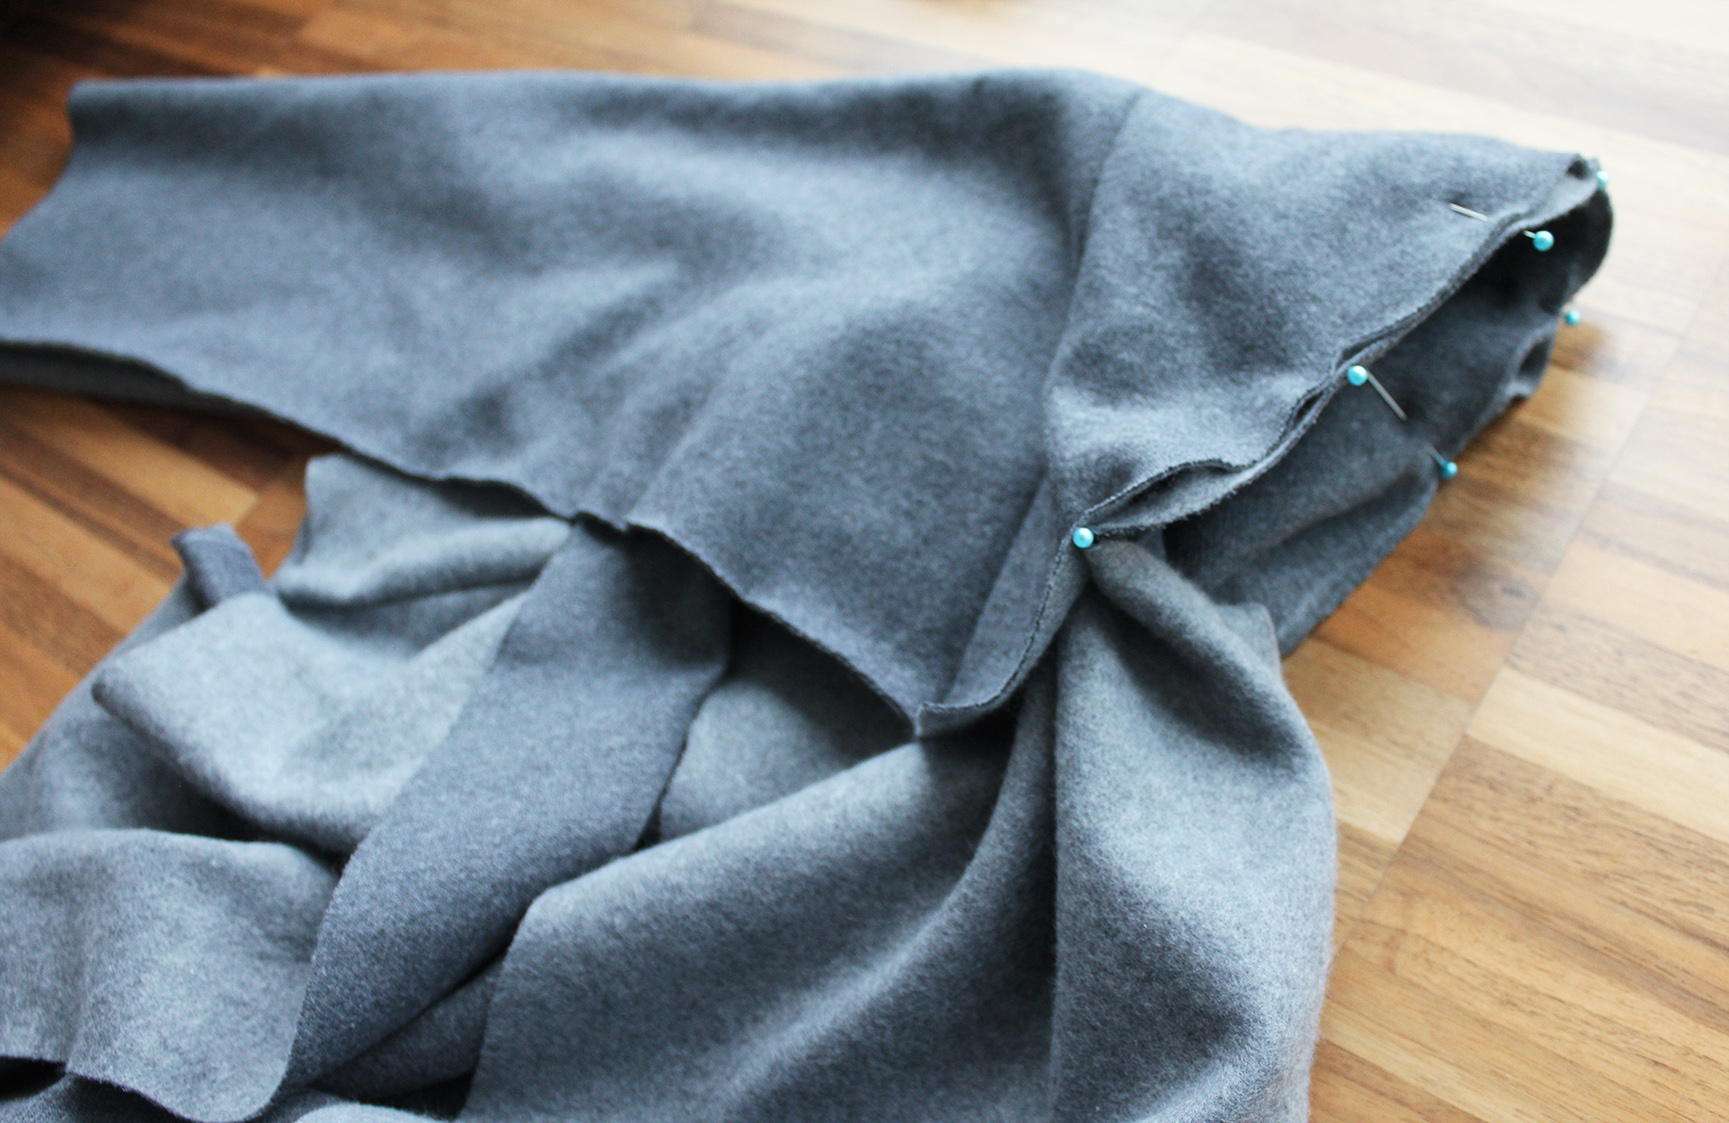
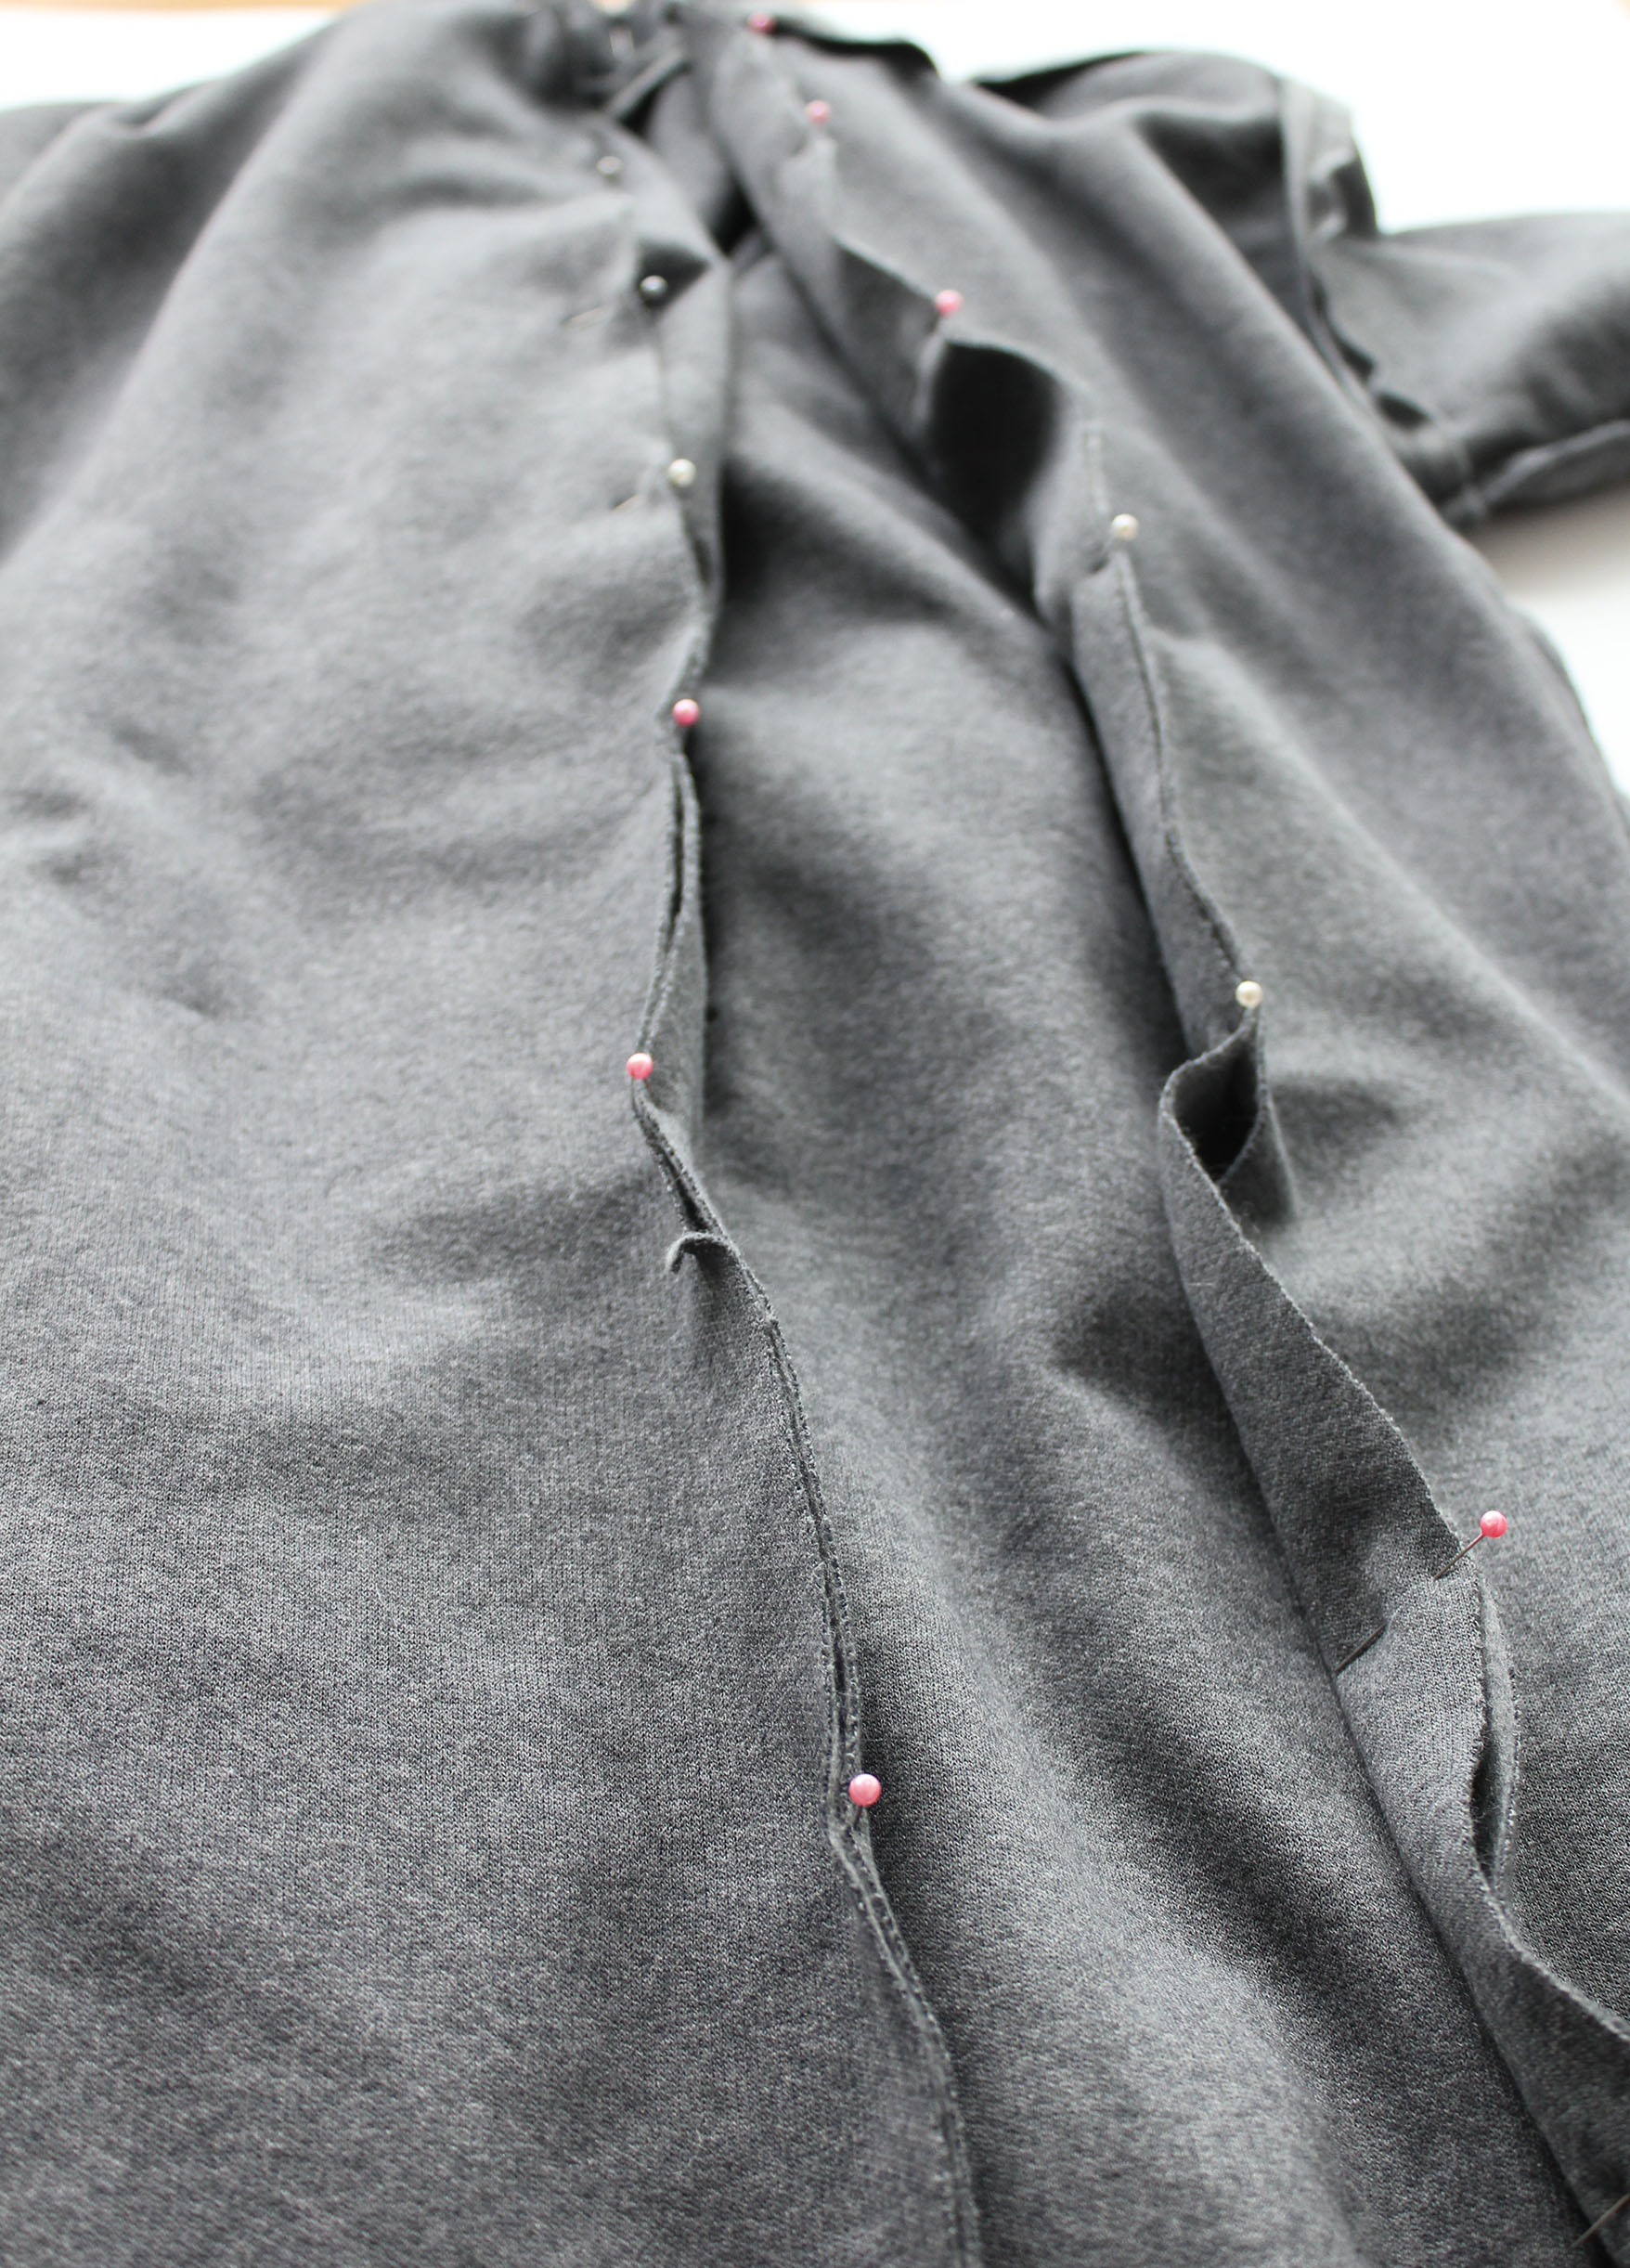
VIII. Place the edges of the front panels together, right sides facing. Pin together and sew all the way about 0.5-0.7 cm from the edge.
IX. You'll then have this. Iron the seam to finish the front of the coat.
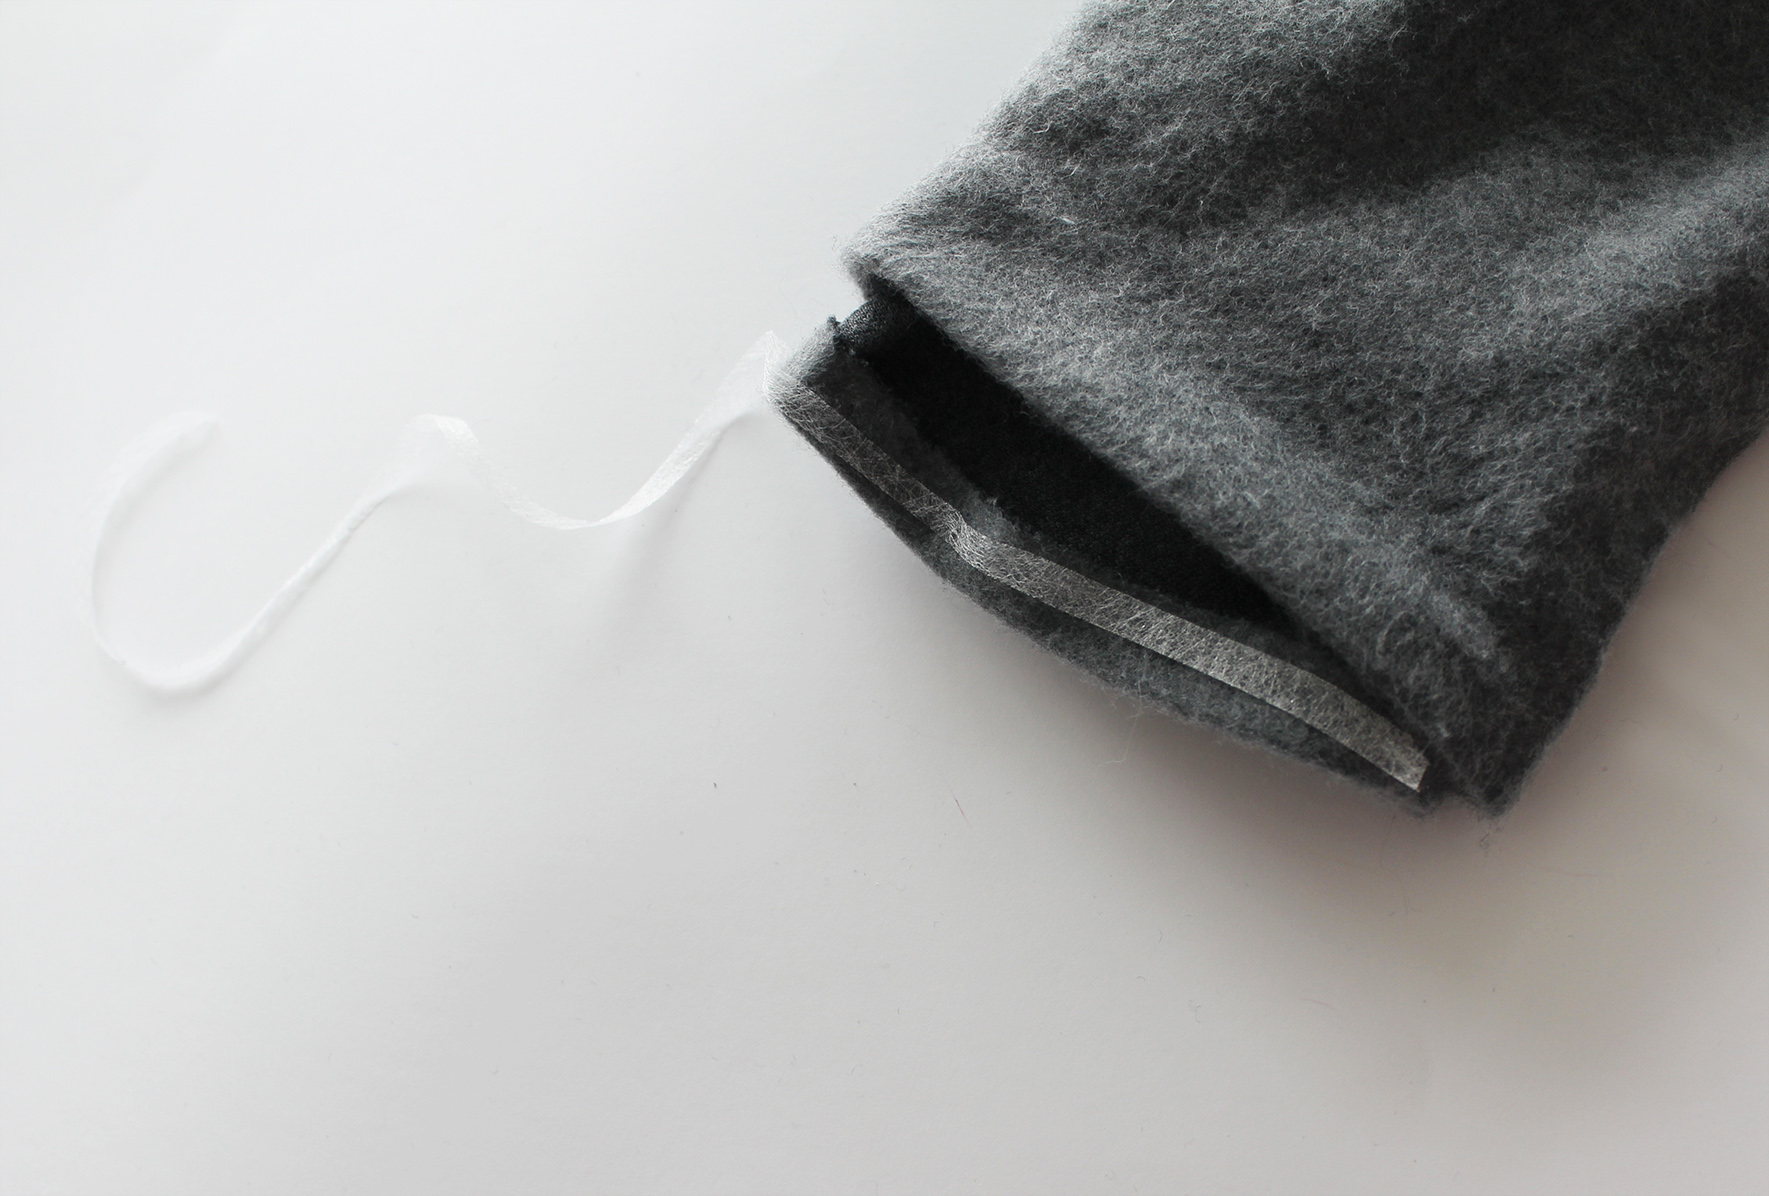
X. Finish the sleeves; iron a fold on both layers, and attach with a thin strip of iron-on tape in between, press.

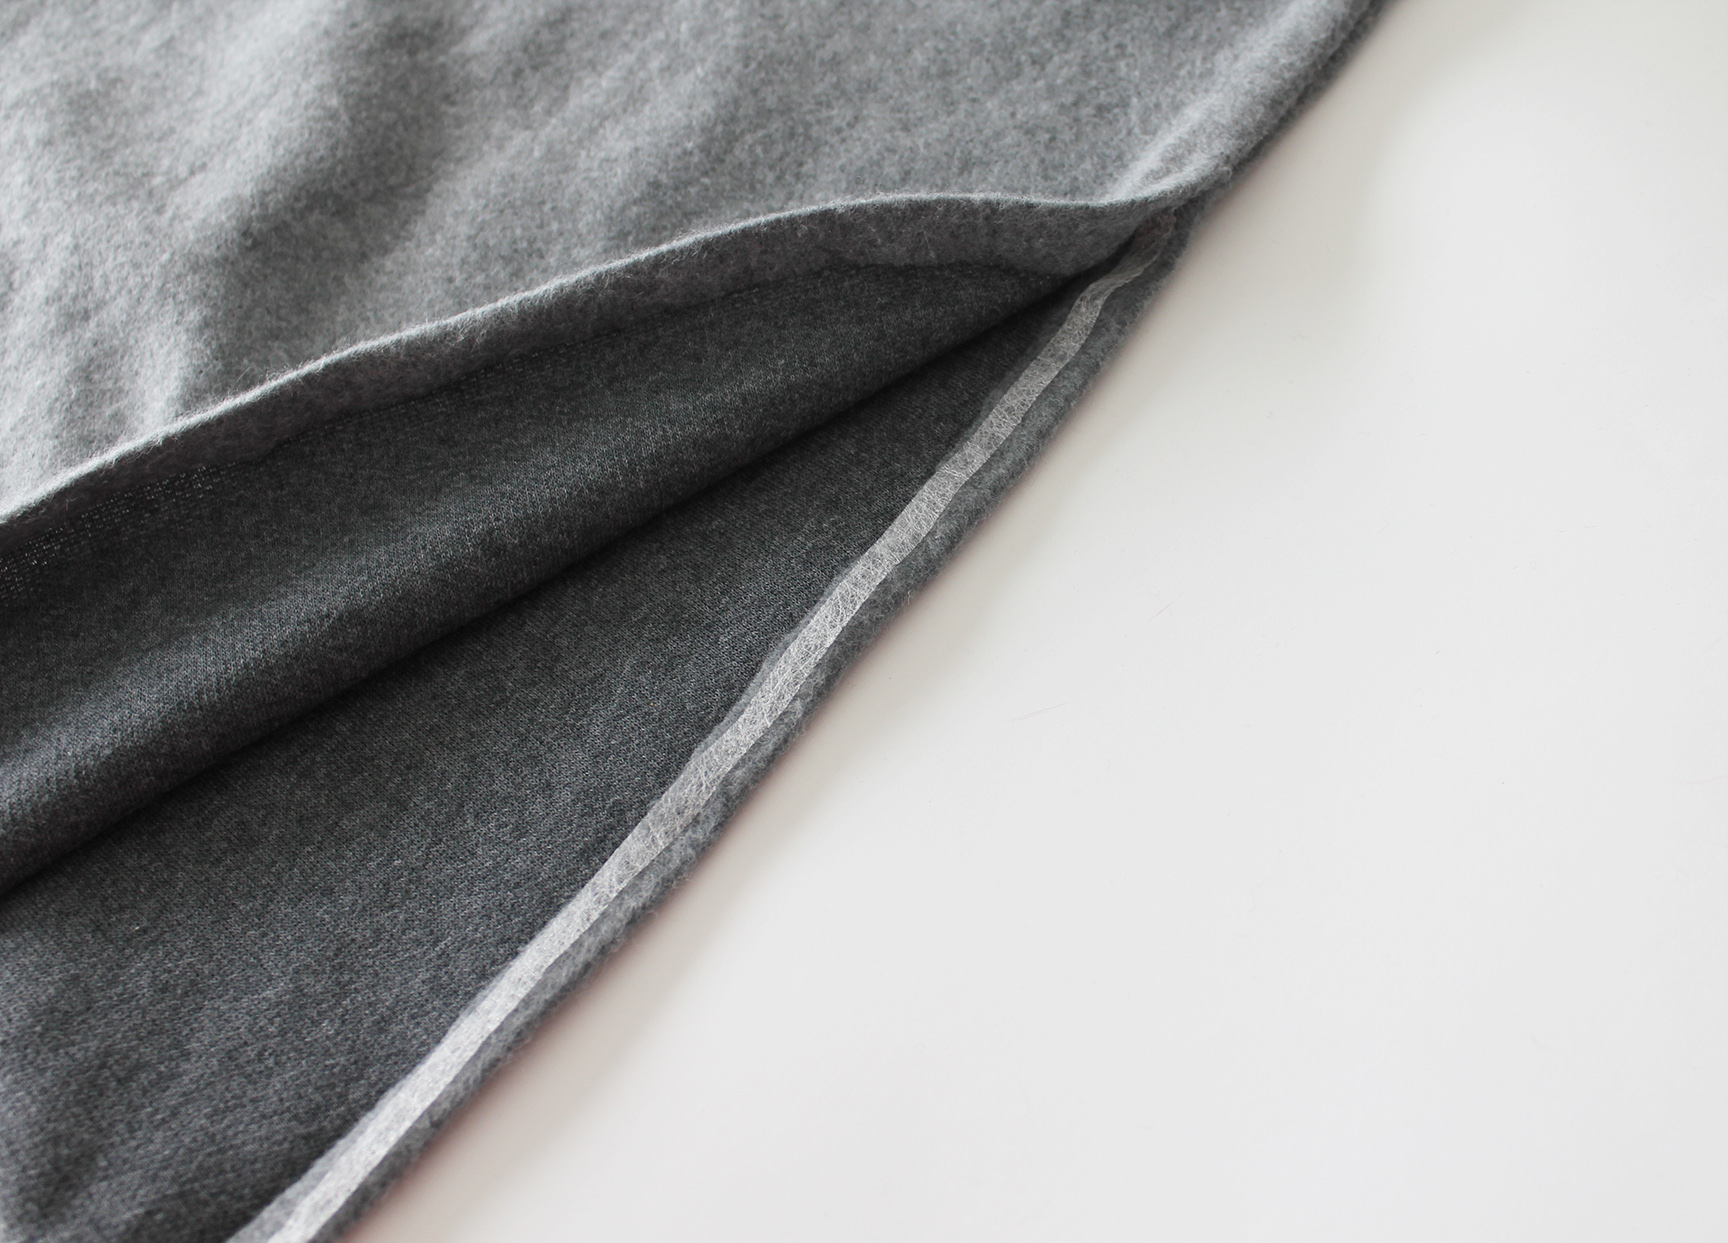
XI. Final step is to finish the hem of the coat in the same way.
Iron/steam the whole piece, and good to go.
xo,
Julia


0 comments:
Post a Comment
I would love to hear what you think and learn about your DIY adventures! If you use one of my tutorials, tag me on social @contour_affair, I'd love to see!