When I said I'm bad with moderation when I get a crush on something, that was a real thing. The express-method
culottes from slacks where just the start, these were the ones I really wanted to wear before they get stuffed away for spring. Luckily evidence from multiple sources (including
Tibi and
Jil Sander SS2015 runways) tells me culottes will be around for a while (probably will need something like
this.. Or
in leather?? Hello!!)
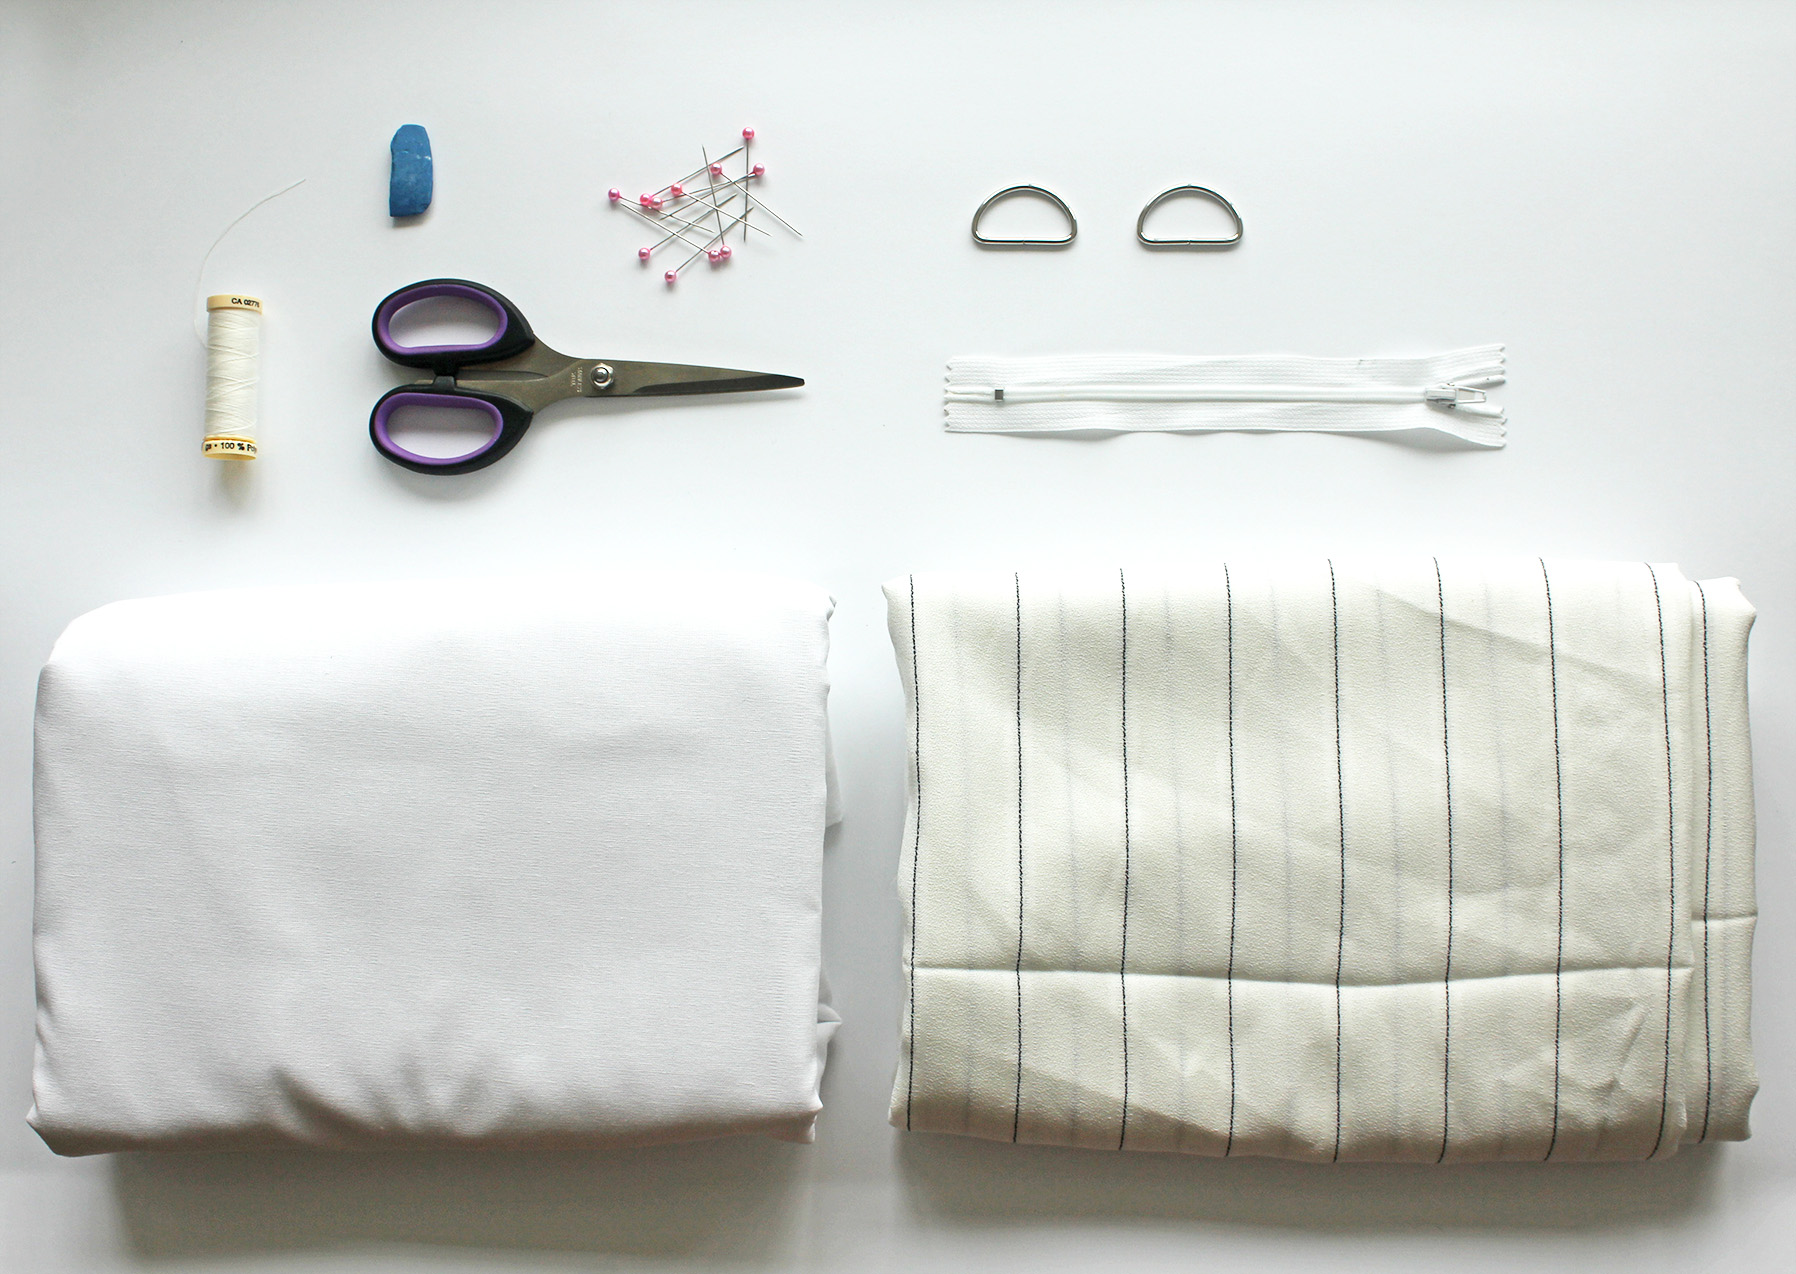
Fabric (I used about 1.5 m) + interfacing if you want more firmness | Scissors | Fabric marker | Pins | Sewing machine + thread | Regular zipper, 15 cm | Optional: 2 metal belt hoops
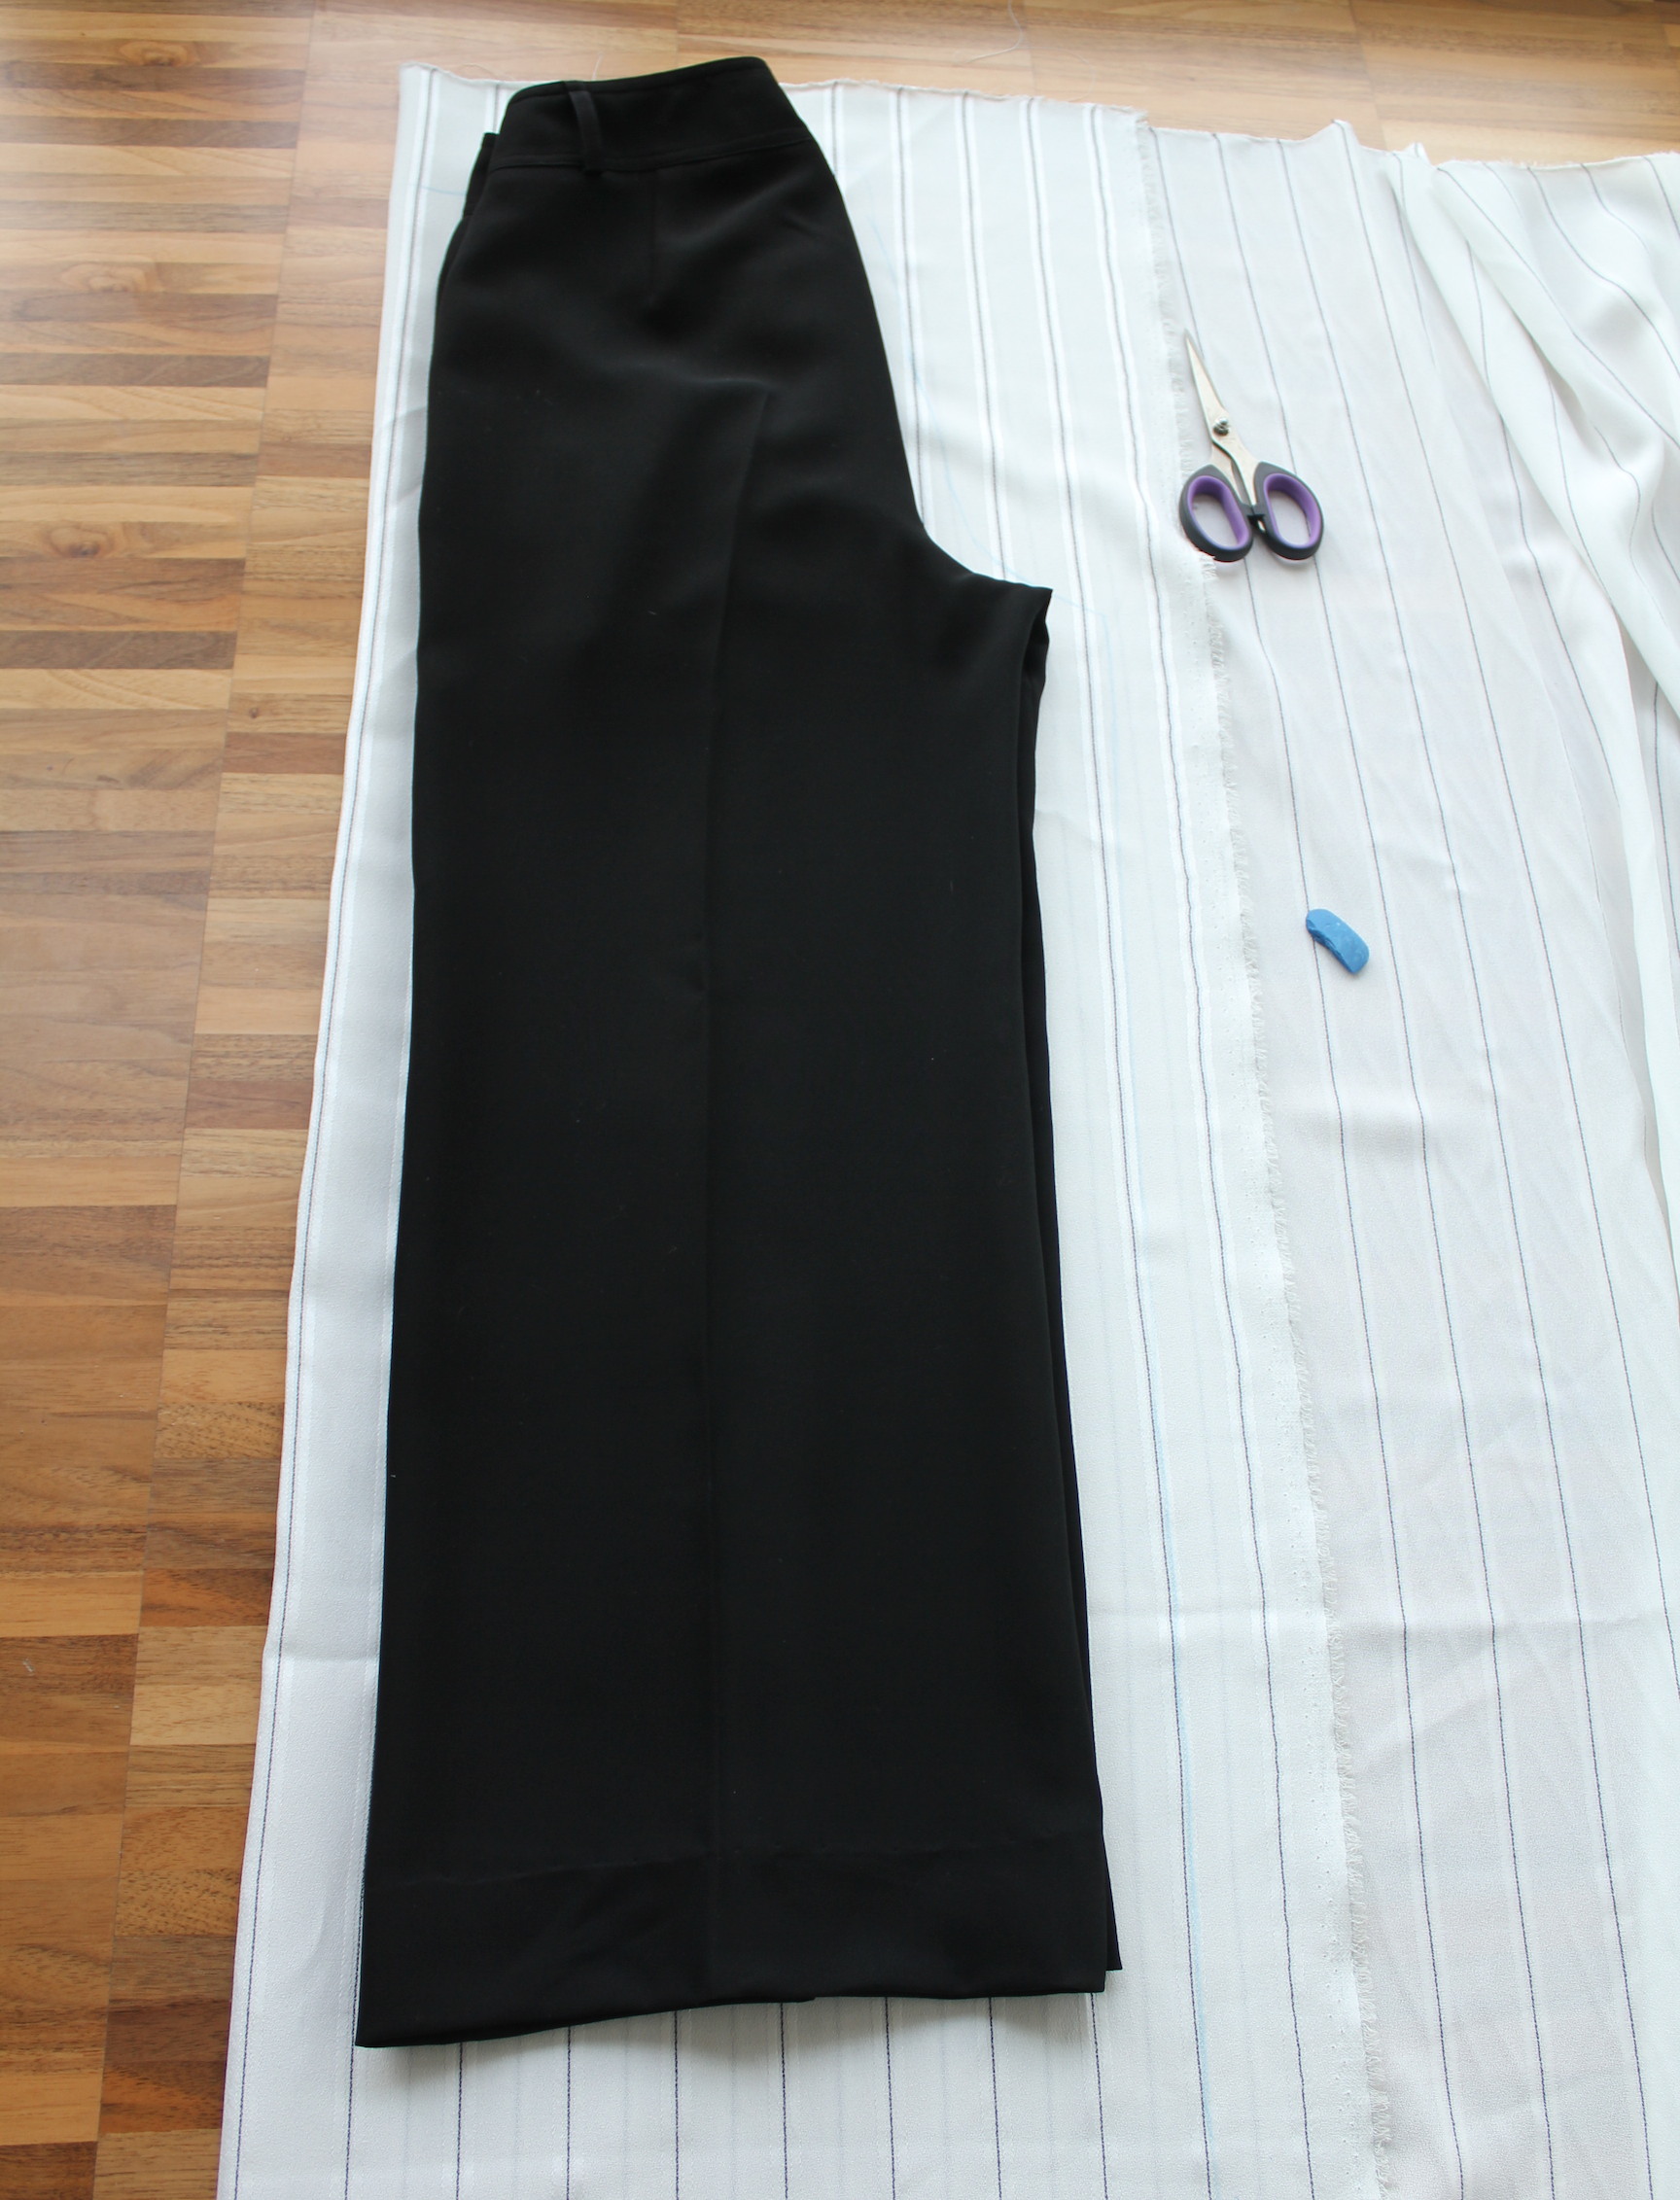
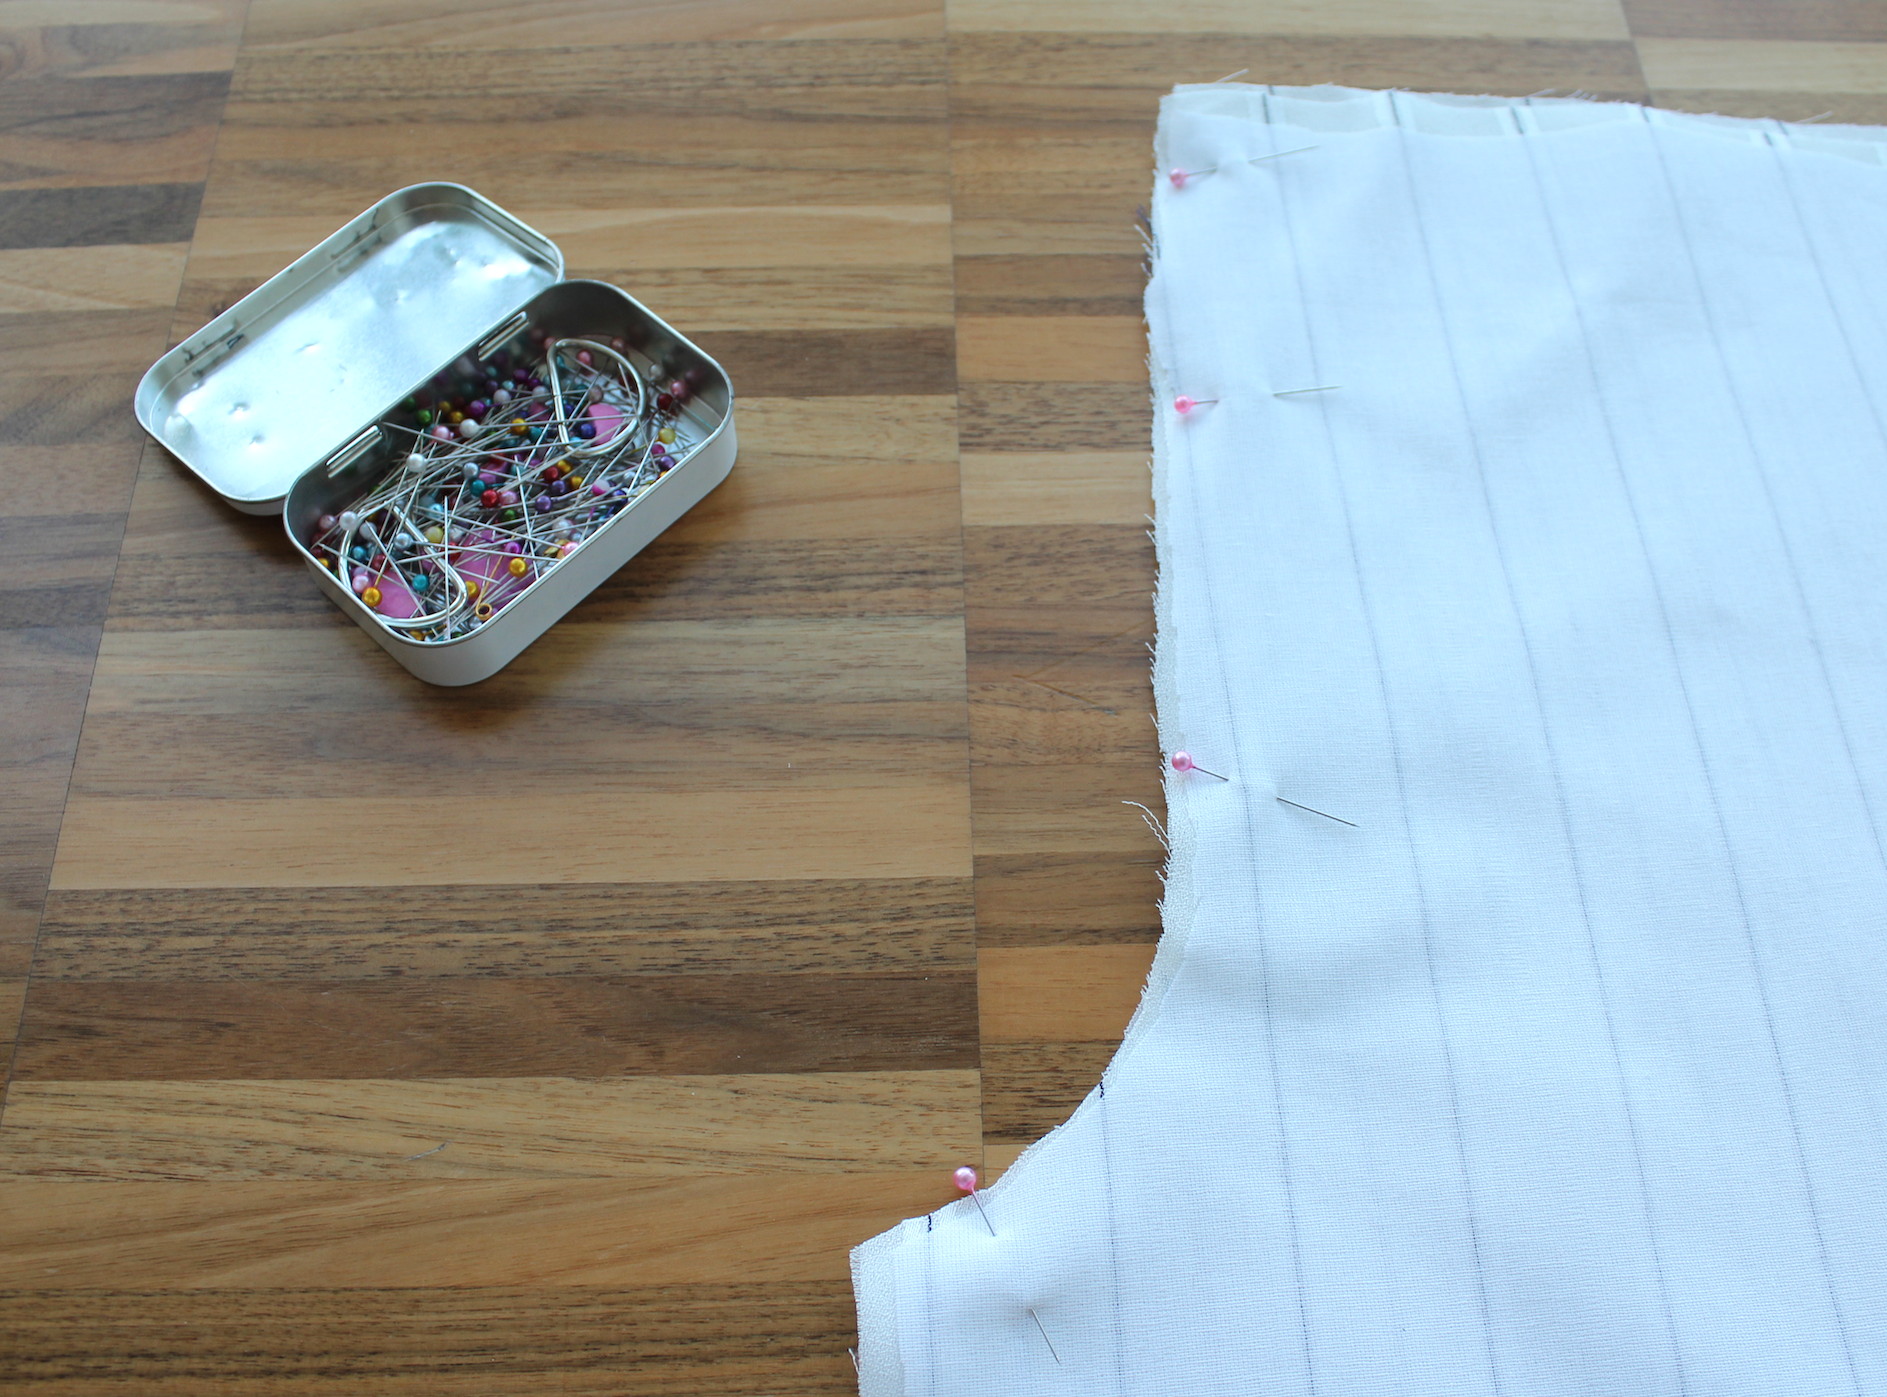
I. Take a pair of existing pants that fit well and fold them at the middle seam, back side out. Fold your fabric in half, wrong sides facing, and place the folded pants on top, tracing the outline (I usually trace a couple cm larger, just in case).
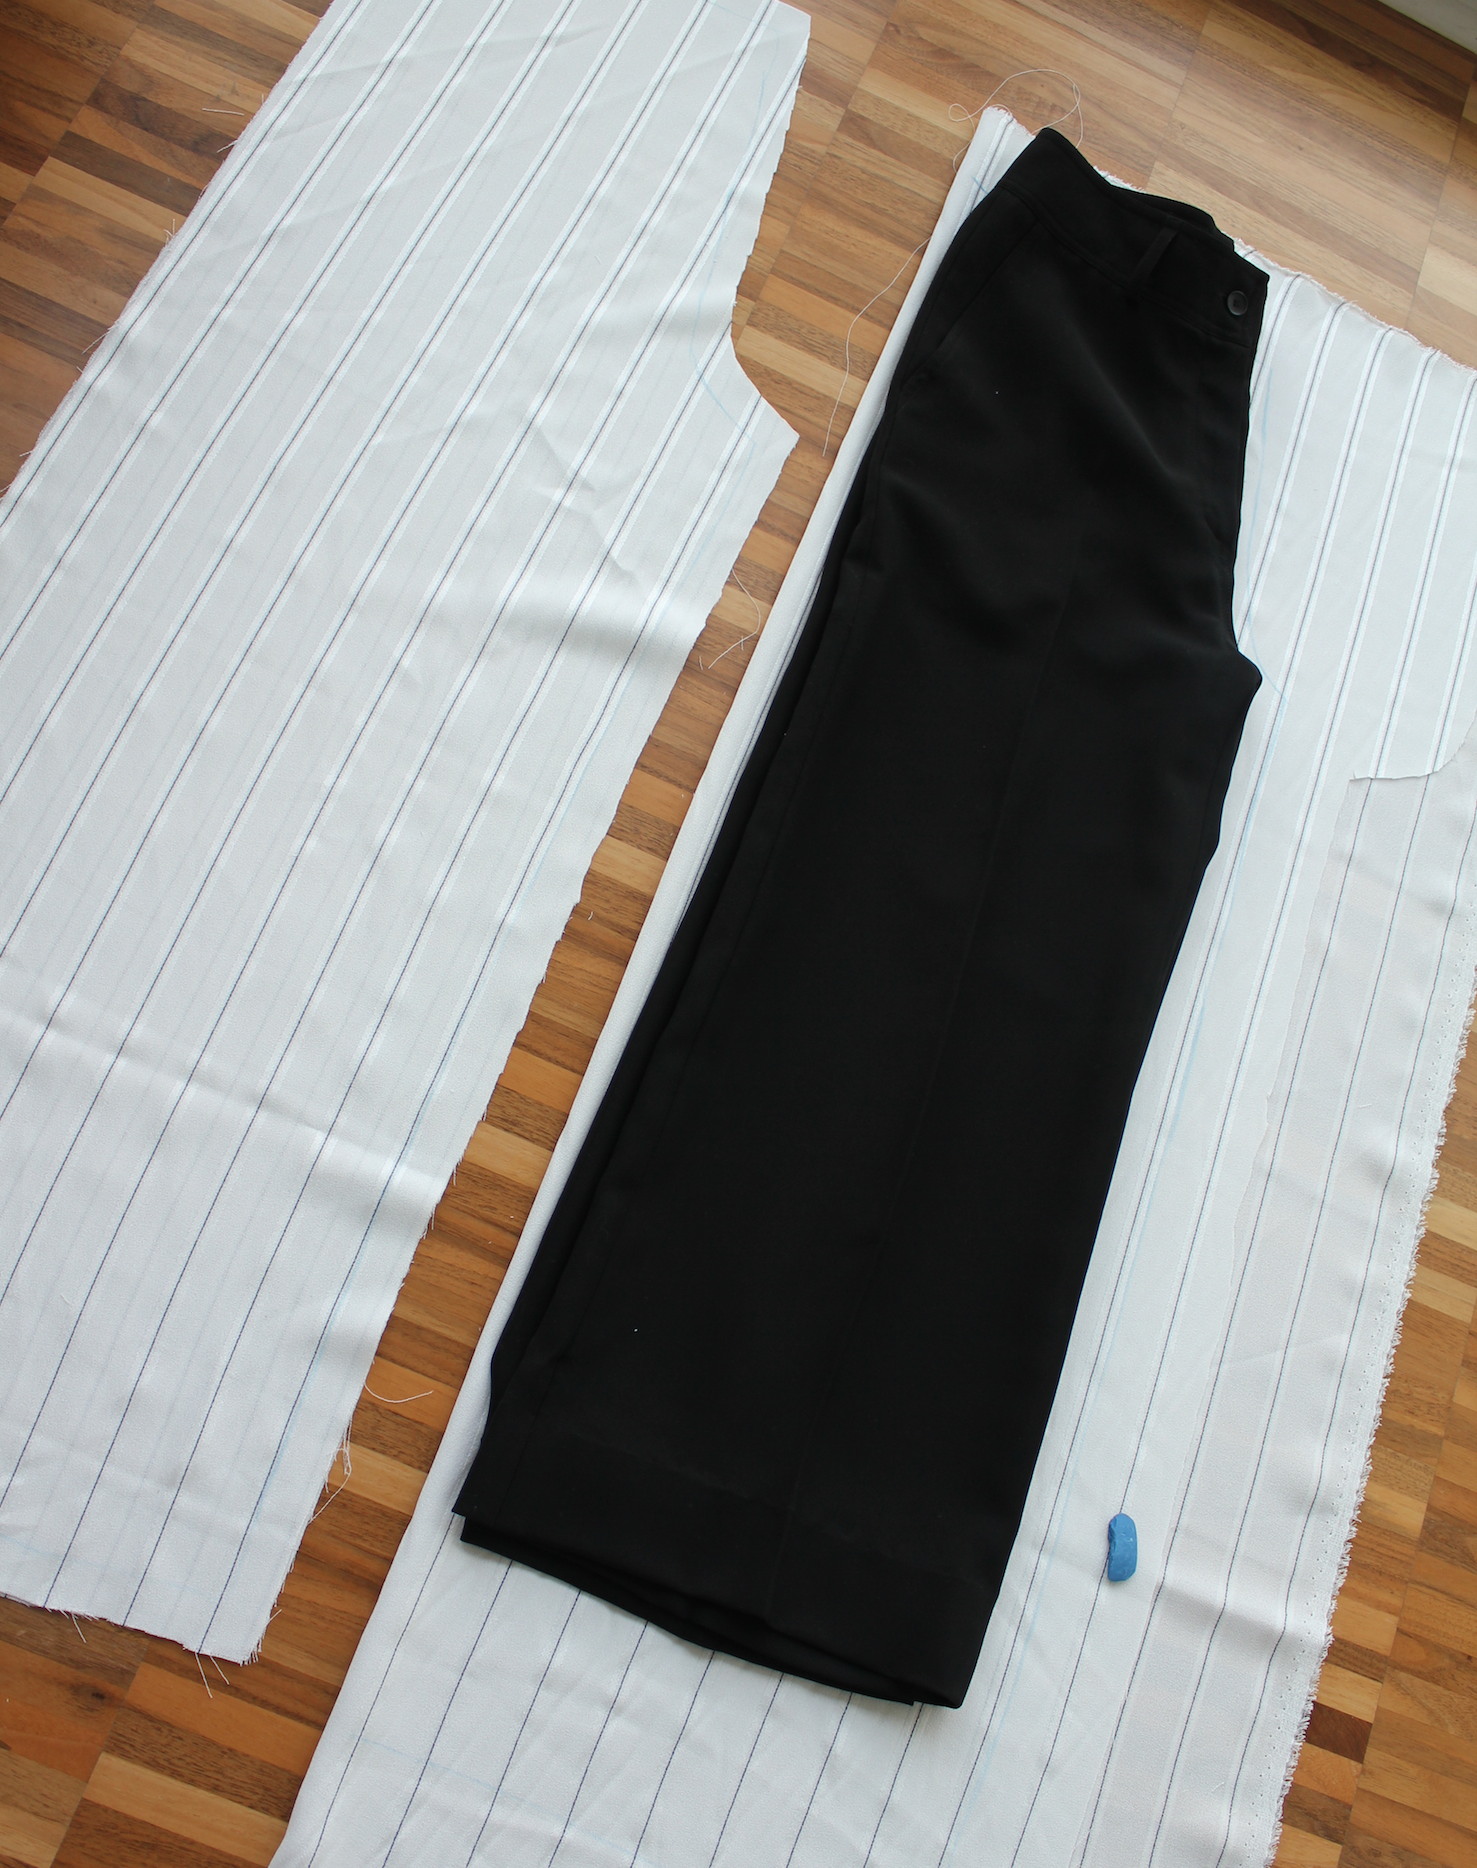
II. Cut out with a couple cm's seam allowance. Repeat for the front pieces, flipping the pants over, now with the front facing out. Trace and cut. Then cut both pieces straight down the fold.
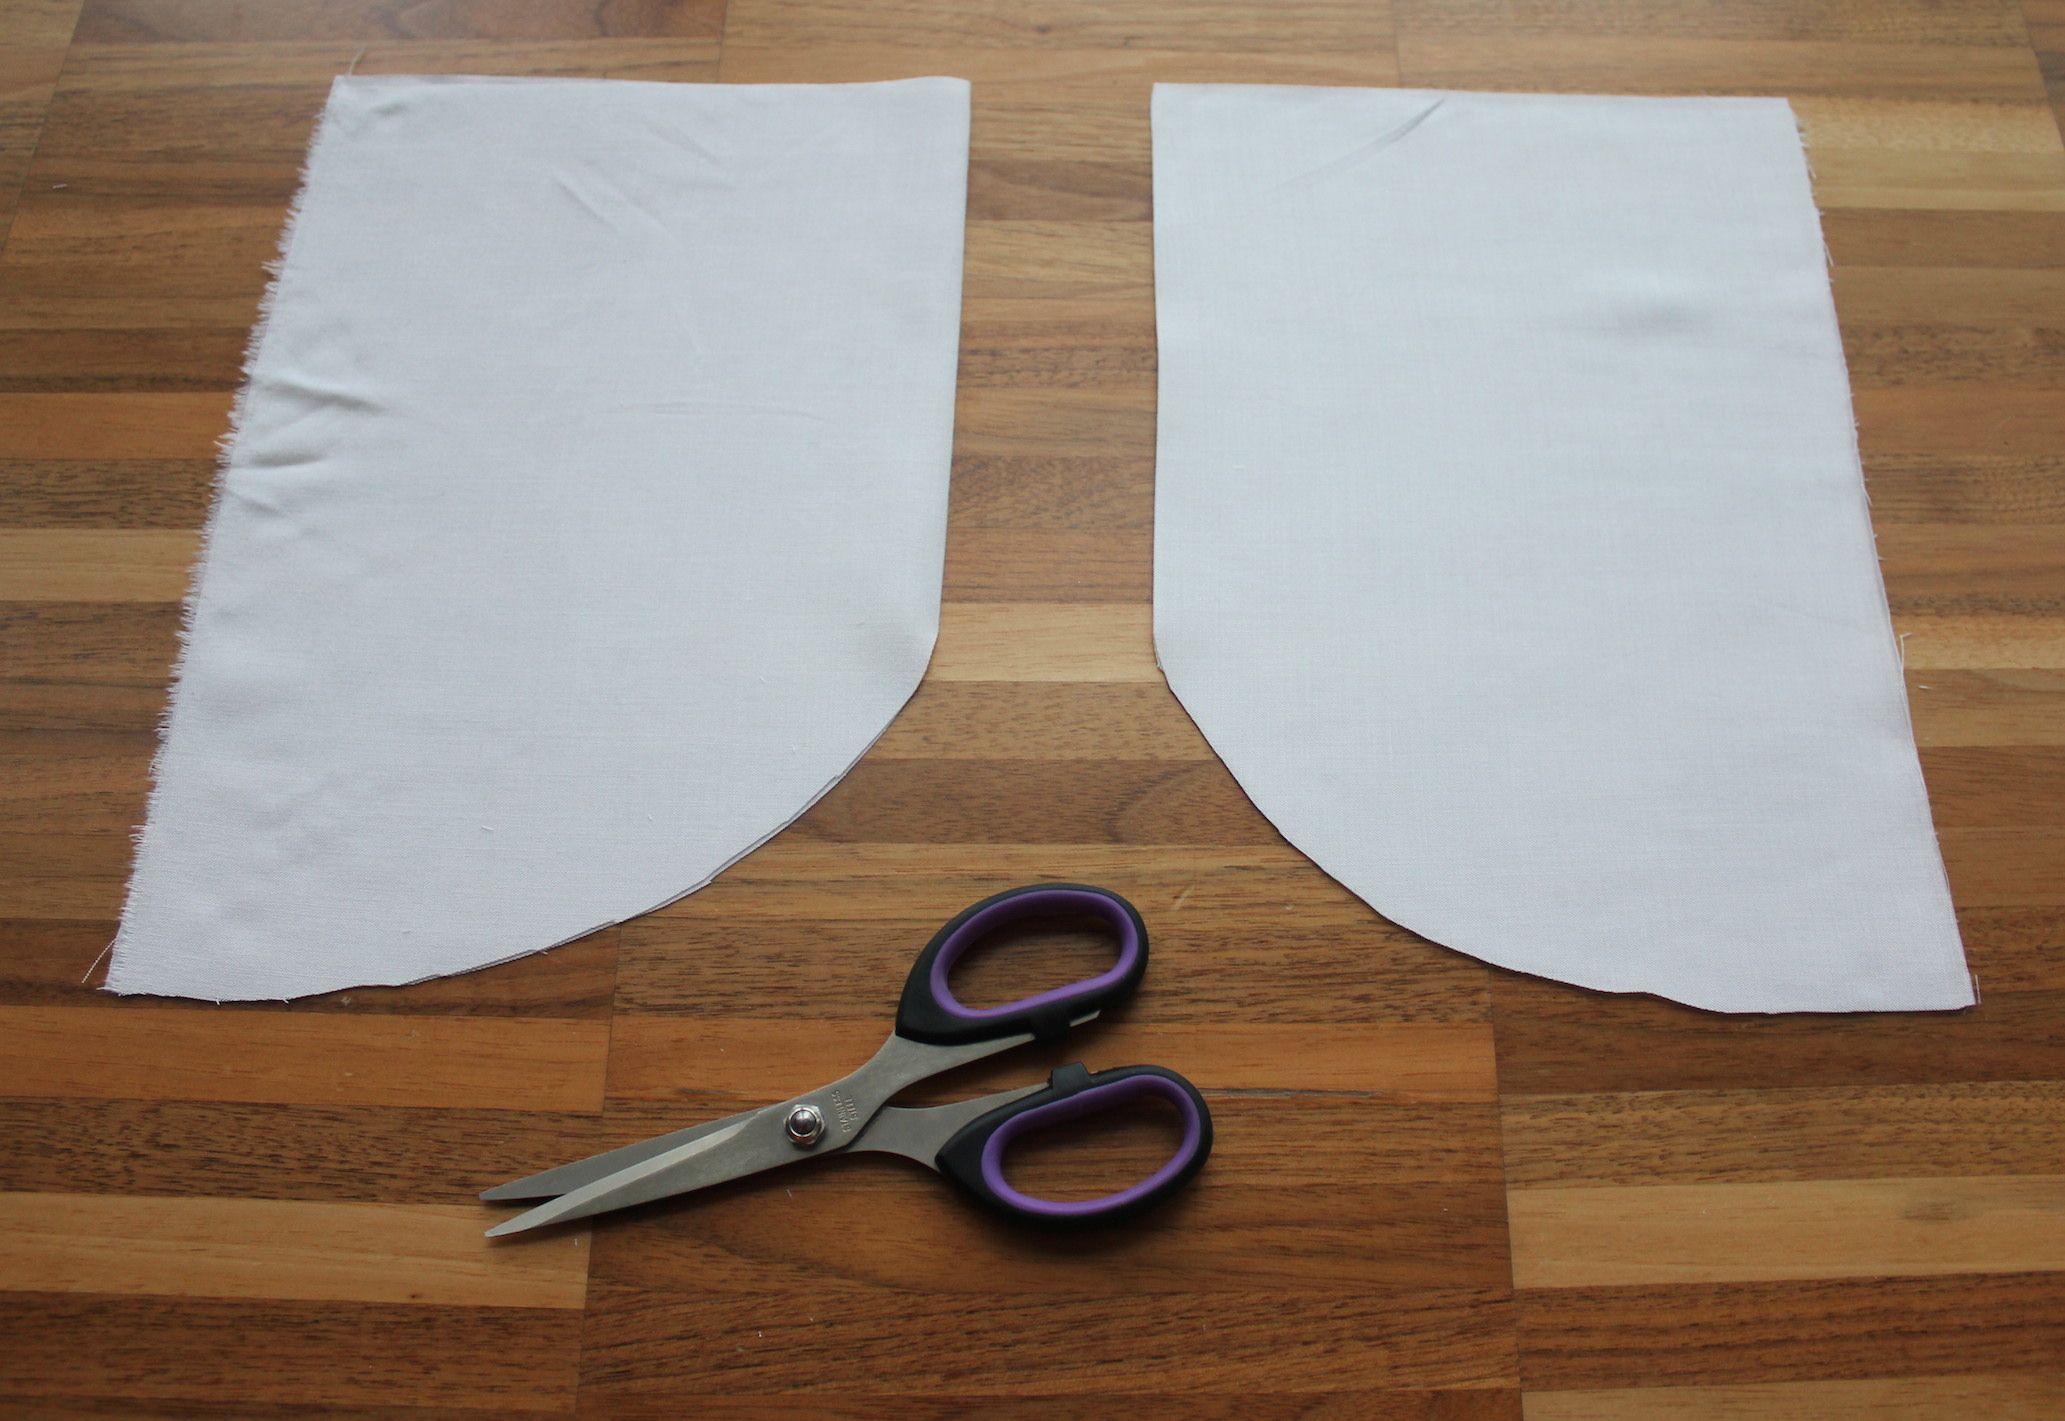
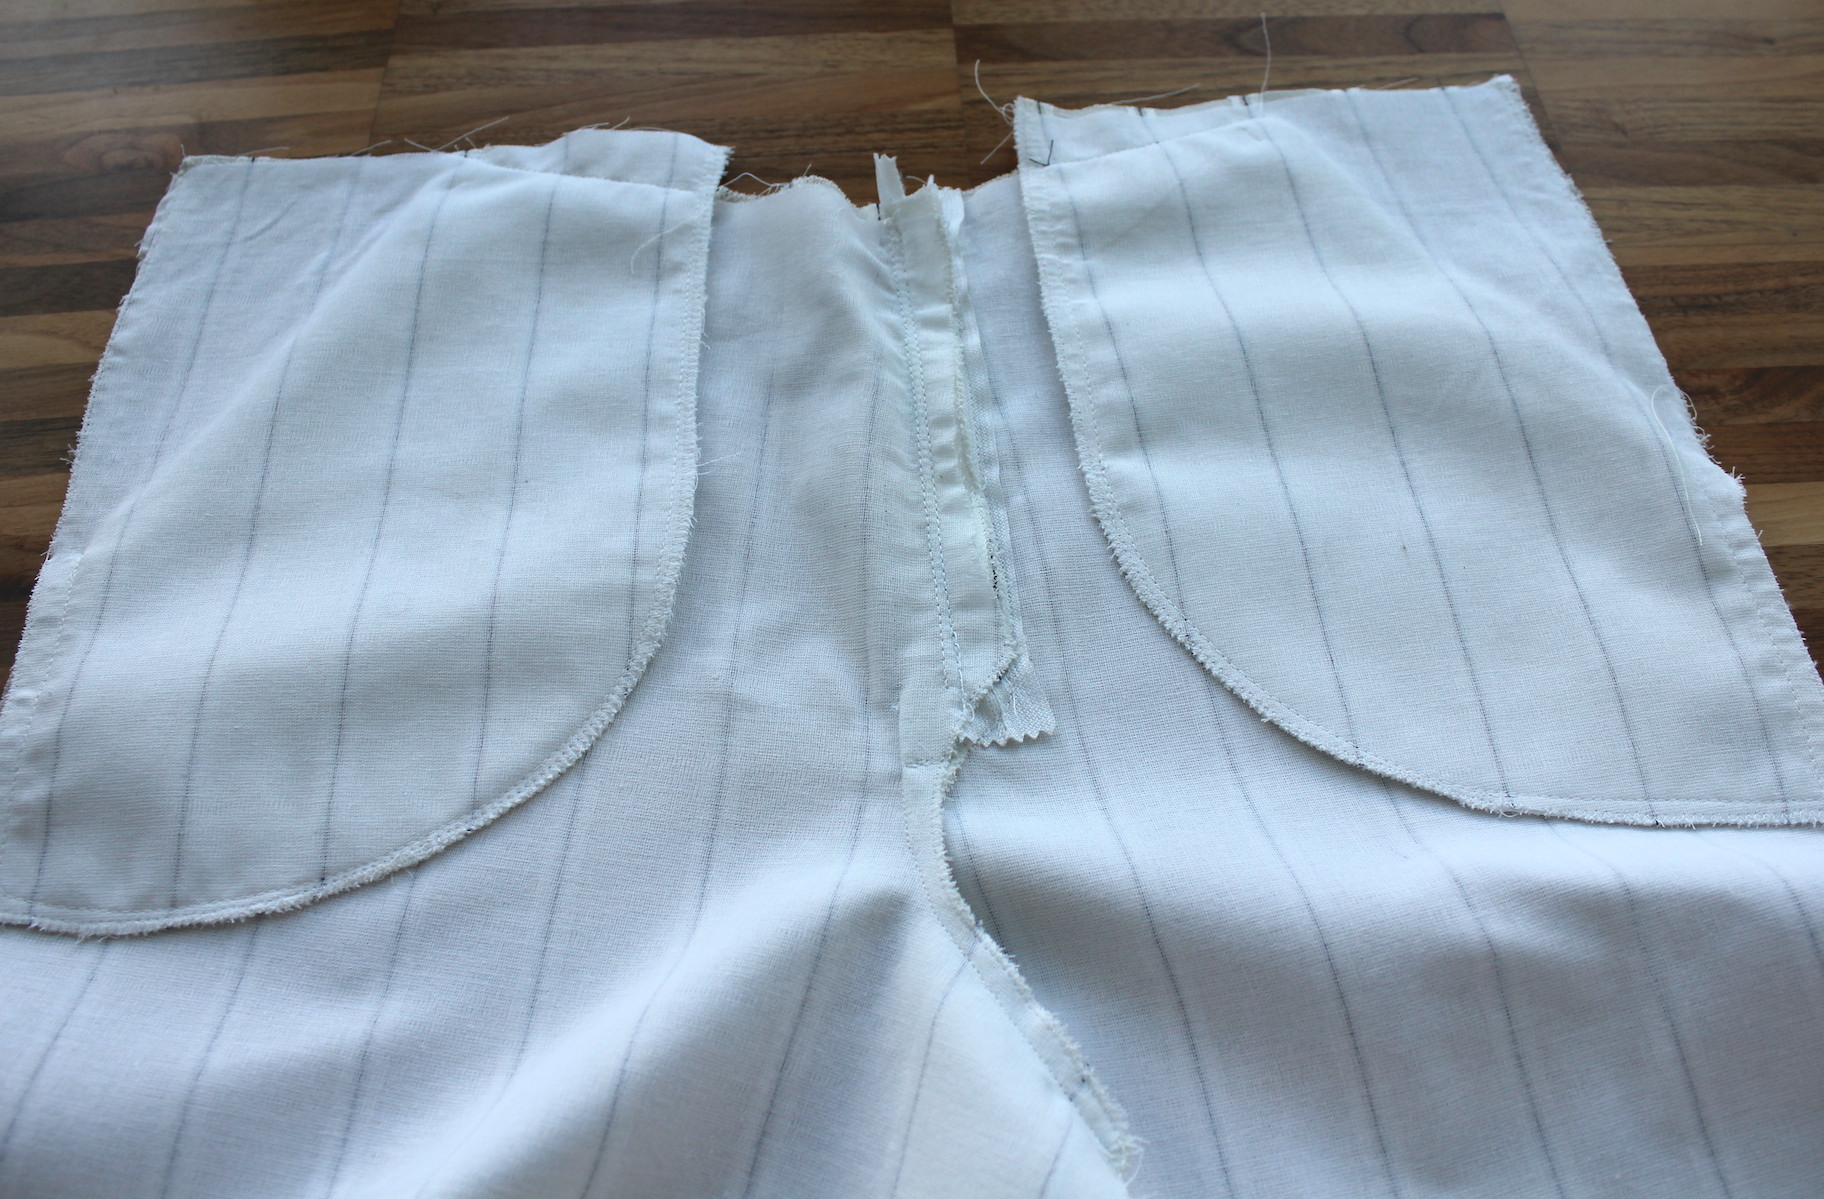
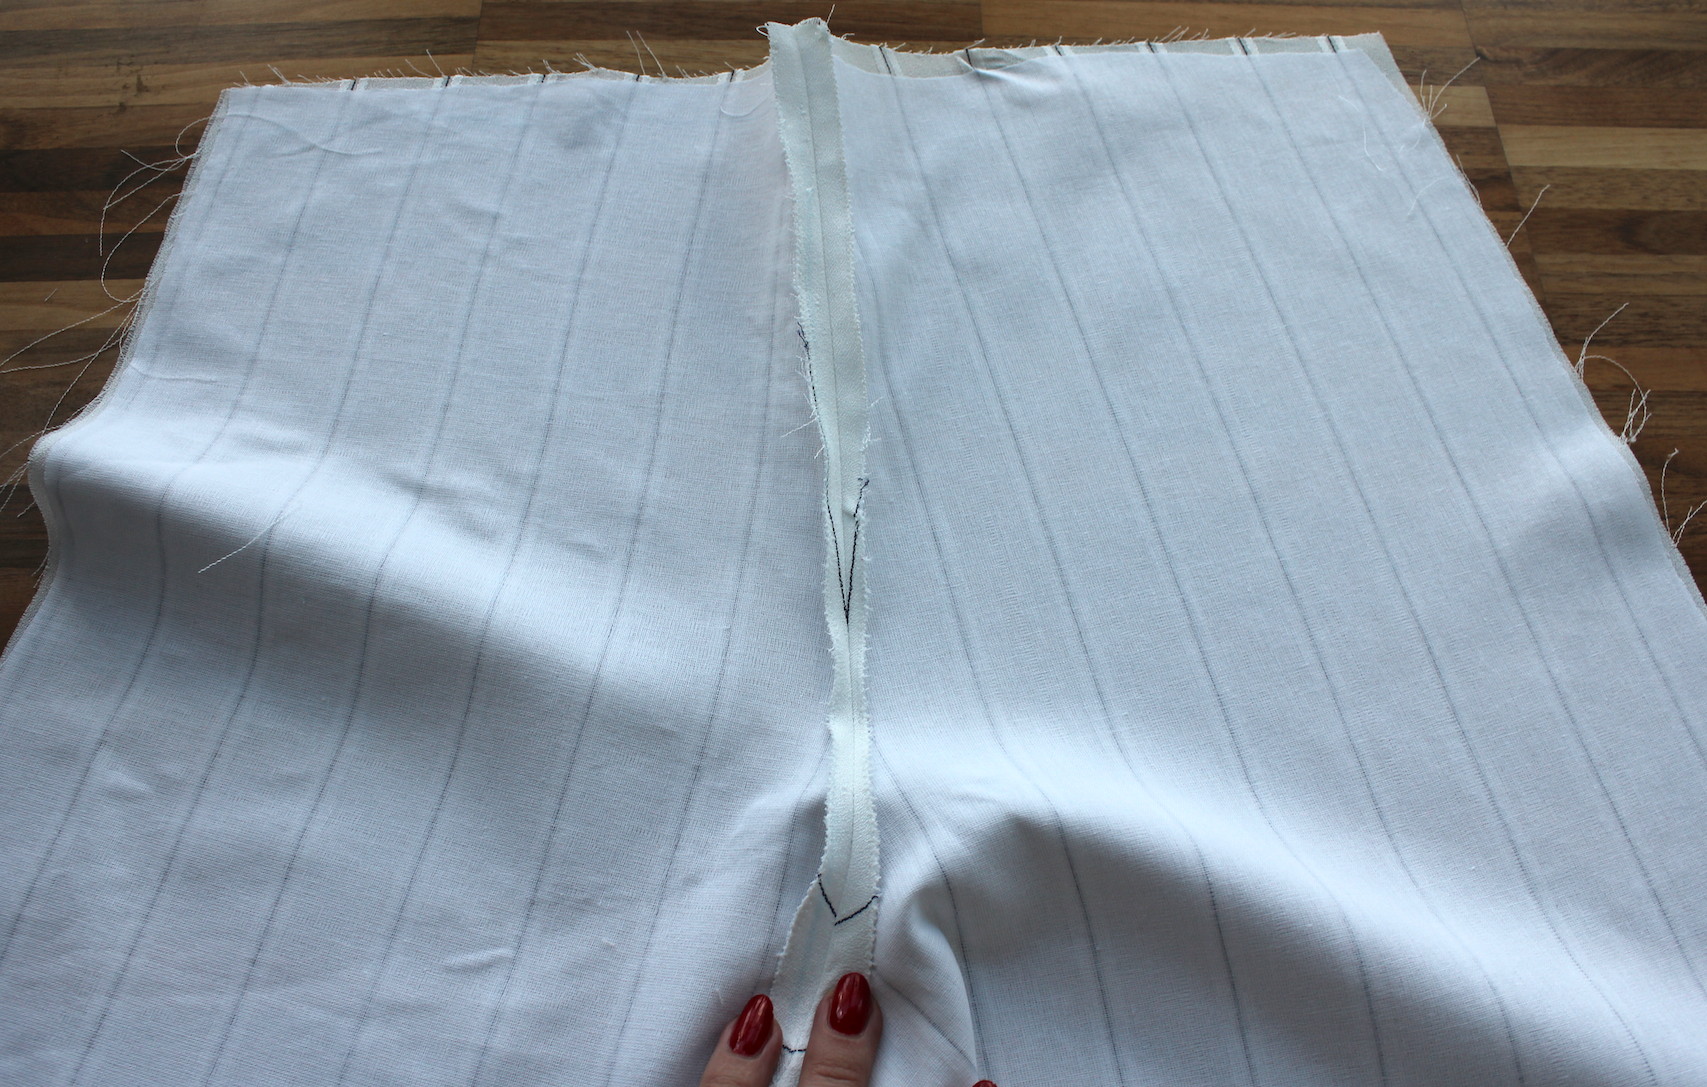
This should leave you with four pieces, two for the back, two for the front, like so. At this point I also added interfacing to the pieces to add firmness and reduce transparency. I've separated the sewing of the fly-front zipper into
this post.
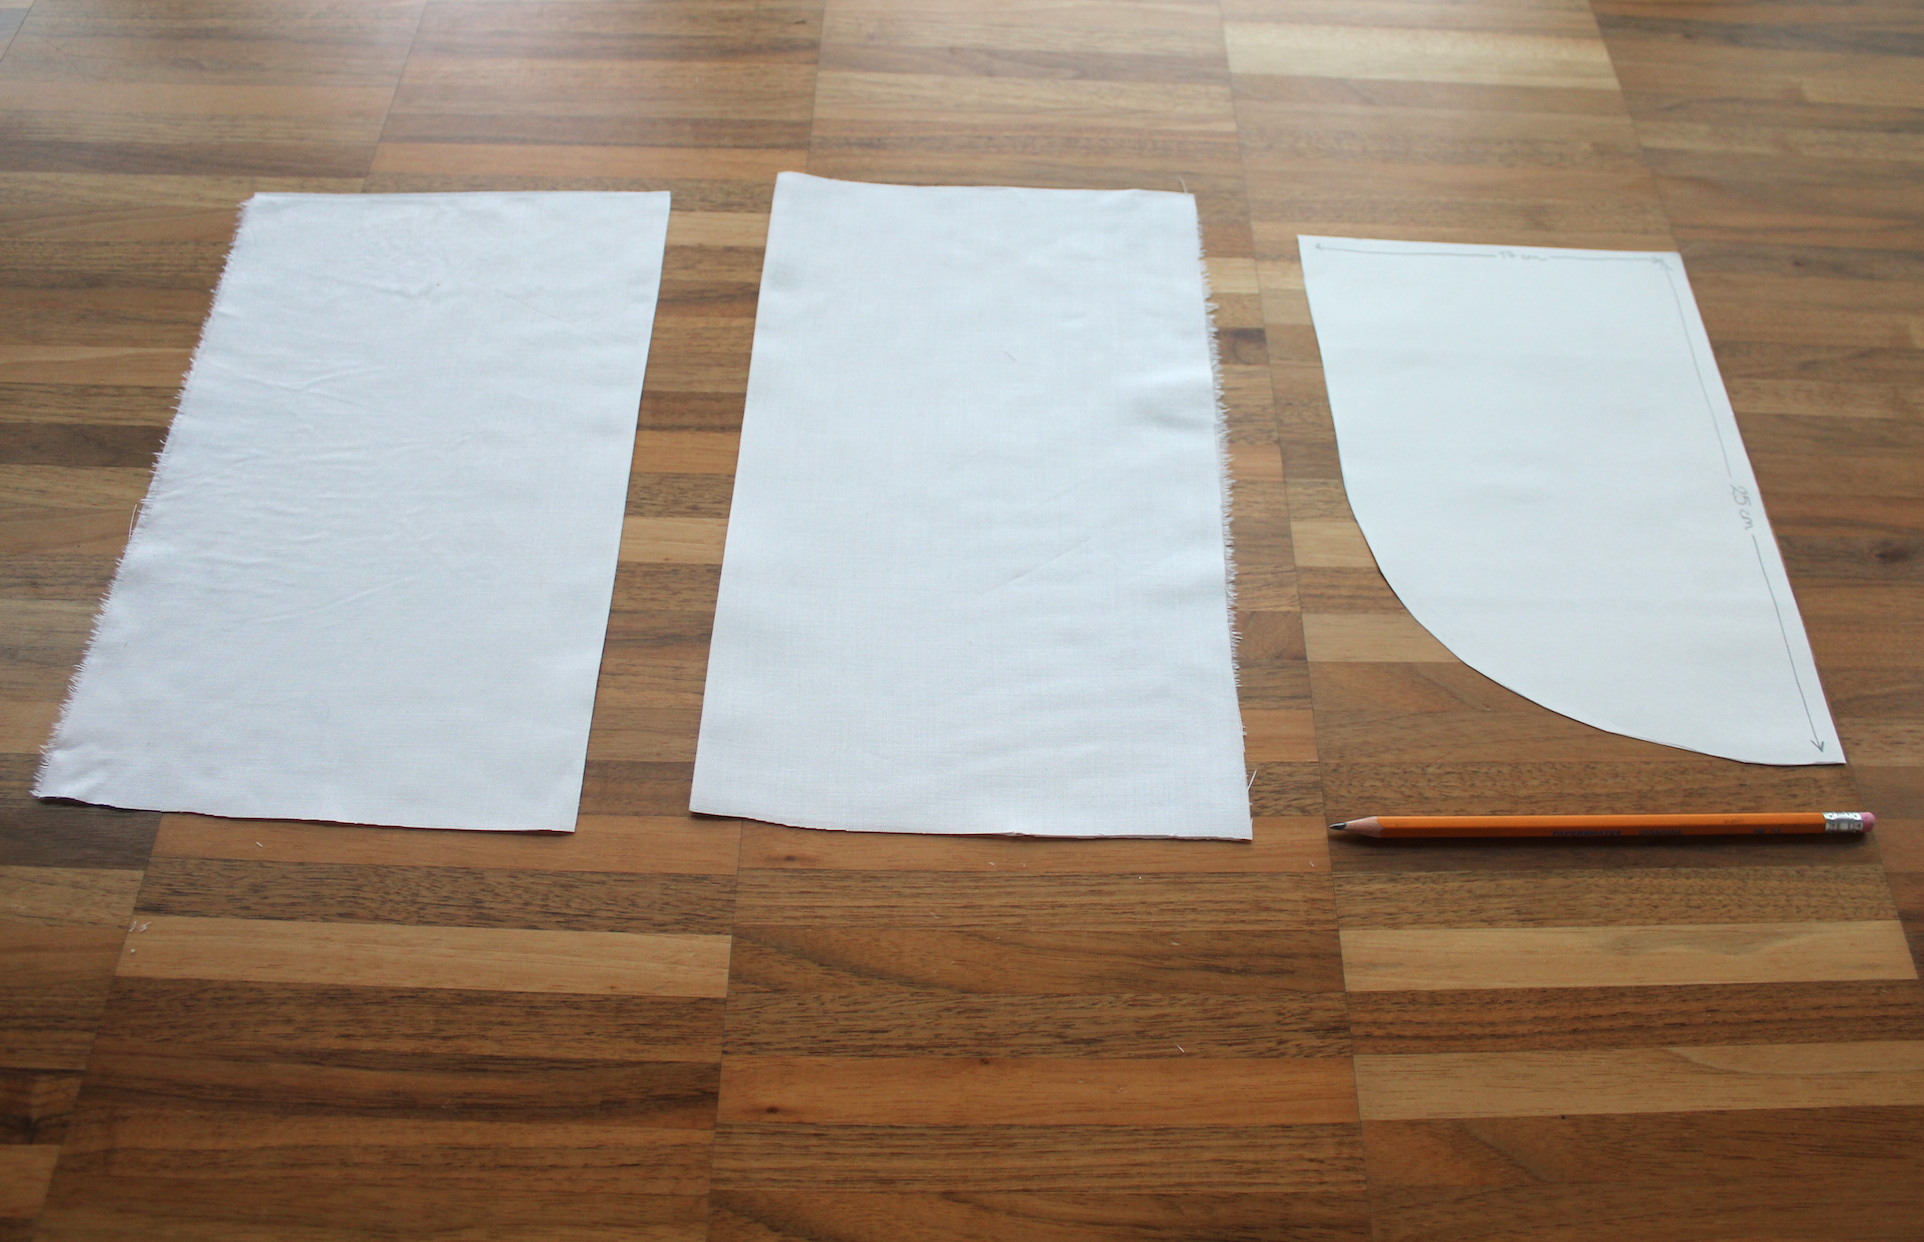
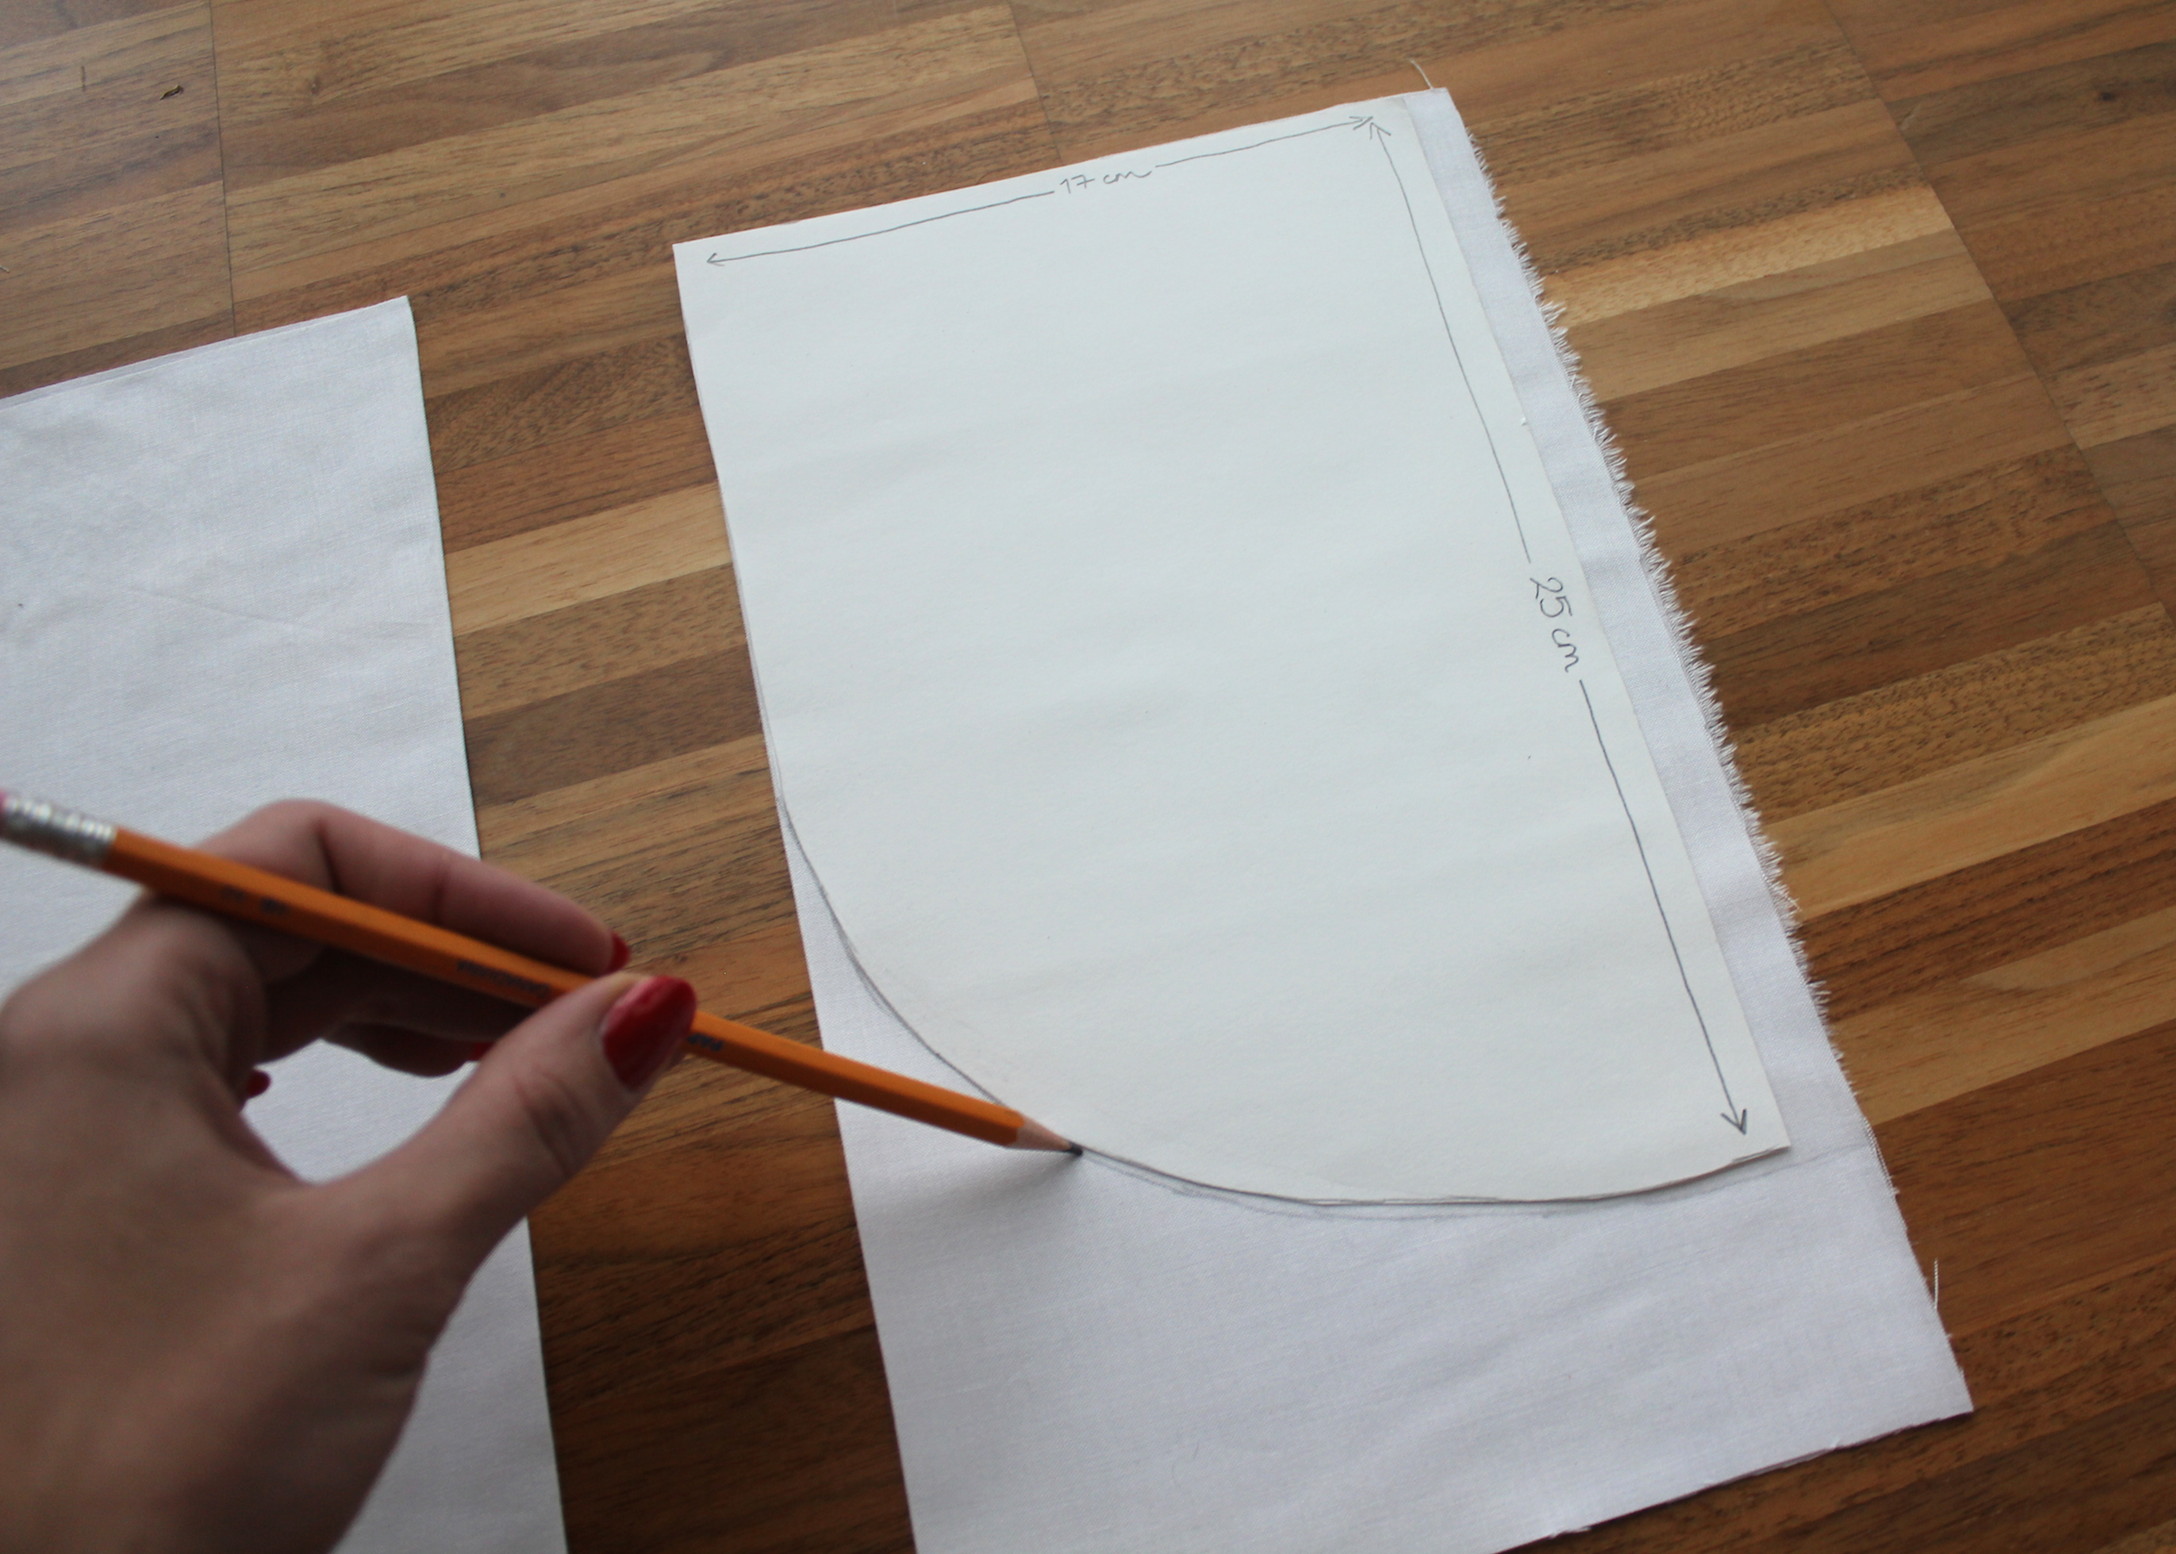
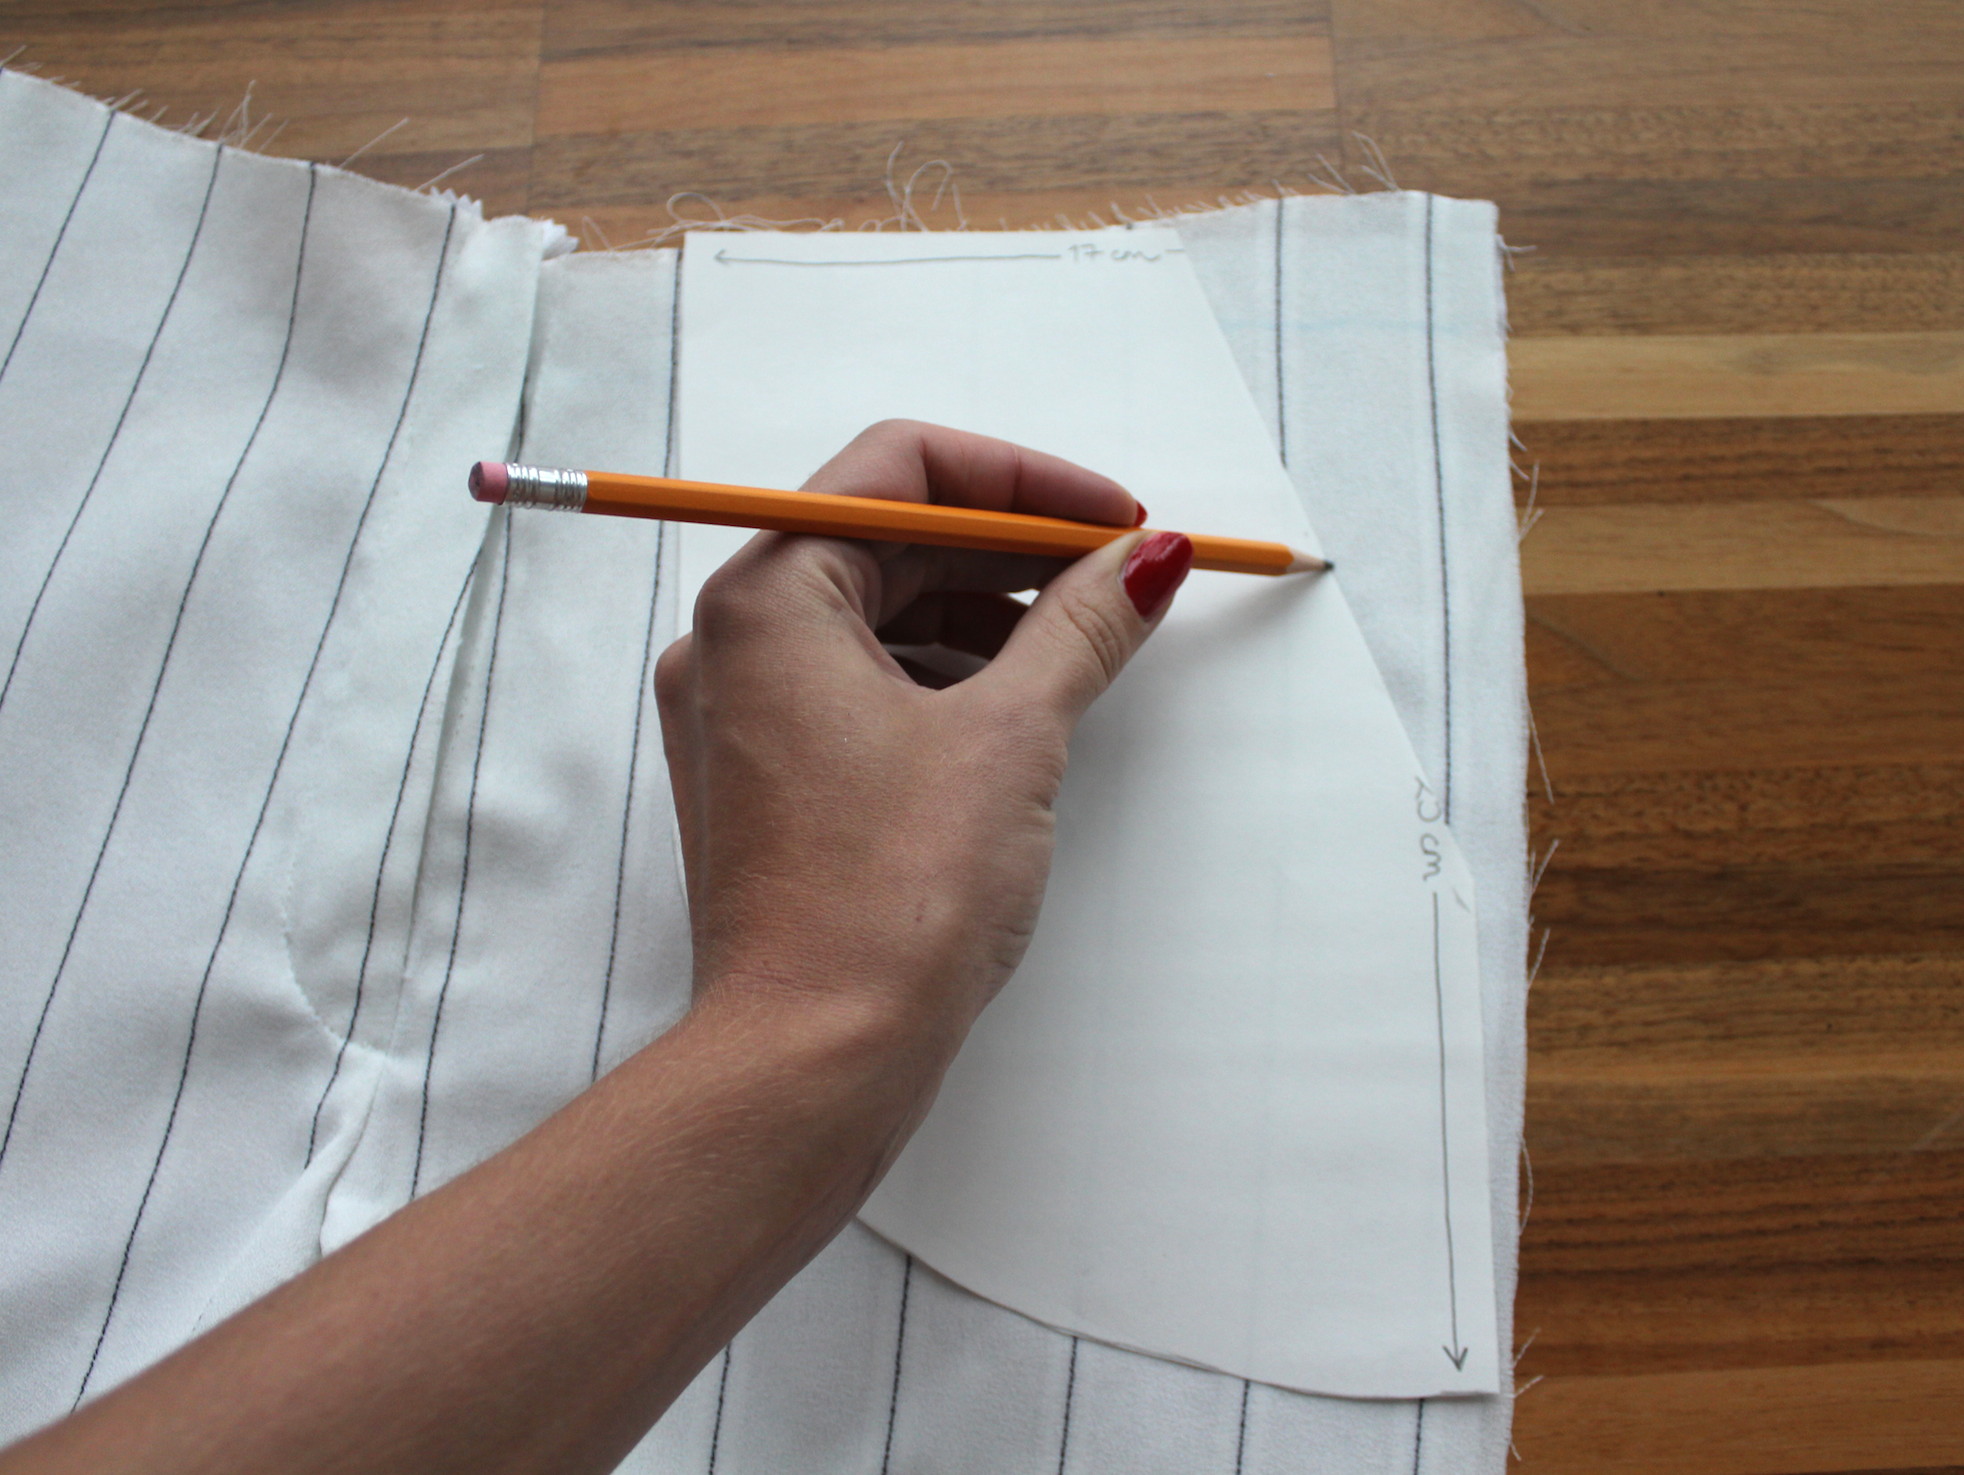
III. Once you're done with the fly, it's time for pockets! Start with a couple of pieces of the fabric, size about 25 cm x 17cm (or depending on how big you want the pockets to be). I used a different fabric for half the pockets, to make sure the stripes didn't show through all wrong. If your fabric is pretty opaque you won't need to do this, just use the same fabric all around. Cut a quick pattern out of paper as shown below, and trace the pocket shape.
Cut out and repeat, so you end up with 4 pieces like this, 2 for each pocket. If your fabric has stripes, make sure you cut pieces that align nicely with the stripes of the front piece (look at step VIII to see my point).
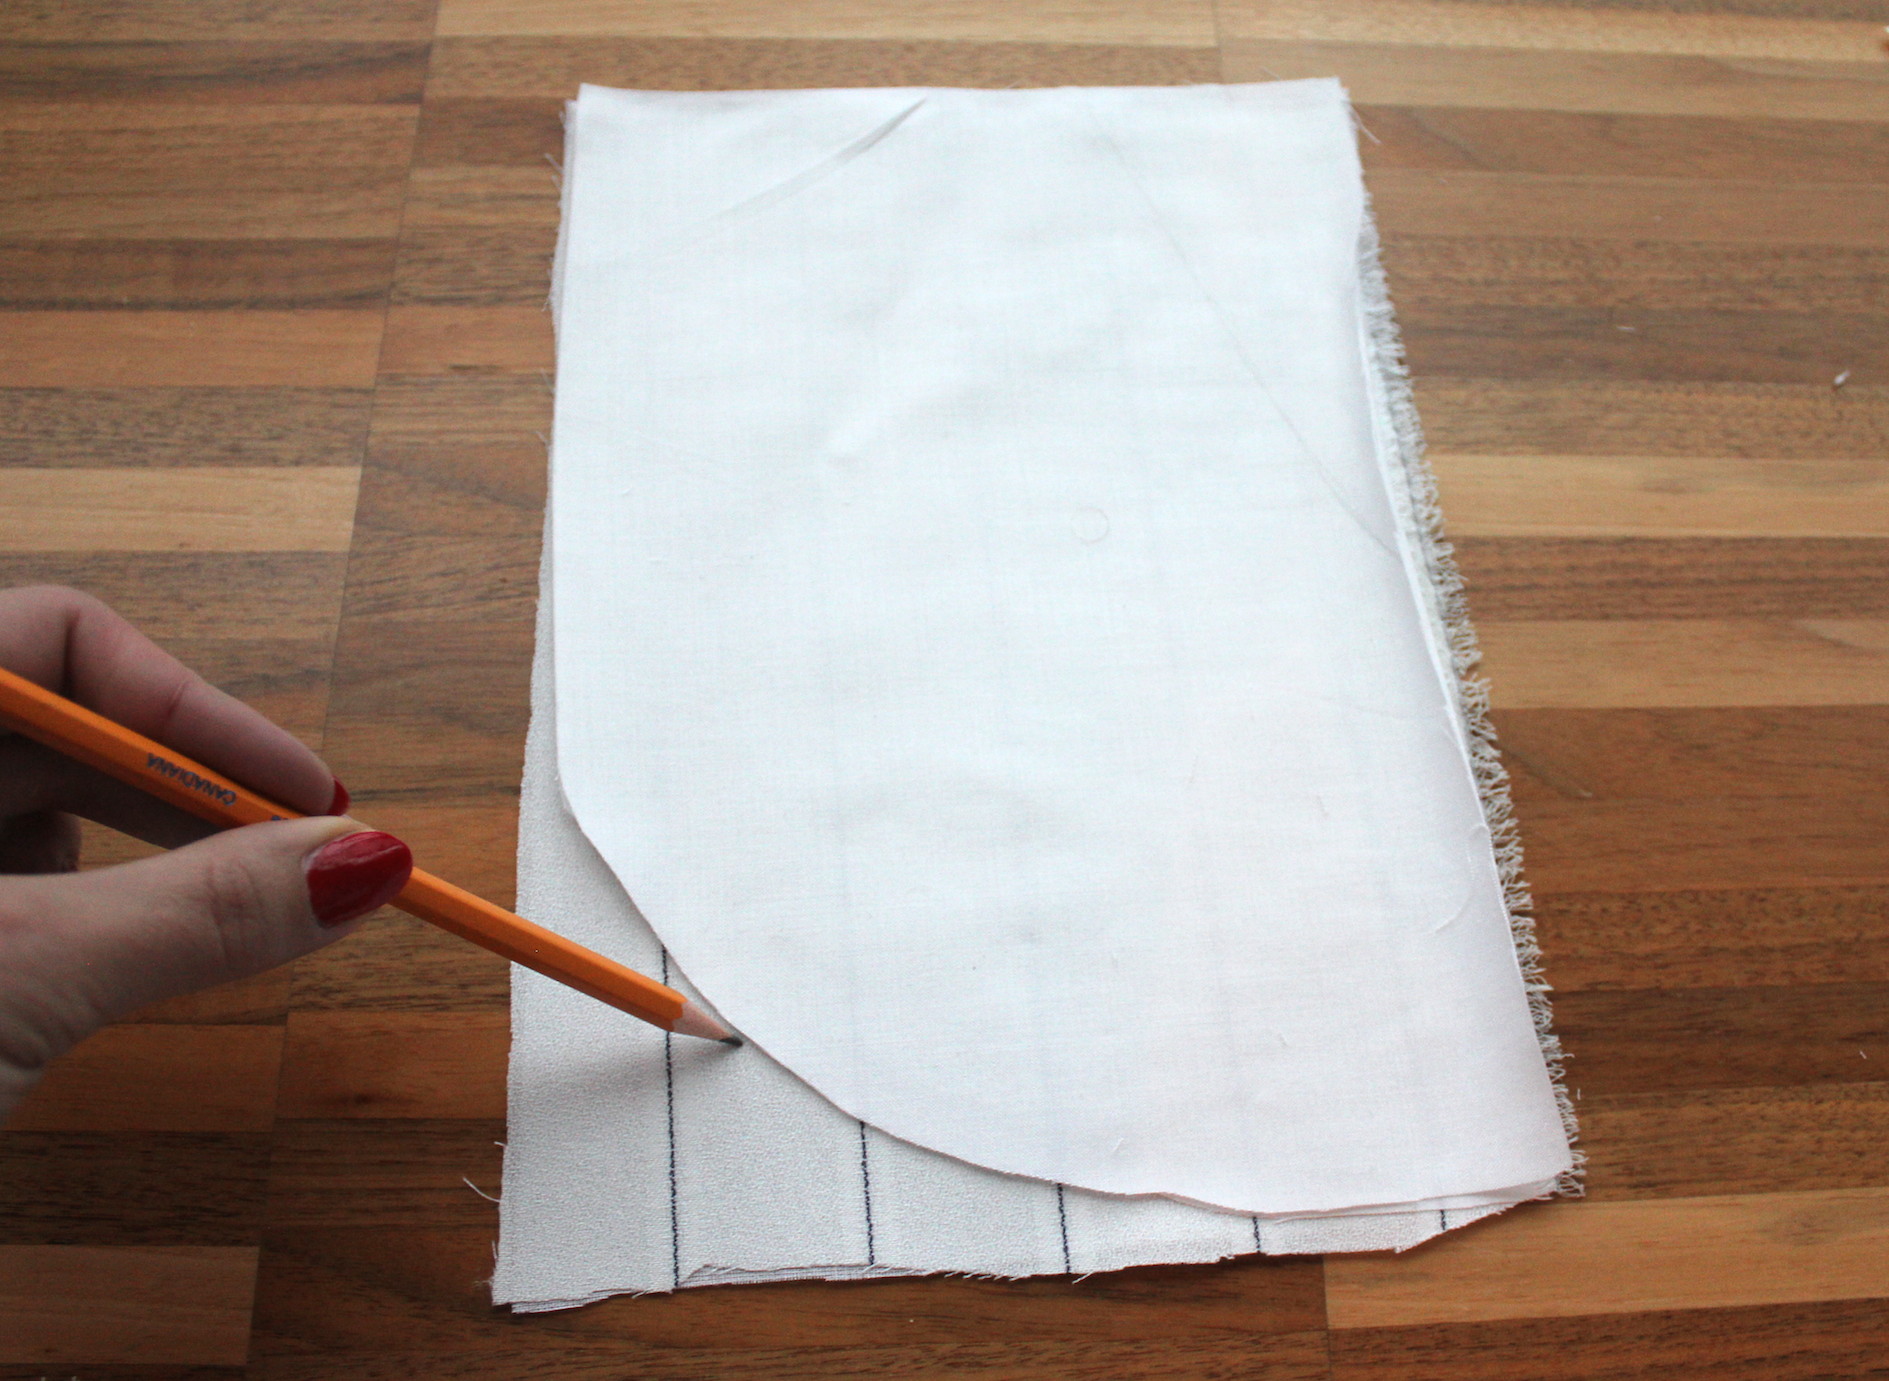
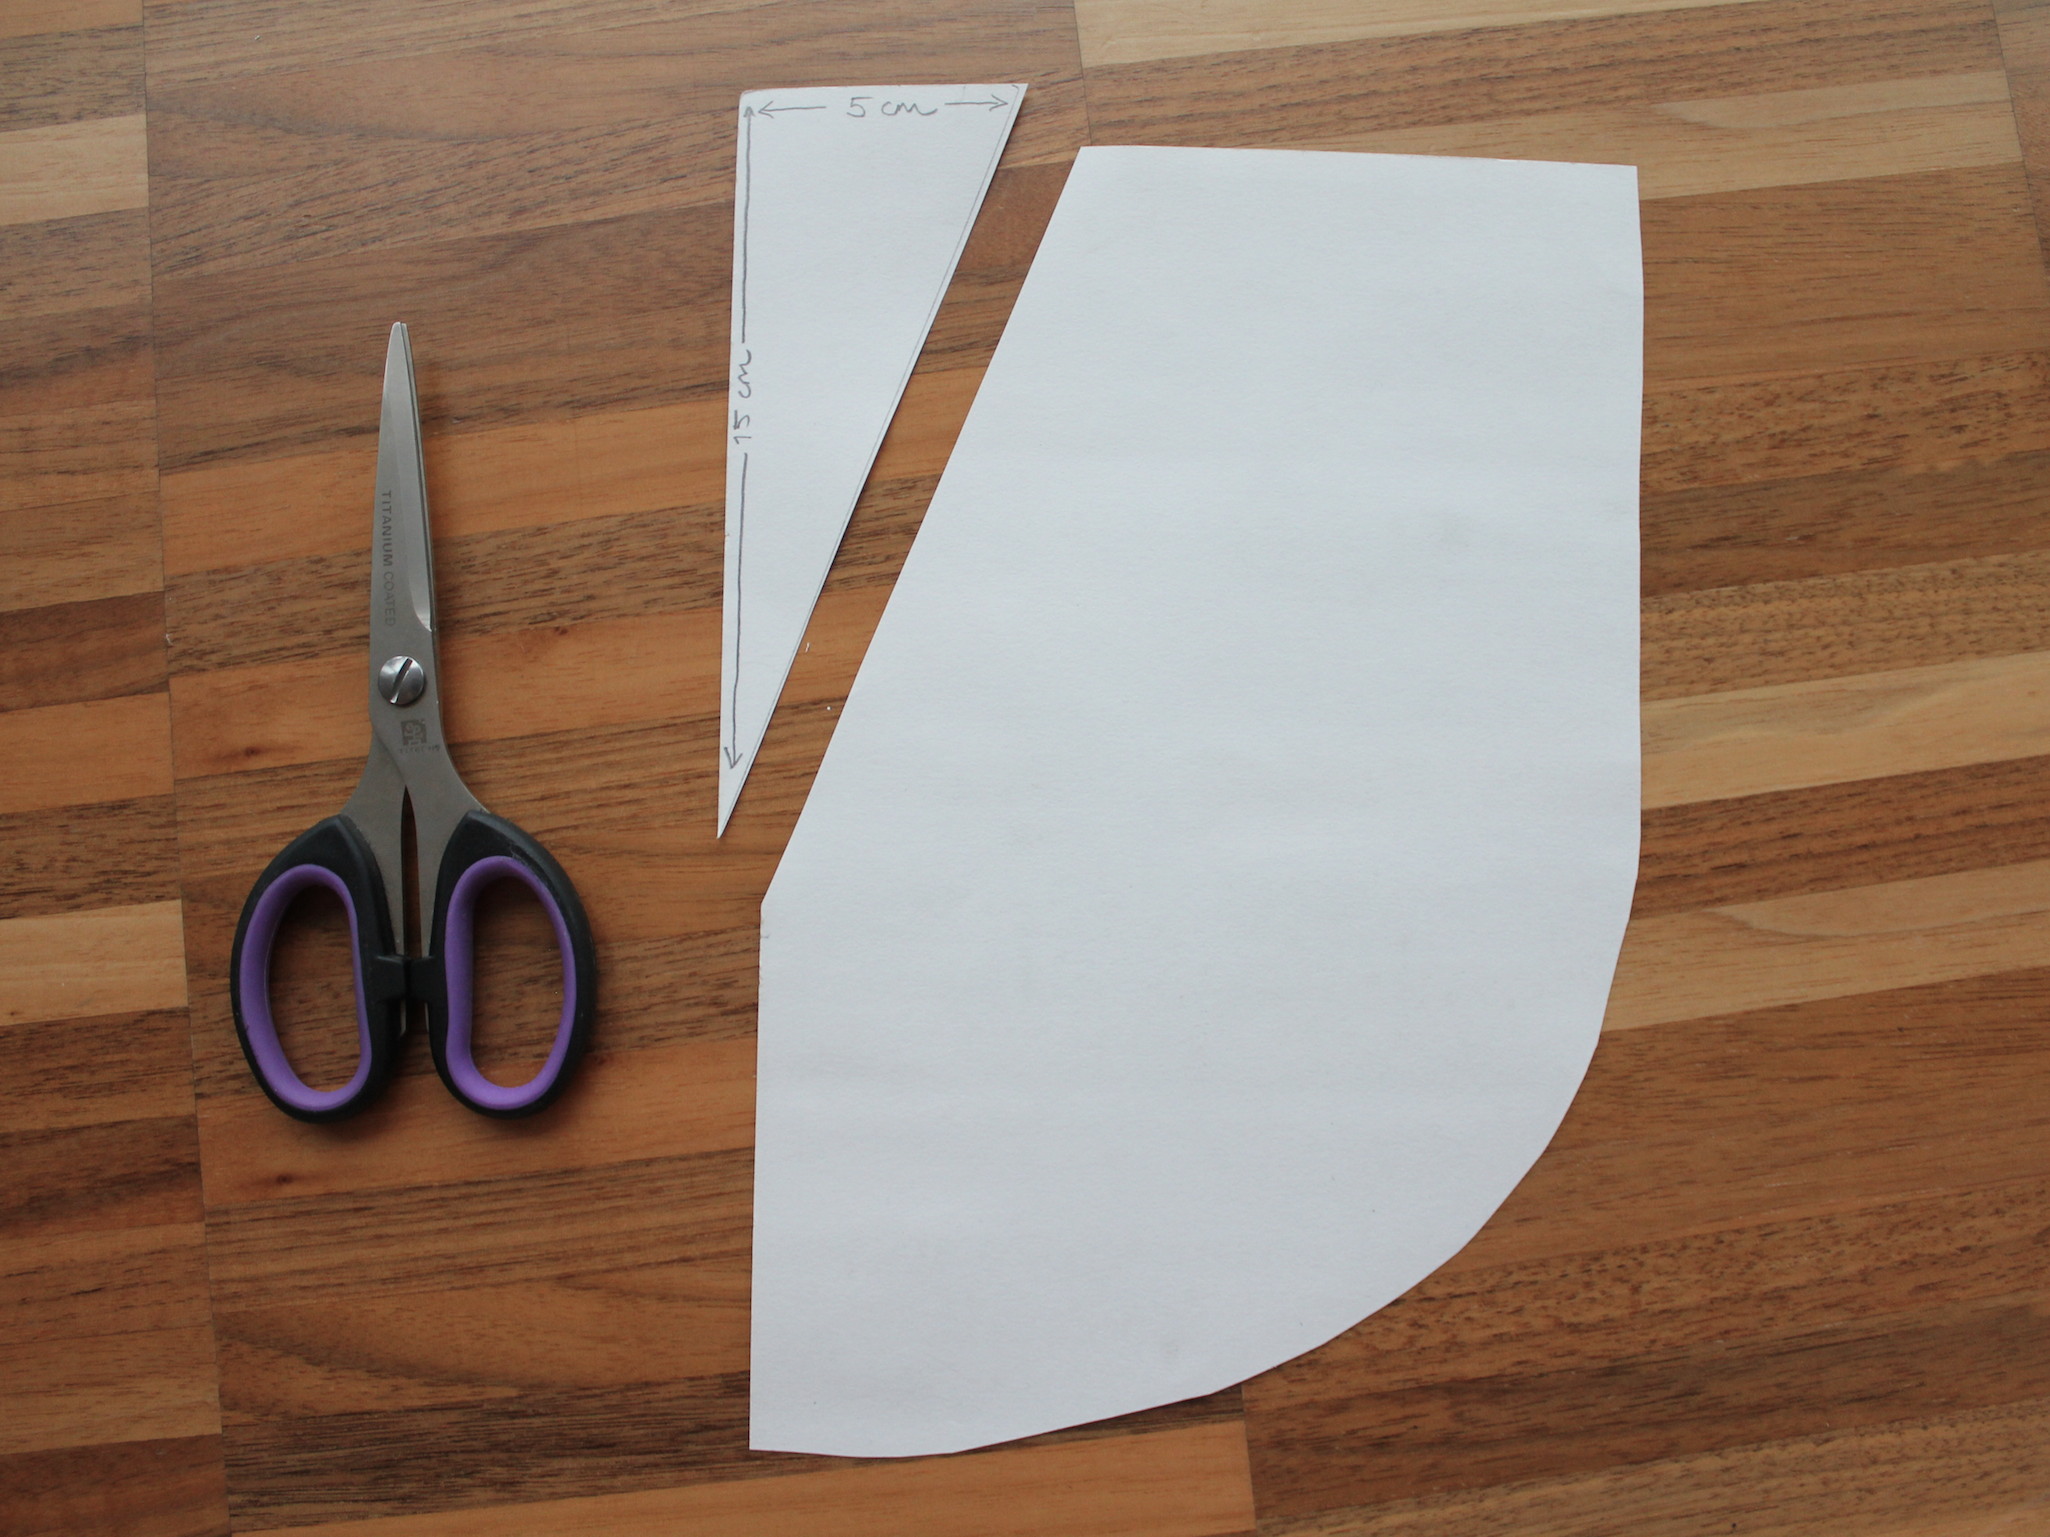
IV. Now revise your pattern by cutting out a triangle at the corner as in the image below. This should be the width of your hand + about 4 cm.
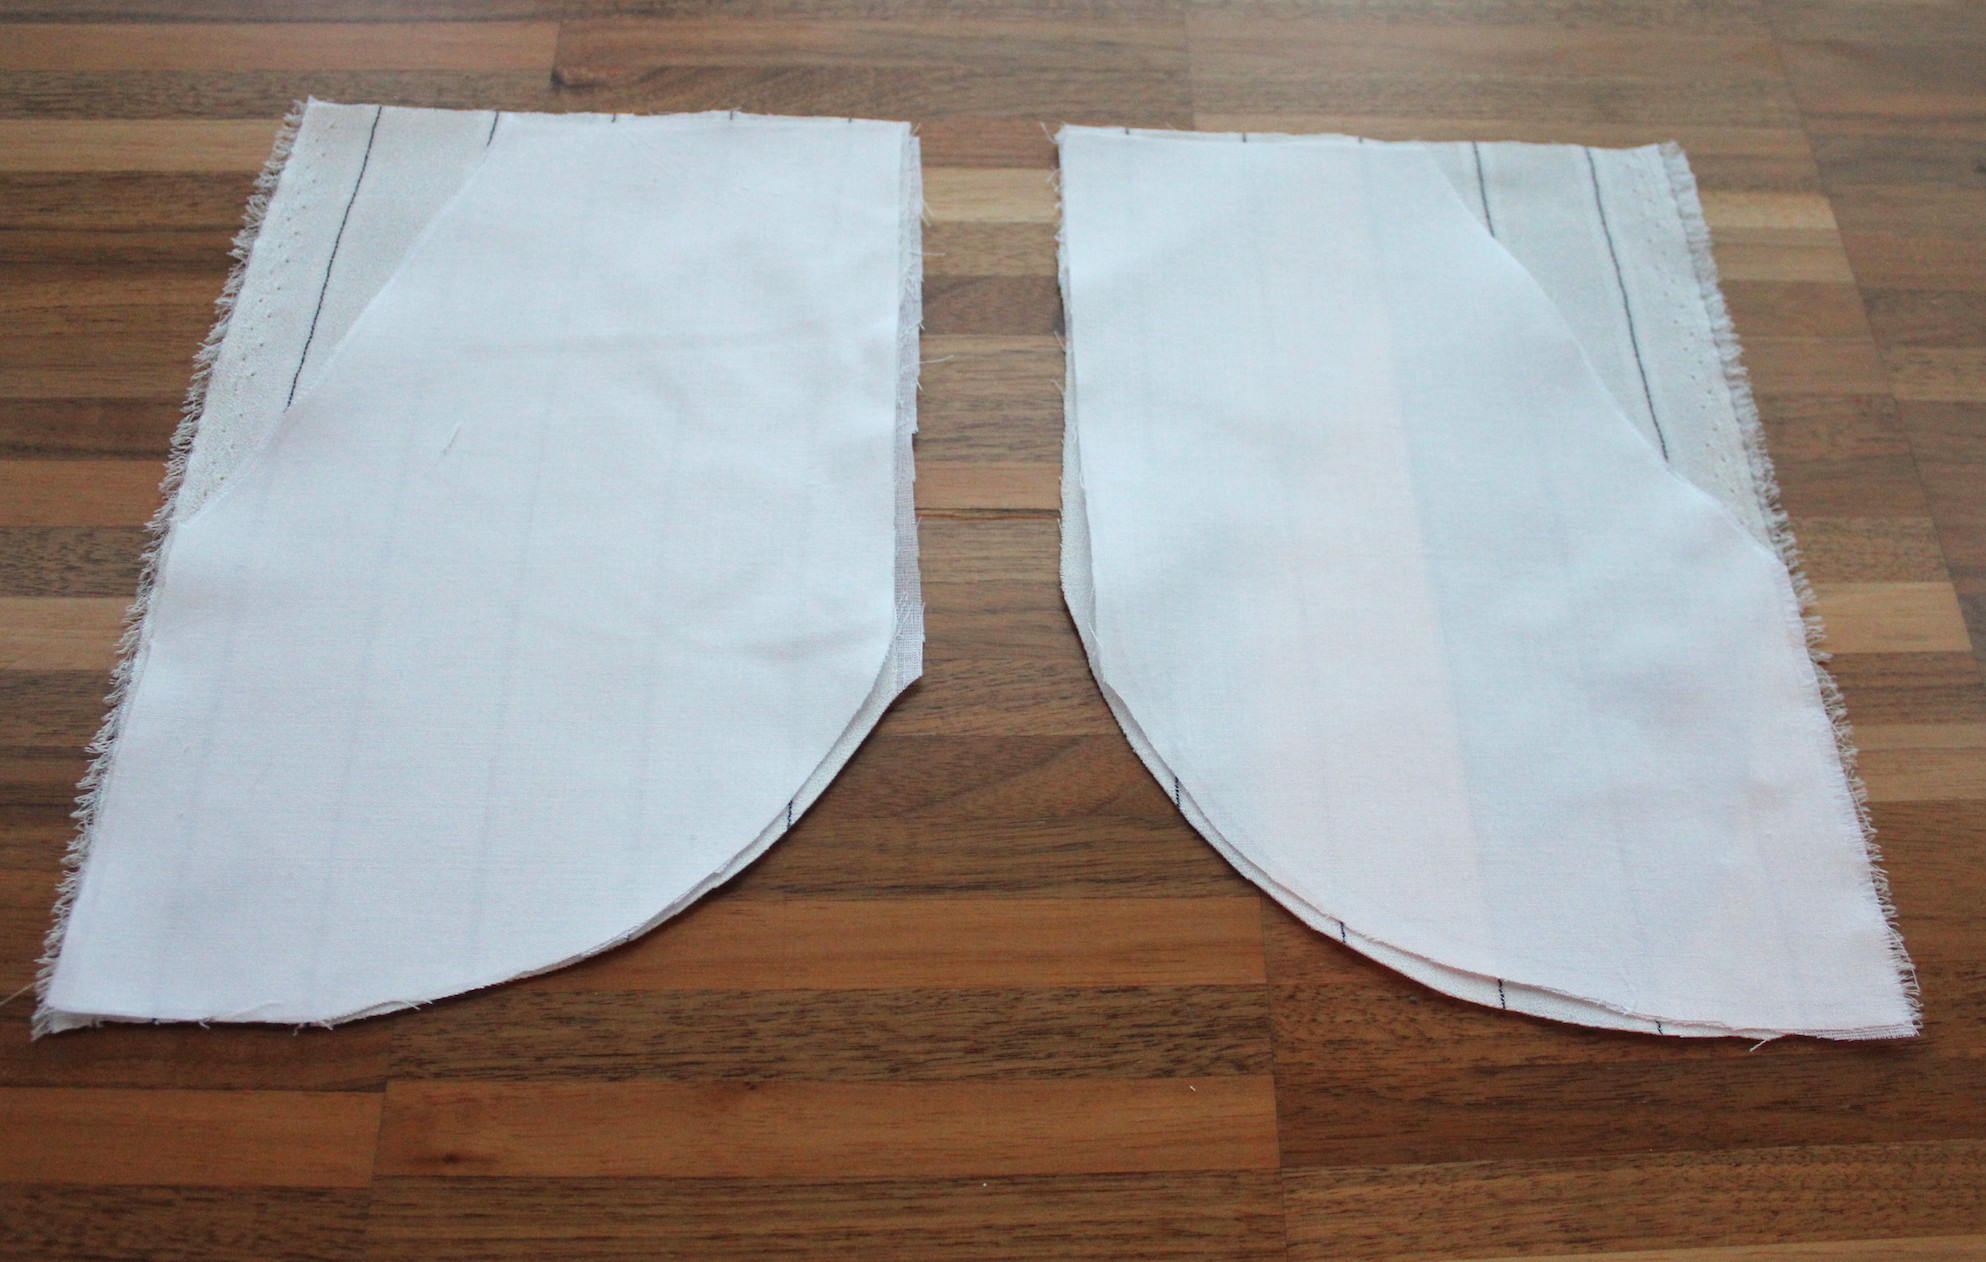
V. Trace the shape of the part you'll cut out on the pants. Flip the pattern and repeat on the other side for pocket #2.
VI. Cut the same shape out from the pocket piece that will be against the pants. Leave the piece that will be against your skin as is.
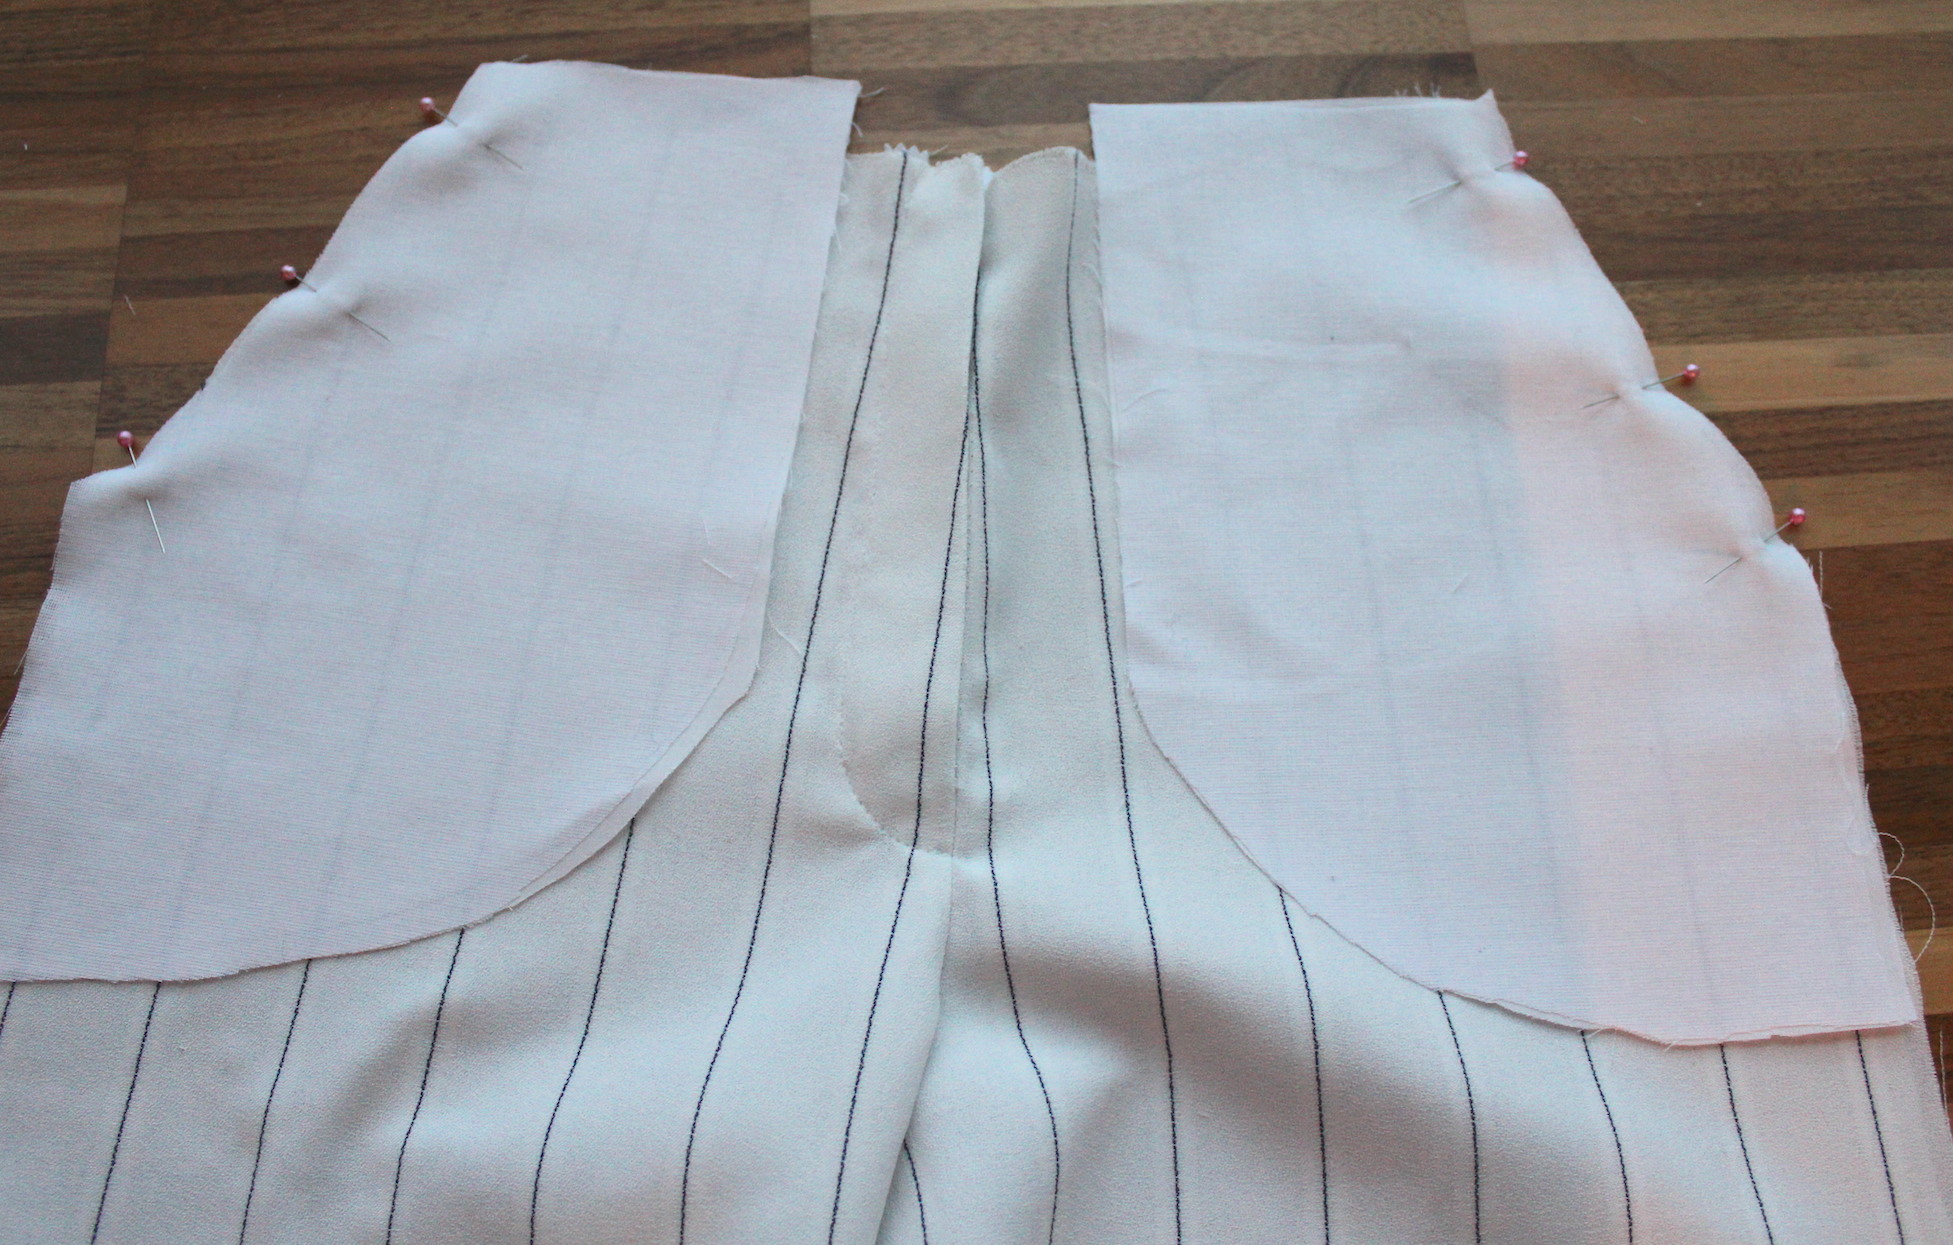
VII. Pin the edges of the pieces and sew a straight stitch along the slanted line. Then flip the pocket lining on the wrong side of the pants and iron the seam.
VIII. Last step for pockets: place the other pieces together with the ones you just attached to the pants, pin in place, and sew a straight stitch all around, creating the pockets. Zig-zag edges.
This should look something like this on the backside.
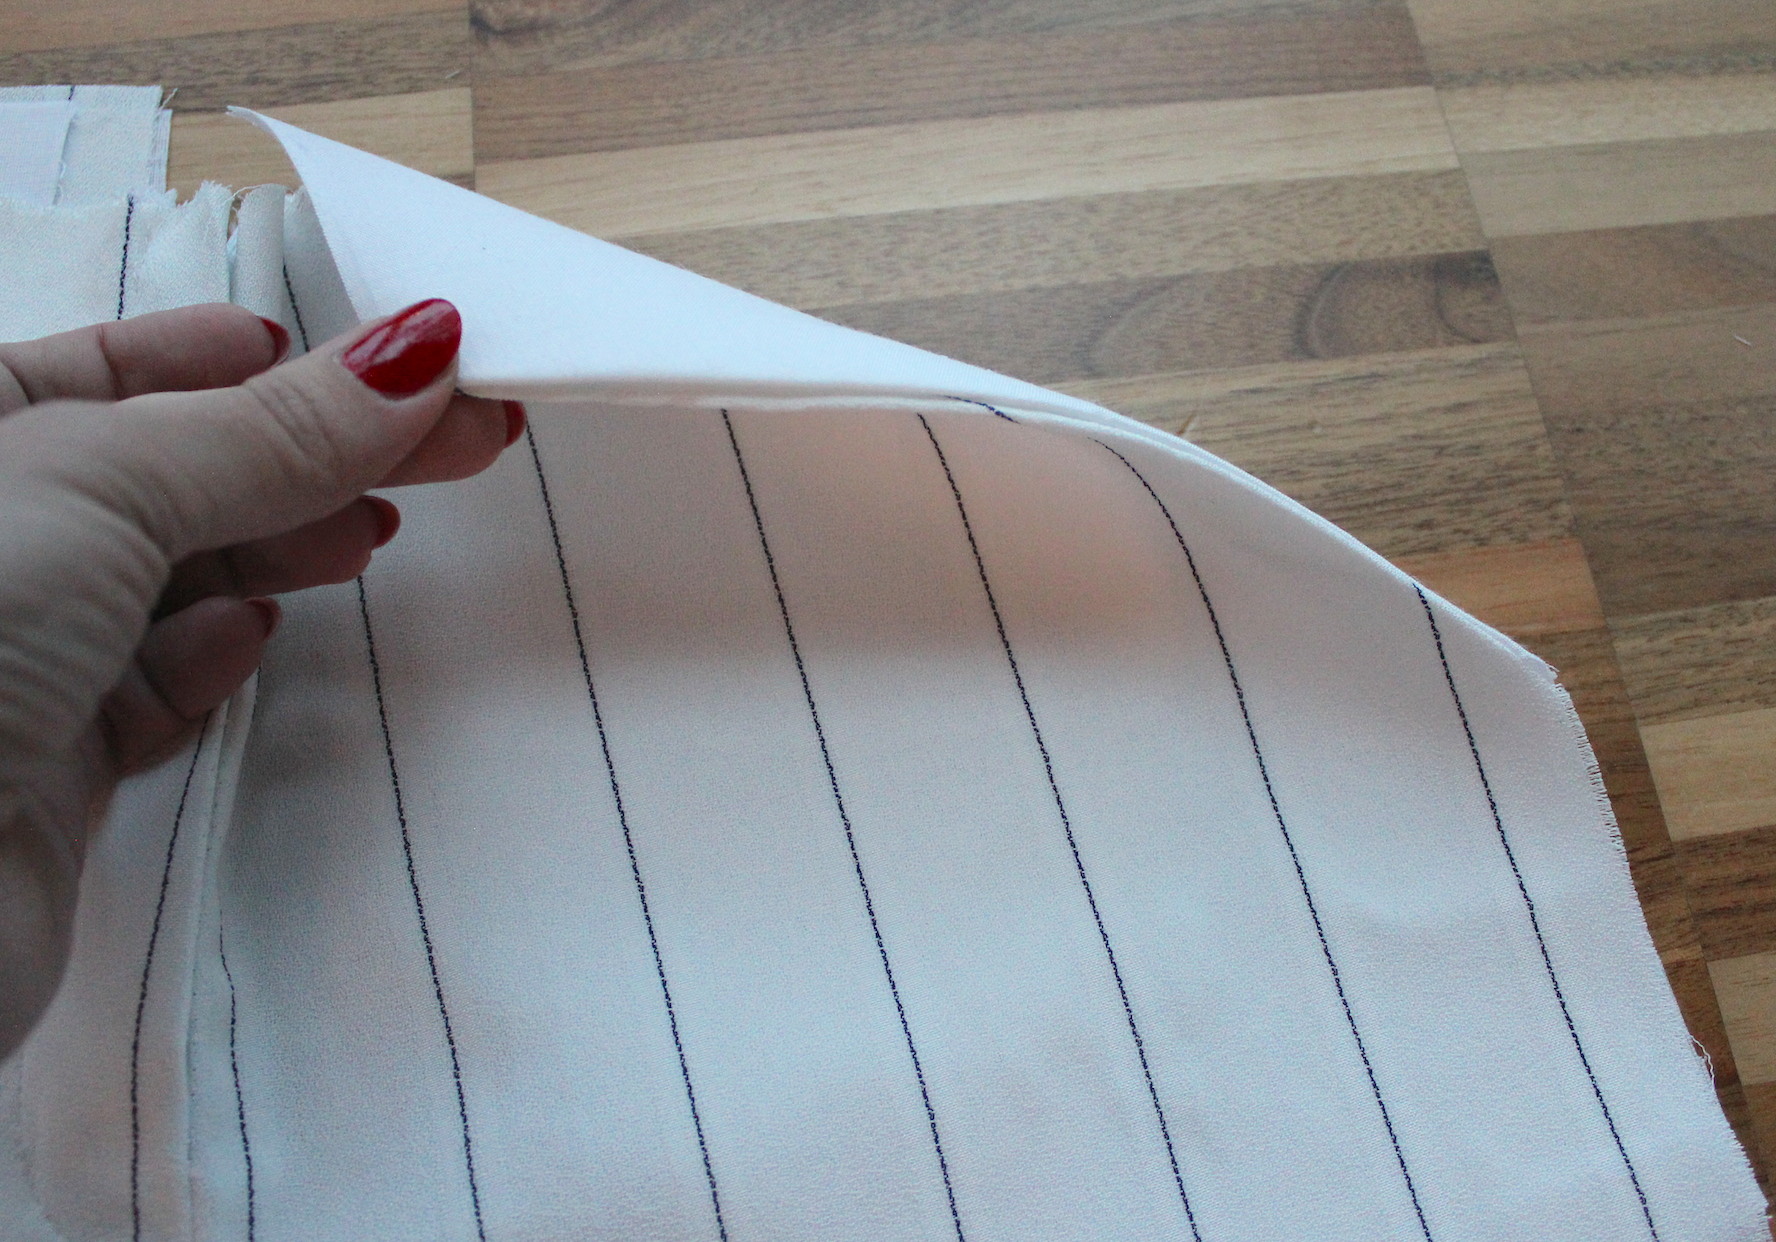
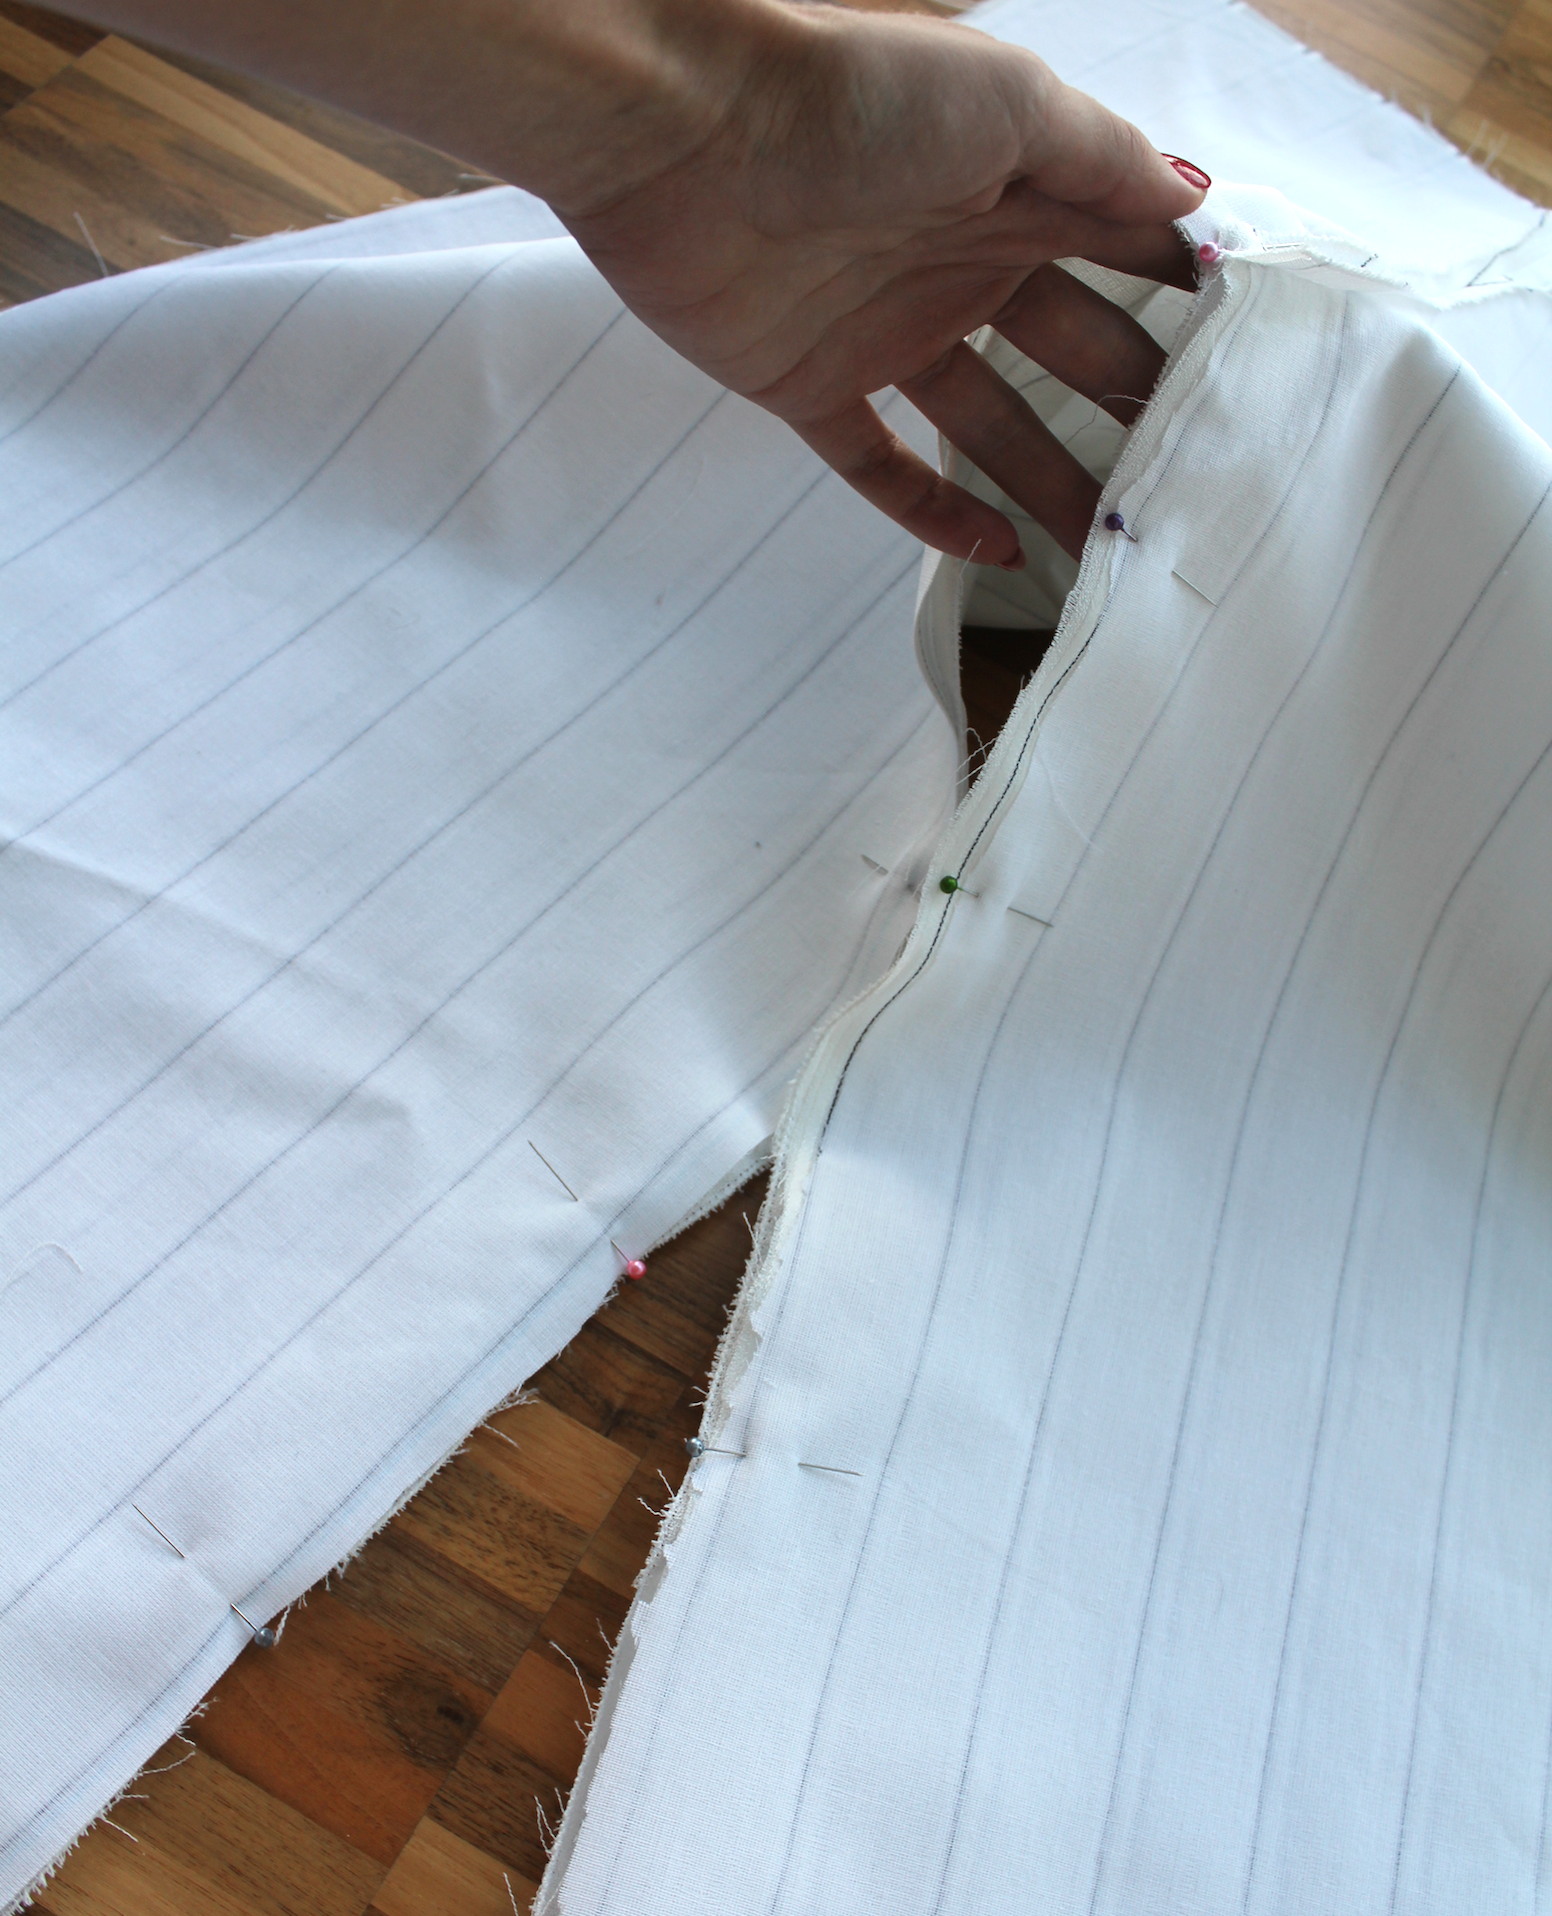
IX. Now for the back piece. Pin the pieces together and sew along the curved line. Zig-zag edges, open, and press with iron flattening the seam. If working with a stripy fabric, make sure the stripes are aligned exactly.
X. Now place the front and back pieces right sides facing, pin the edges, and sew a straight stitch all the way. Zig-zag edges.
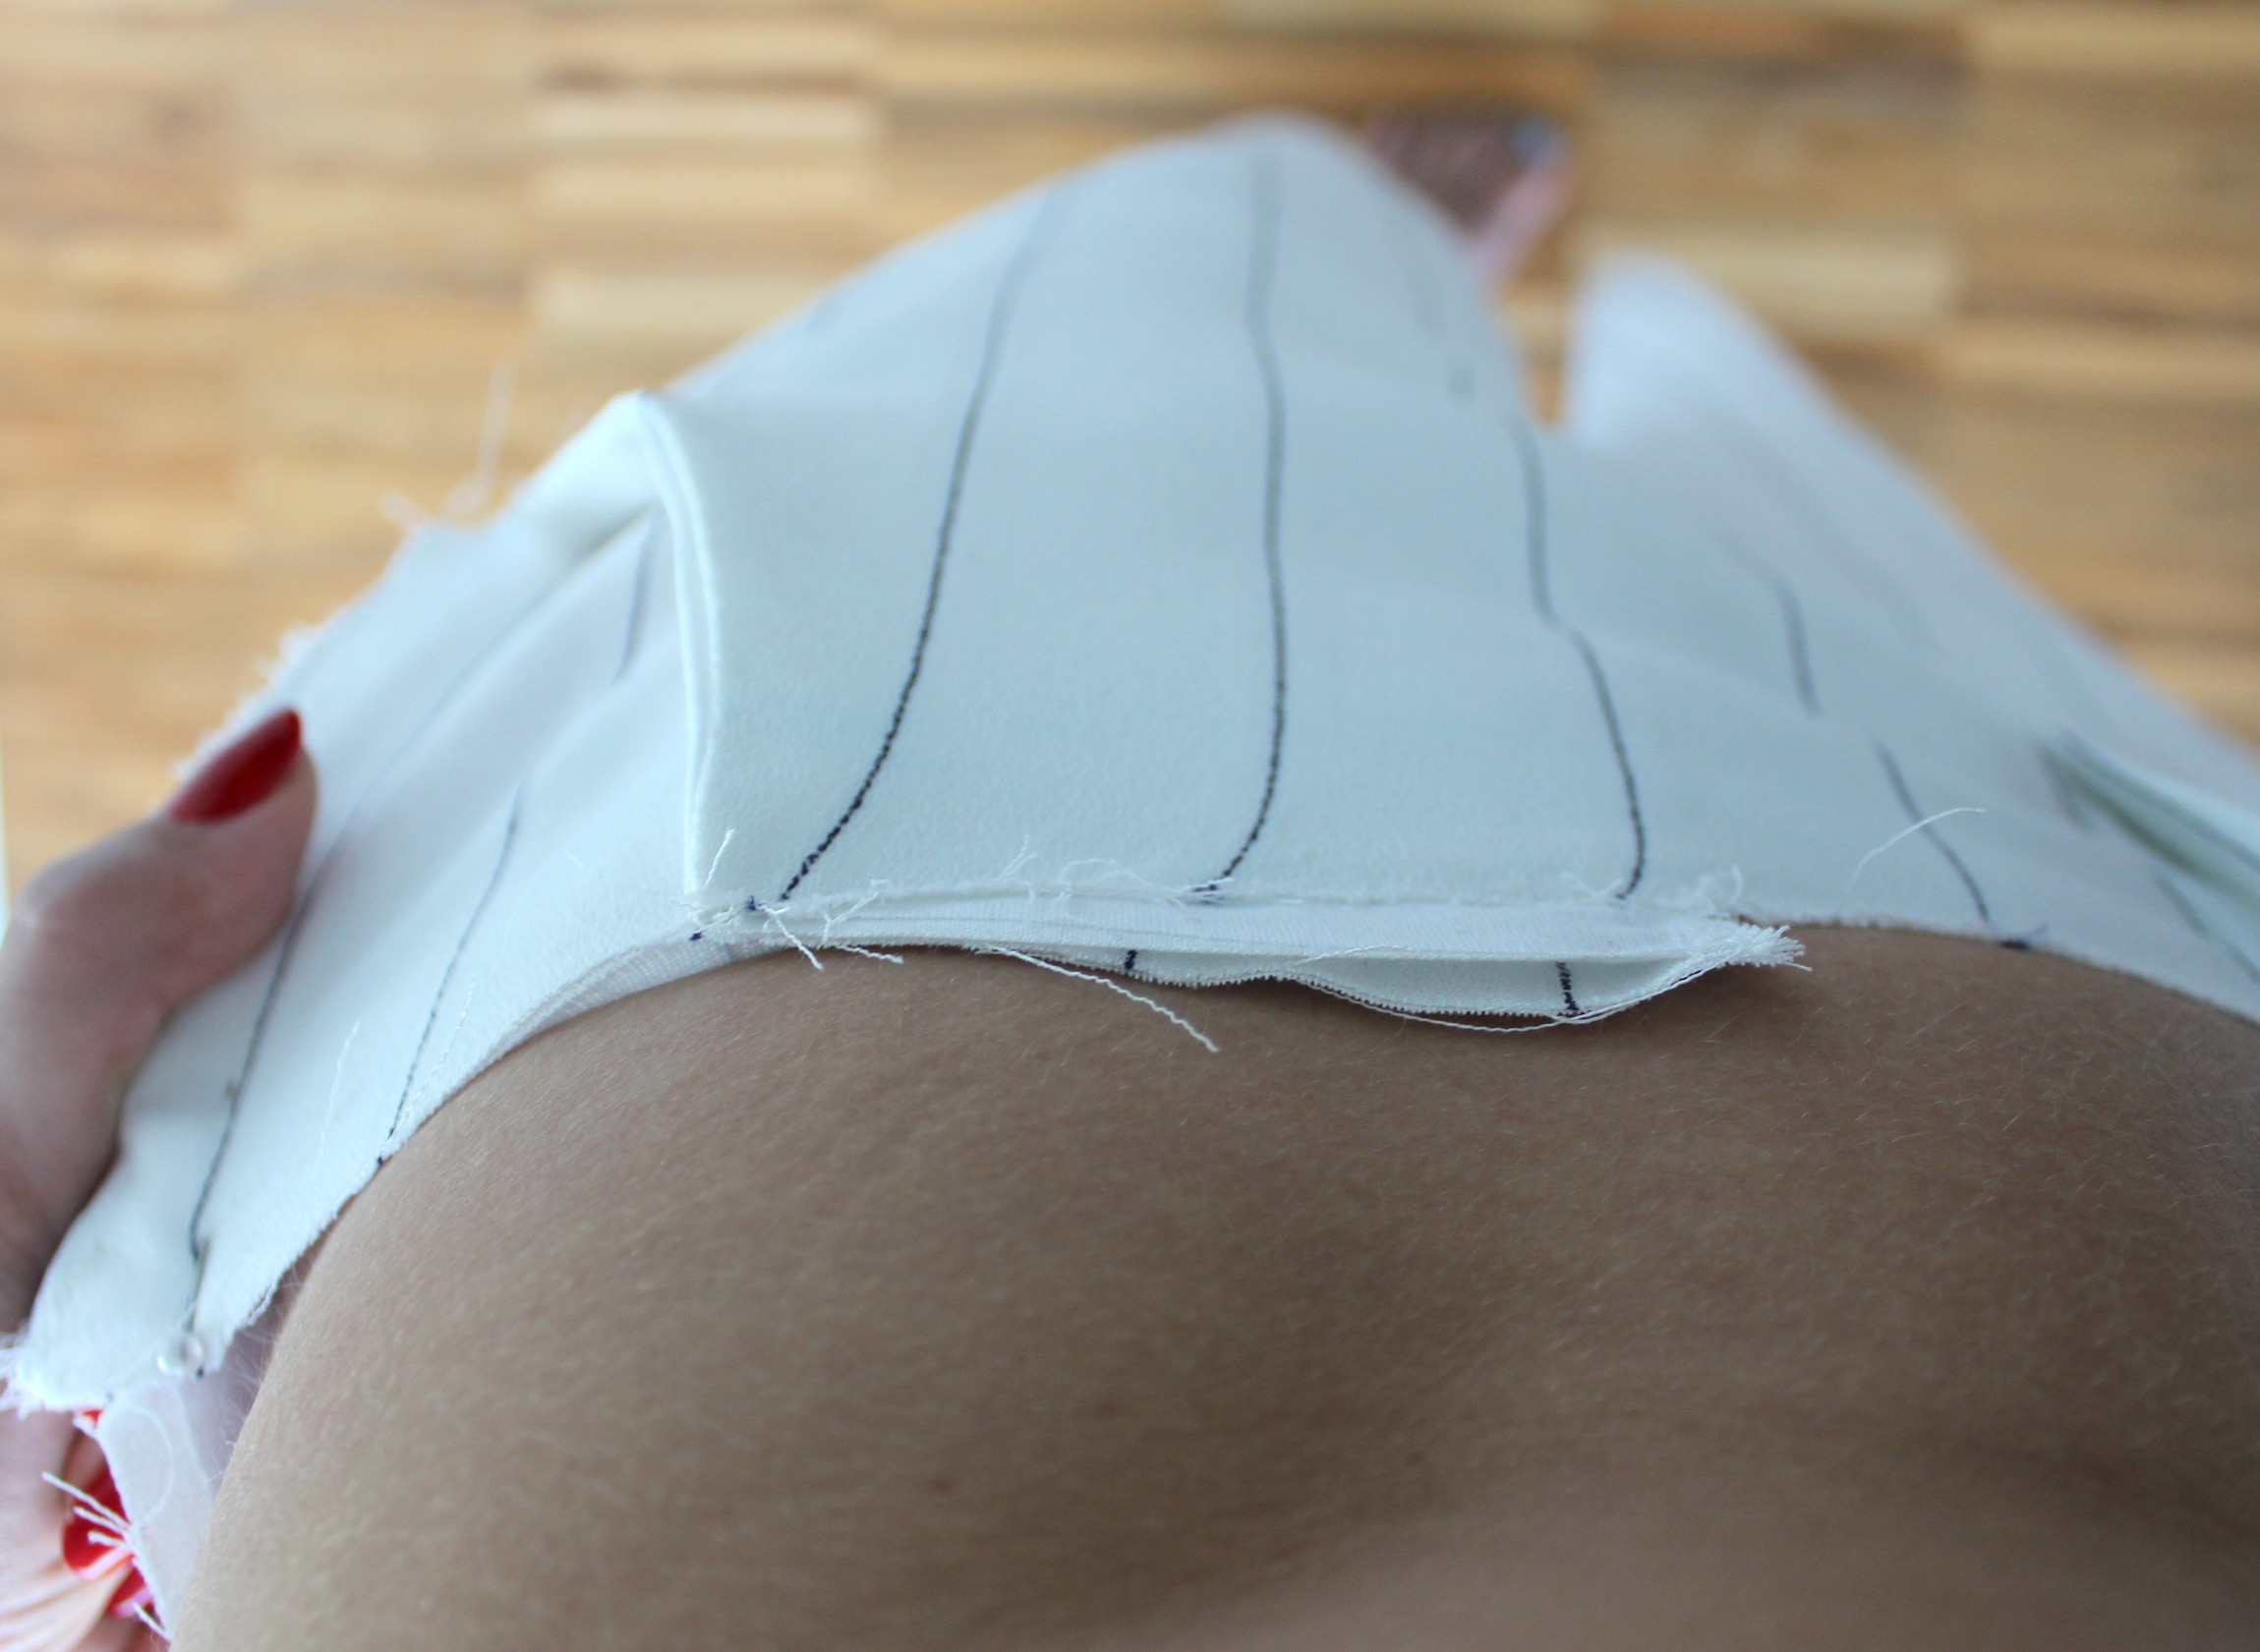
XI. Pin the pants on yourself. This way you'll make sure you get the exact desired width throughout. Easiest to wear wrong side out, so you can pin in place and just get straight to sewing the side seams. Zig-zag edges and press the seams flat as in step VIII.
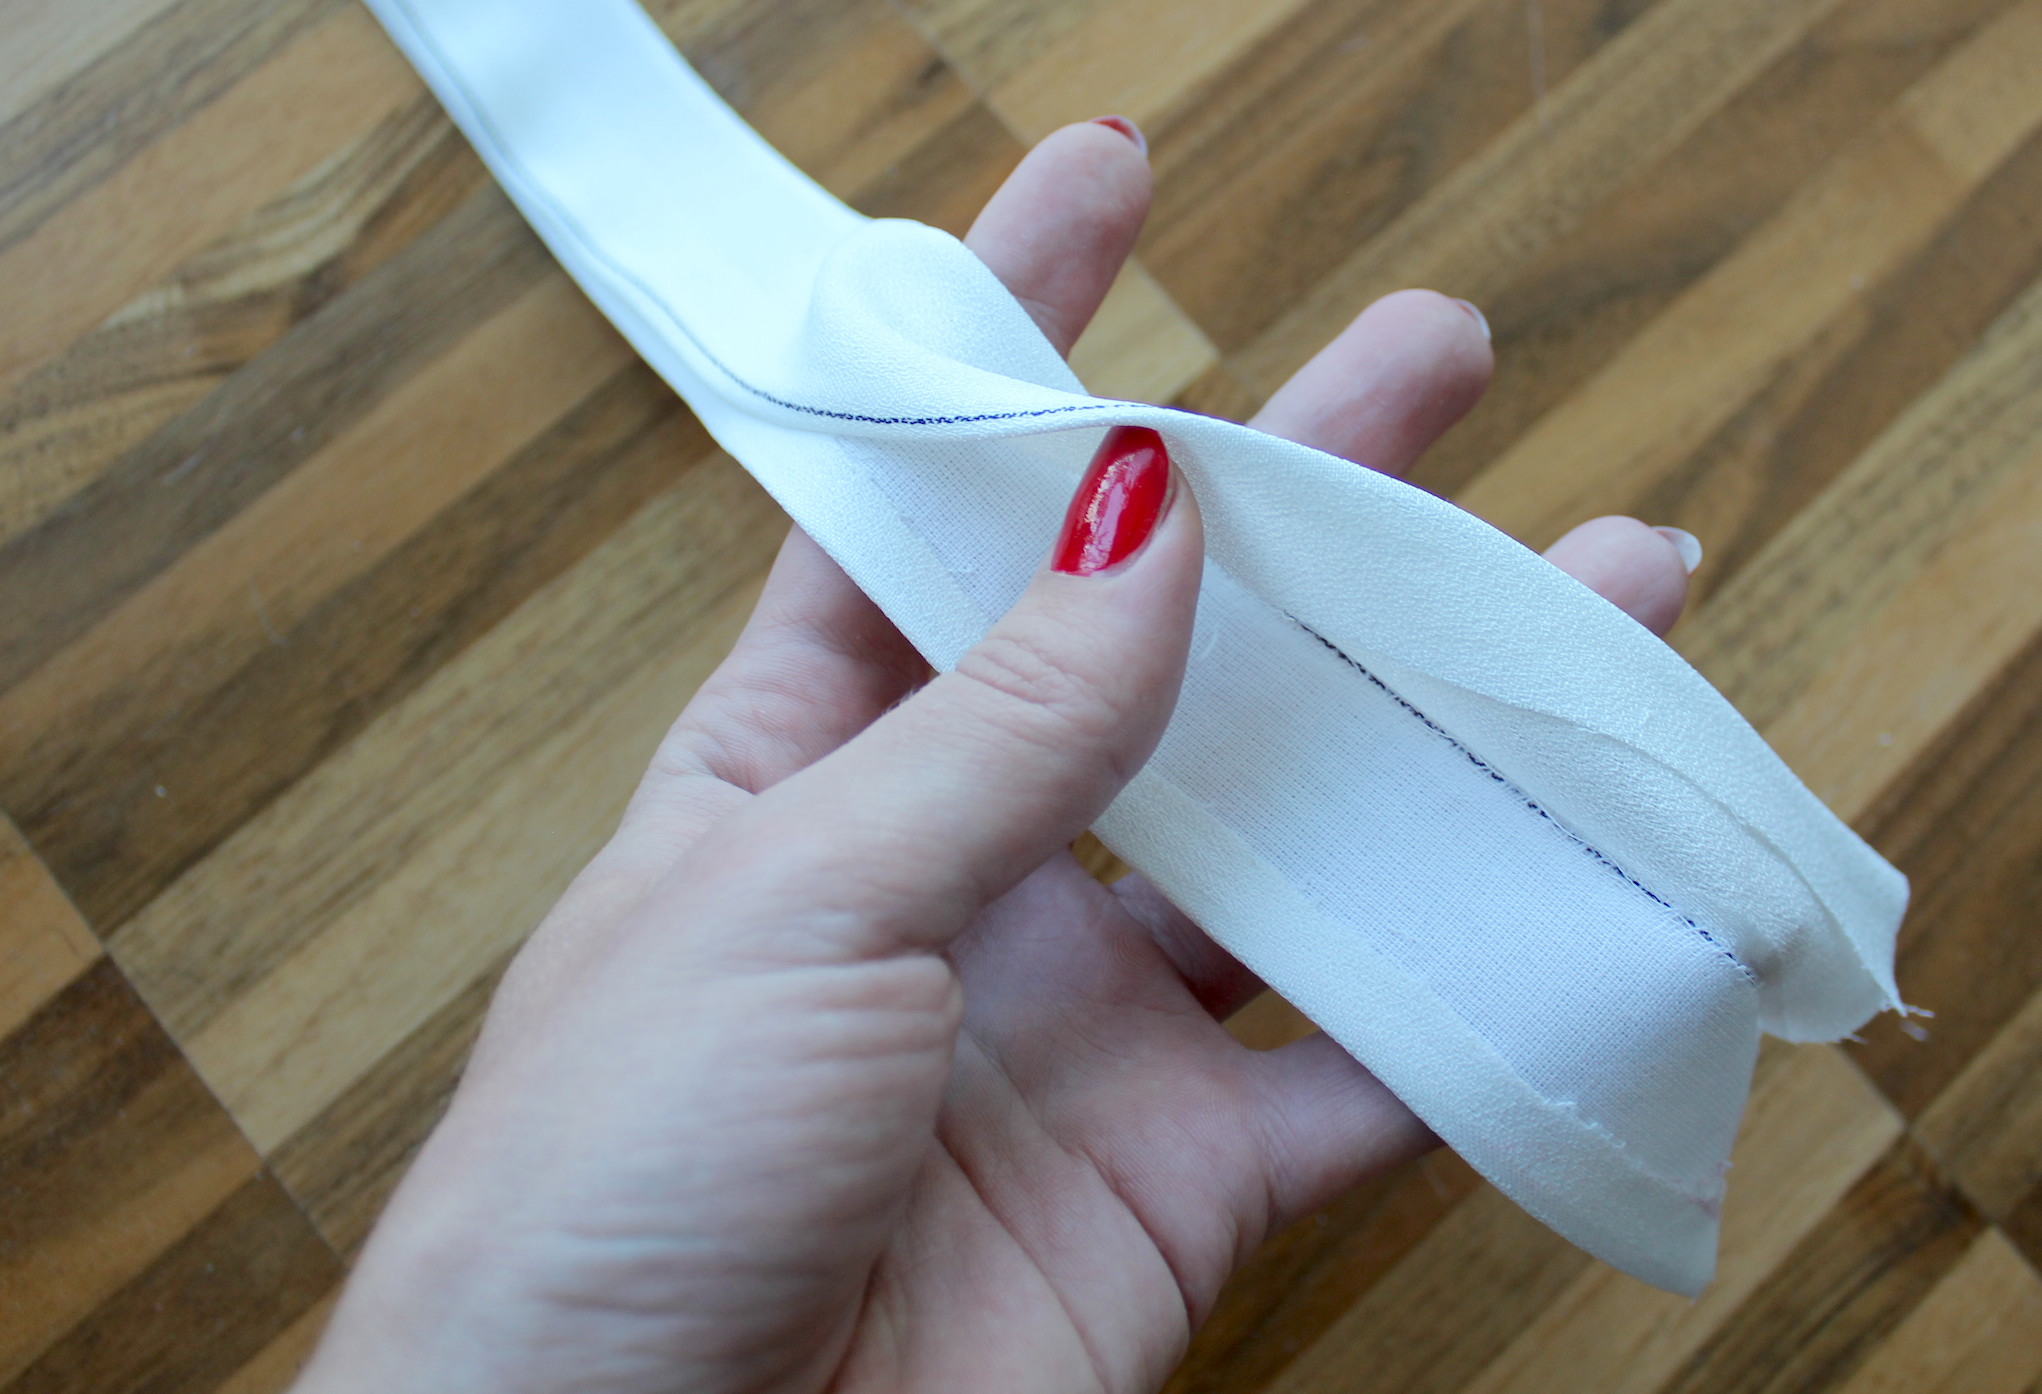
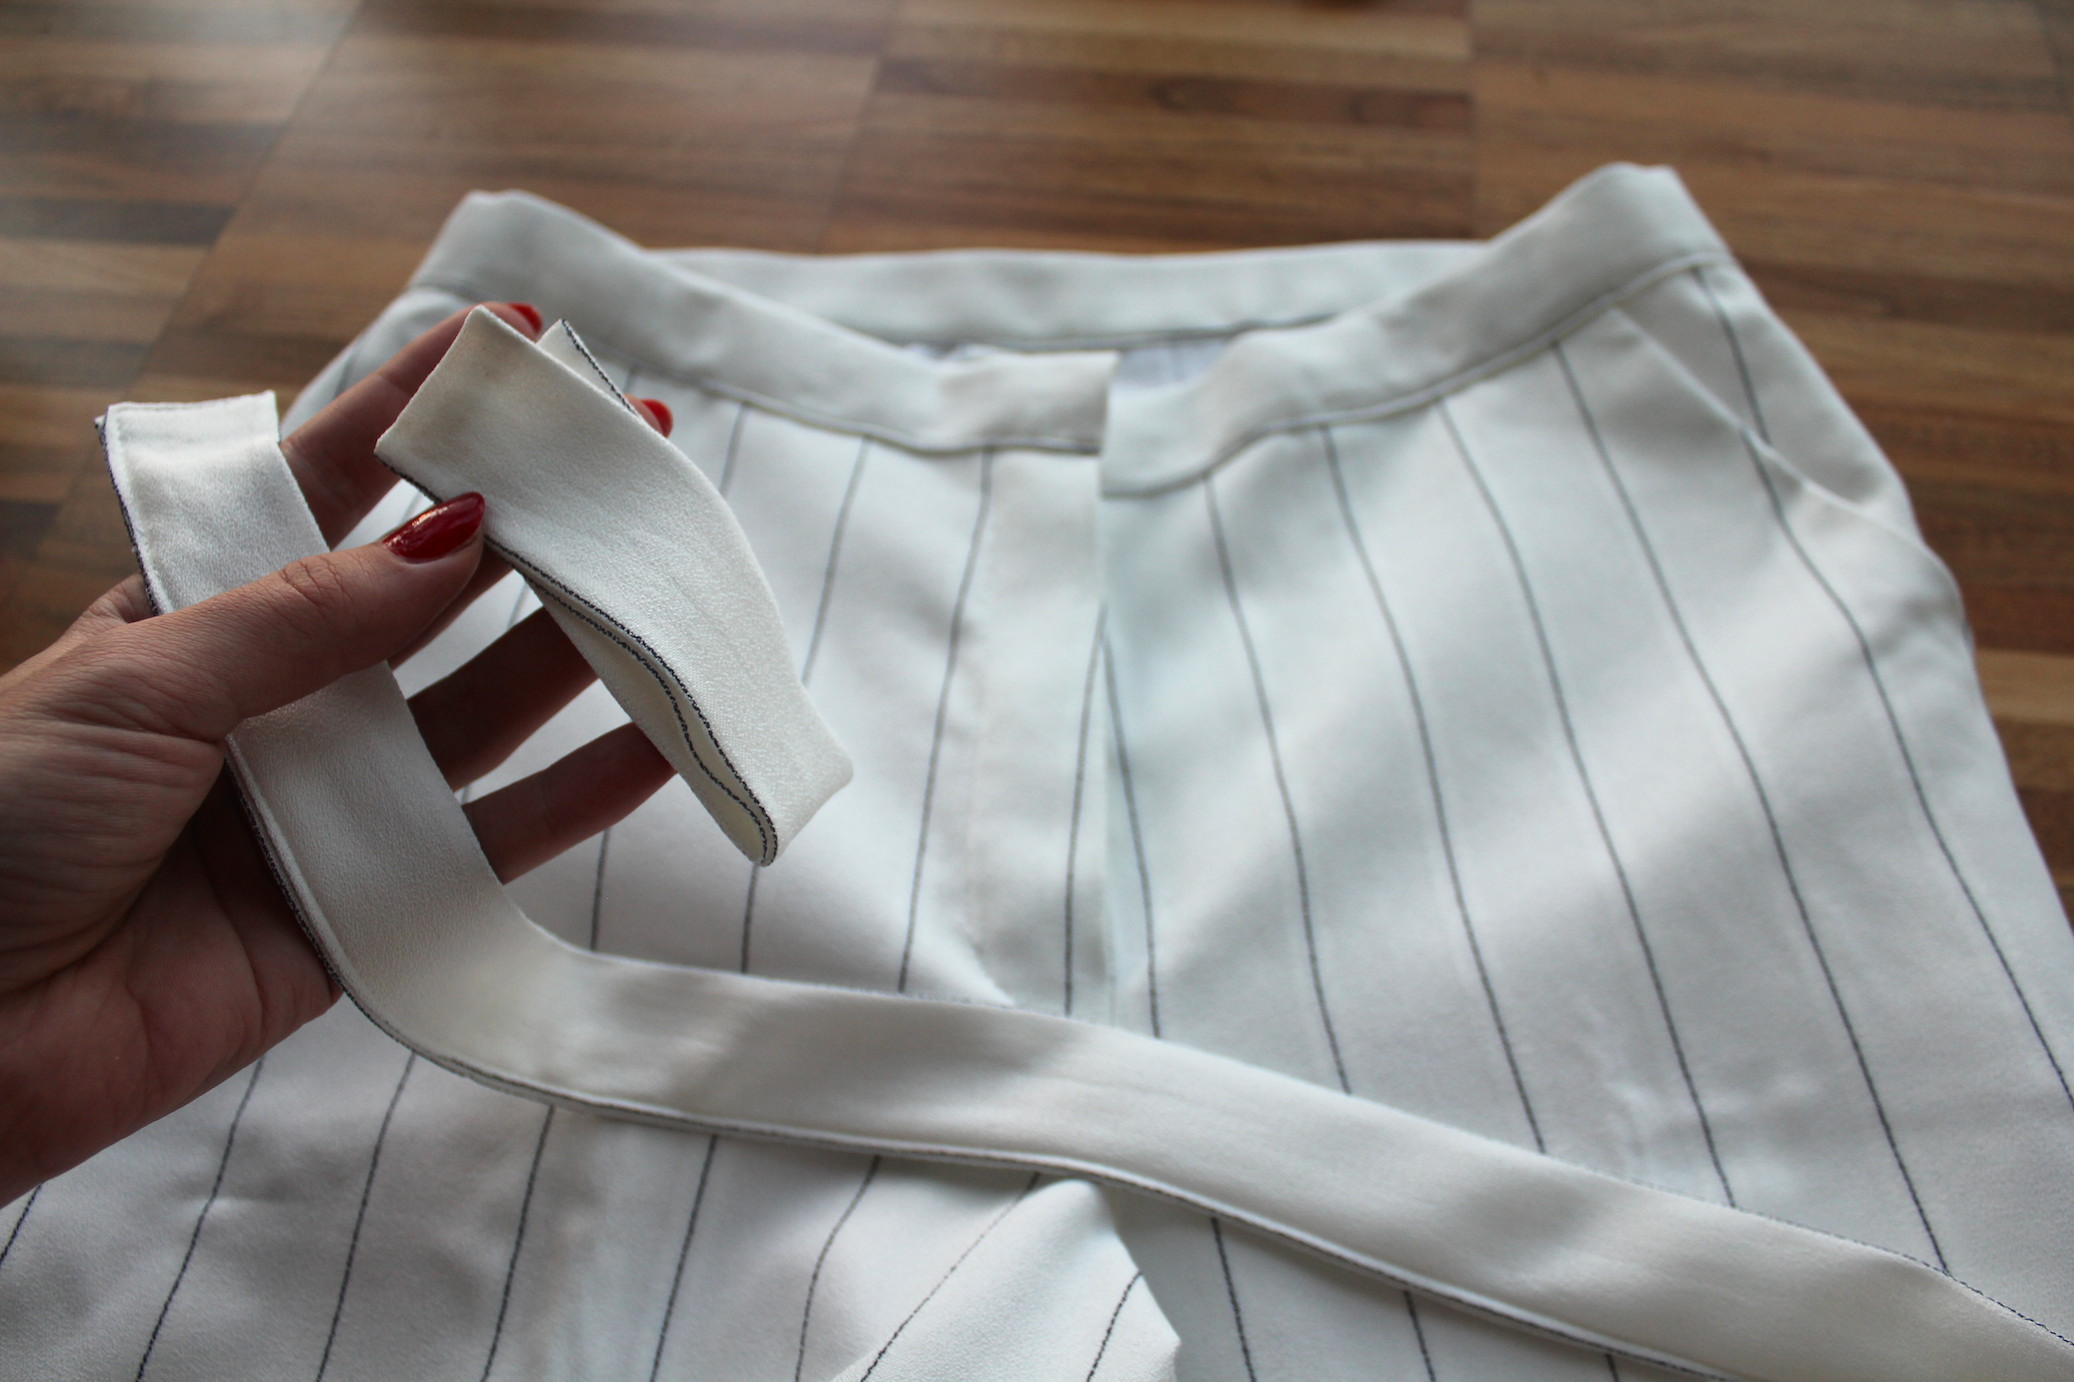
XII. Getting there. Now for the waist band and belt. Cut two straps from the fabric; one the length of your waistline, the other about 3/4 of this length (this will be the belt). I also cut interfacing to add stiffness.
XIII. Iron the waist band as follows, creating a folded waist band you can easily pin onto the pants.
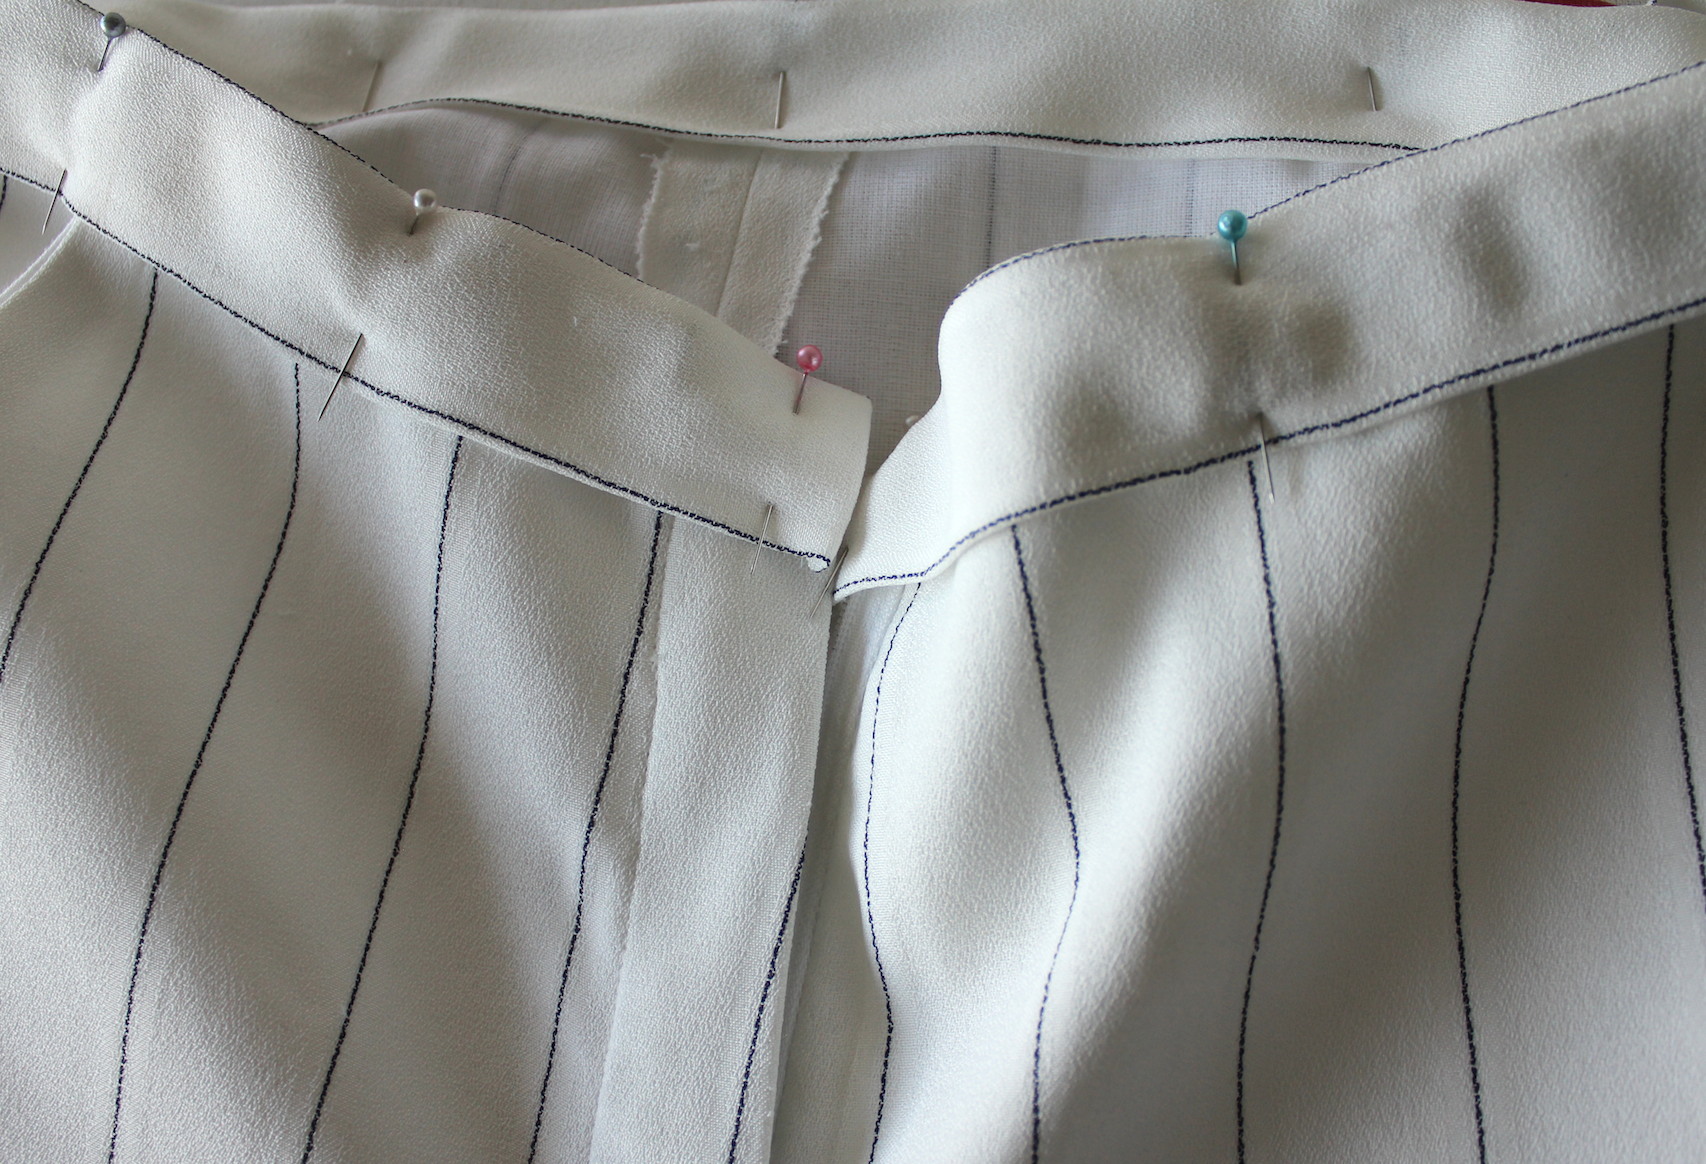
XIV. When pinning this to the pants, make sure the upper edge of the pants is all the way the the fold of the waistband. This will give you the firmness you want in this area. Sew a straight stitch right next to the edge.
XV. Prep the belt. Iron the same way as with the waist band above, and sew a straight stitch right at the edge. I did two pieces; one shorter to hold the clips, one longer to go through them. This belt business is totally extra, you could just add a button to the waist band above the zipper and be done with it.
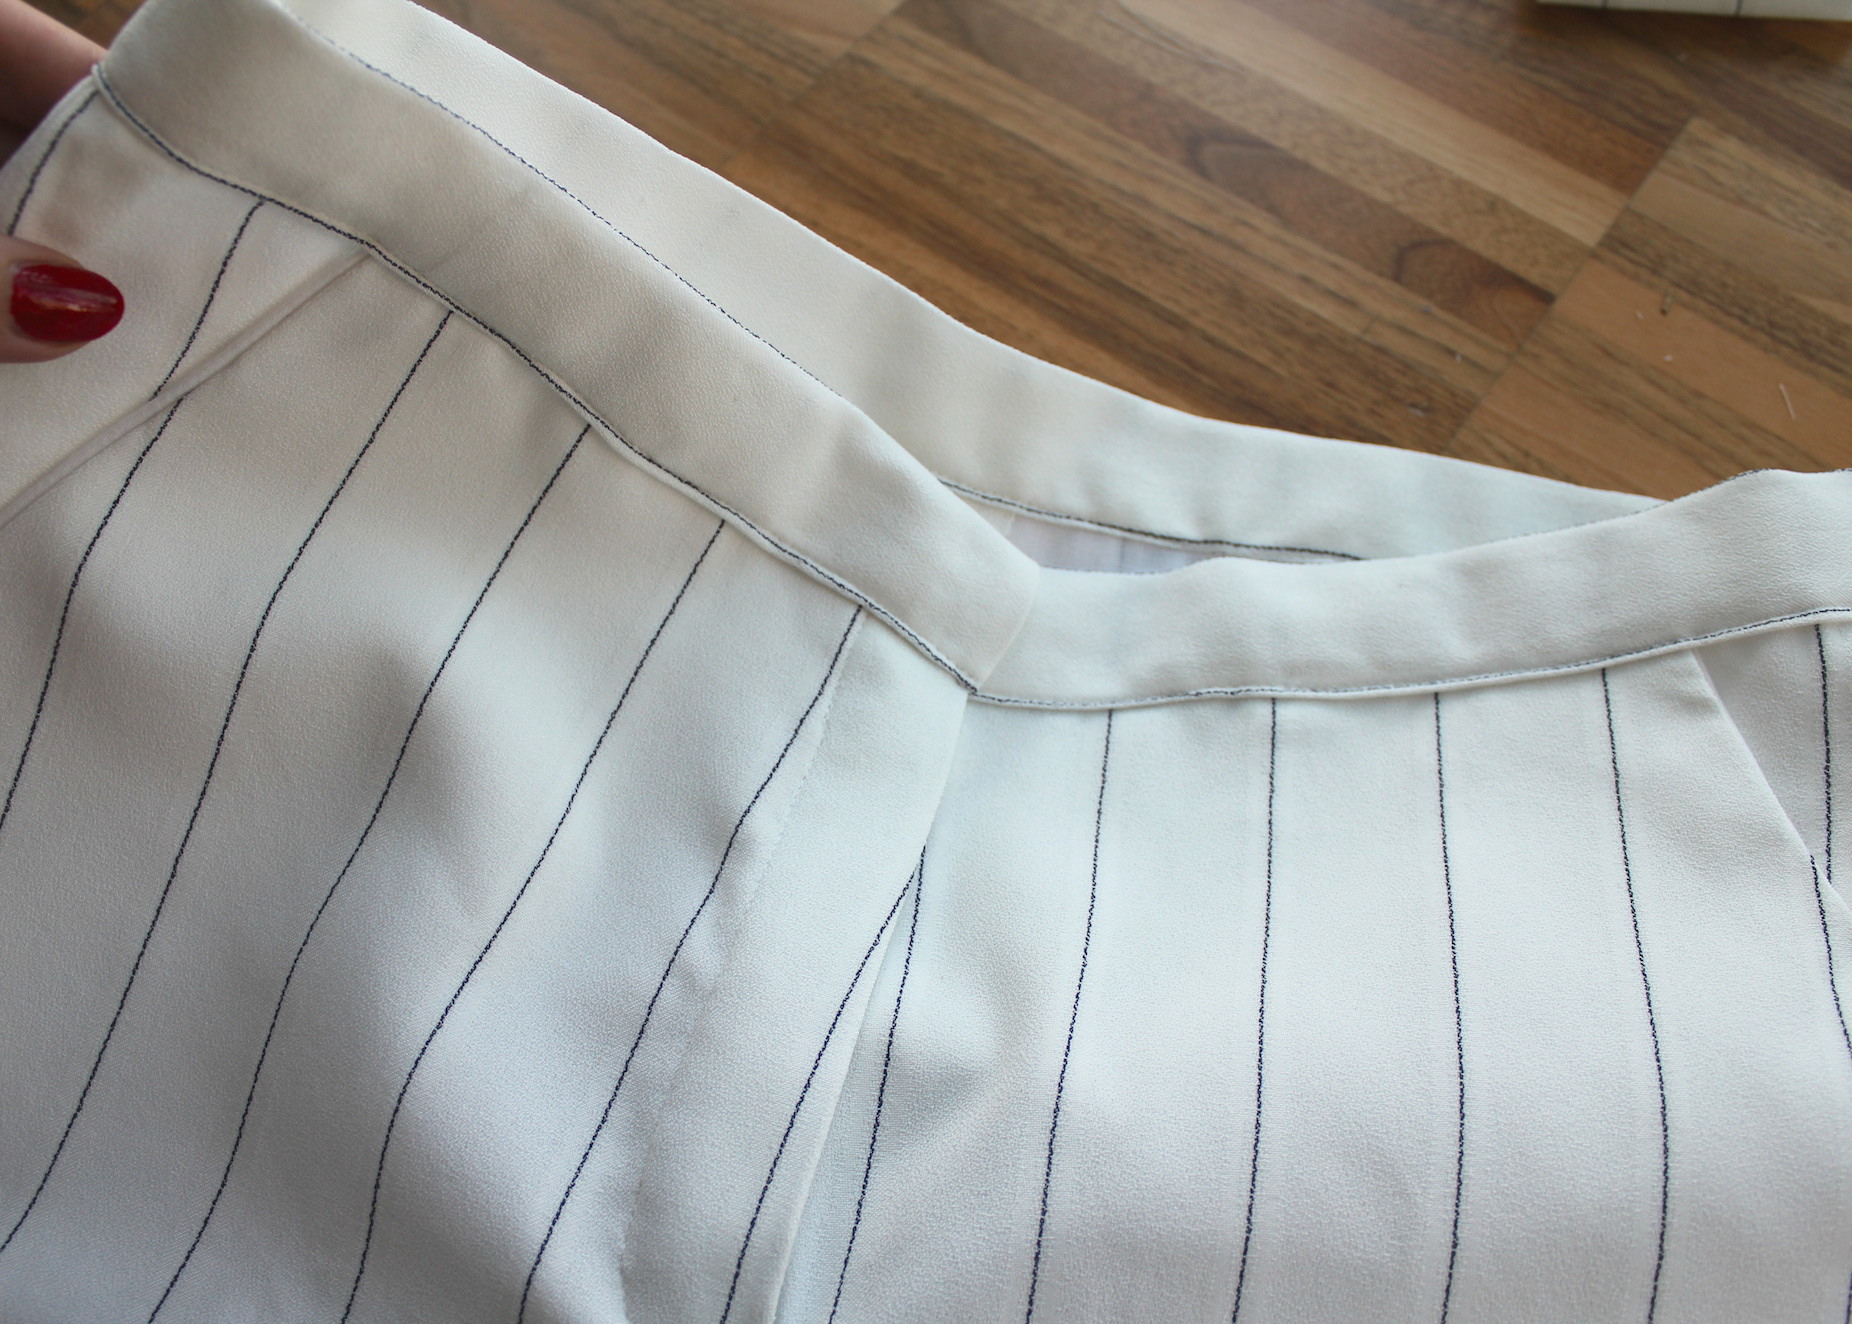
XVI. Attach the shorter belt piece to the other side of the waist band, just behind the side seam. Make sure you have the two clips looped in before you attach it in place (hand-sewing is the best option to make a pretty, unnoticeable seam). Repeat with the longer belt piece on the other side.
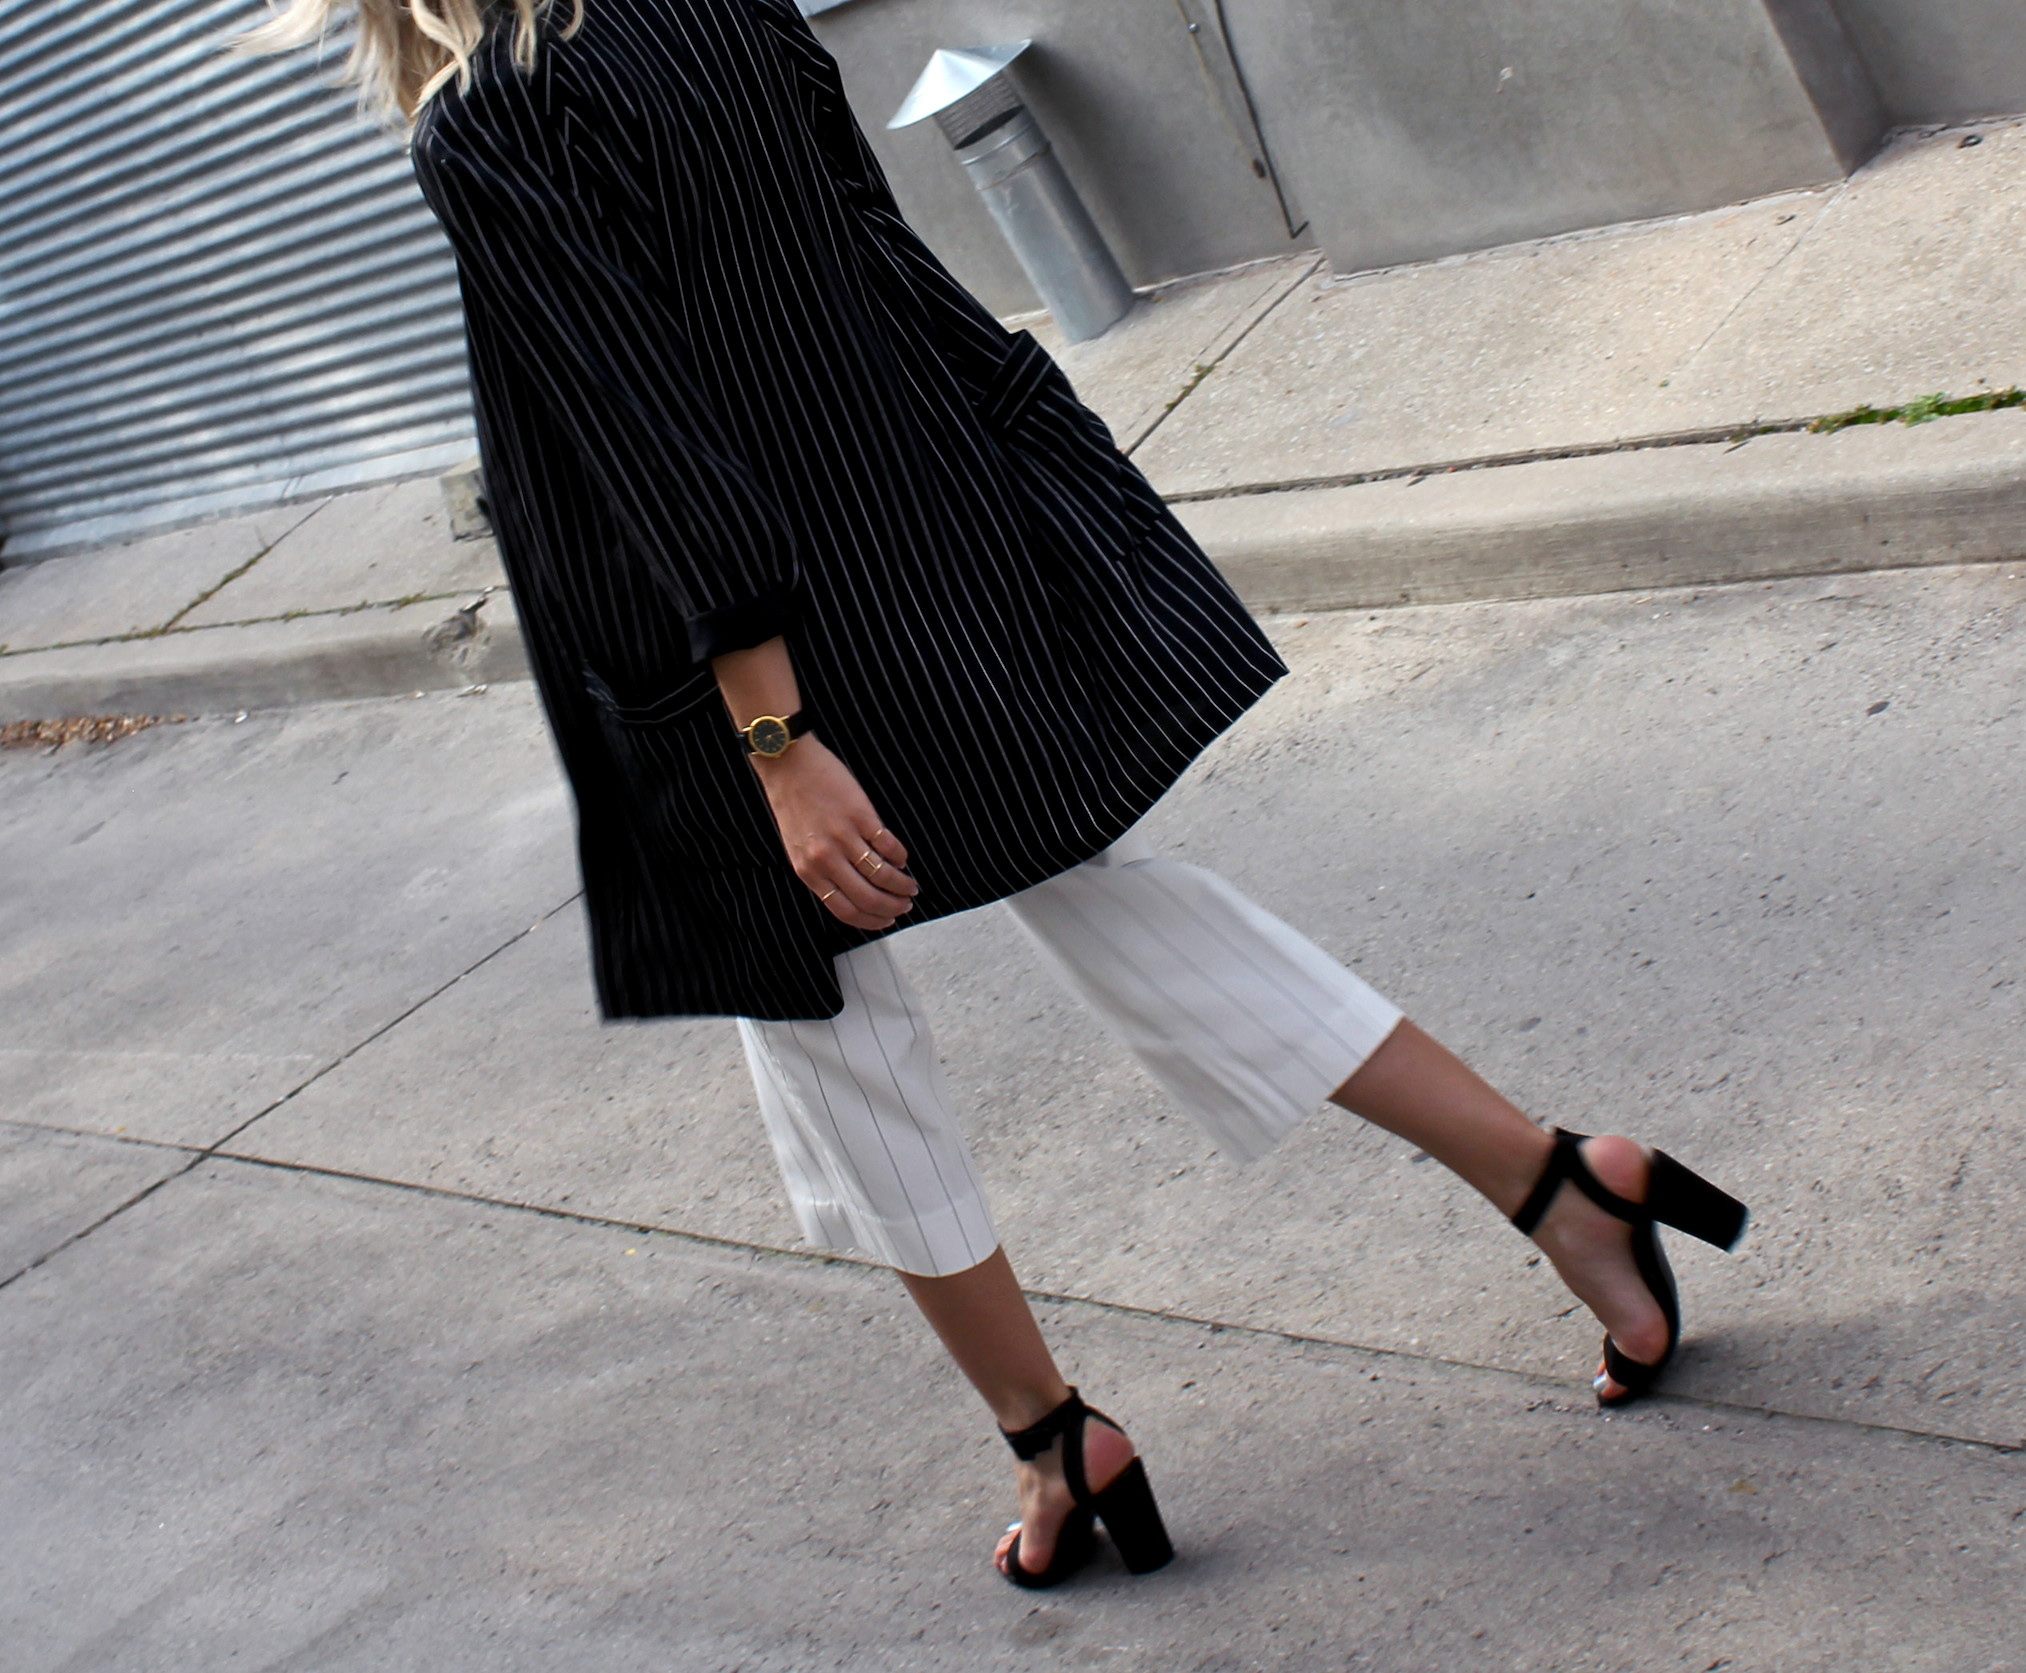
XVII. Iron a press if you'd like. I'm in love with these.
xo,
Julia


I am amazed by your sewing guides.. makes me want to take up sewing! We need more crafty bloggers like you .. love it!
ReplyDeletewww.kumbearxo.com